Henrhyd Falls - Build Log #002: Base Construction
Foundation Construction
After completing the planning phase and understanding the scale requirements, construction began on the 25×25cm base that would need to support 18cm of vertical terrain.
Work Completed
Timeline: November 2025
- Base framework with compressed underlay foundation
- Wooden strip reinforcement structure
- Multiple layers of cooked paper pulp mixture
- Learning the critical importance of thin layers and patient drying
- Complete rebuild after impatient layer application caused problems
- Successful completion of stable base structure ready for rock carving
Materials Used
Base Structure
- Base board: 25×25cm, 10mm 3-ply wood
- Foundation layer: Laminate flooring underlay (compressed fiber)
- Reinforcement: 3cm × 20cm × 15cm wooden strips
- No foam used - entire structure built with paper pulp
Paper Pulp Mixture (Evolved Recipe)
- Shredded paper
- Flour (cooked for binding)
- Water
- Vinegar
- PVA glue
- General purpose filler
Preparation Method:
- Mix shredded paper, flour, water, vinegar, PVA glue, and filler
- Cook the mixture thoroughly to allow flour and paper to bind properly
- Create much finer texture than cold mix
- Allow to cool
- Divide into fist-size blobs
- Wrap in cling film to keep moist until use
Photo Gallery
Base Layout Planning
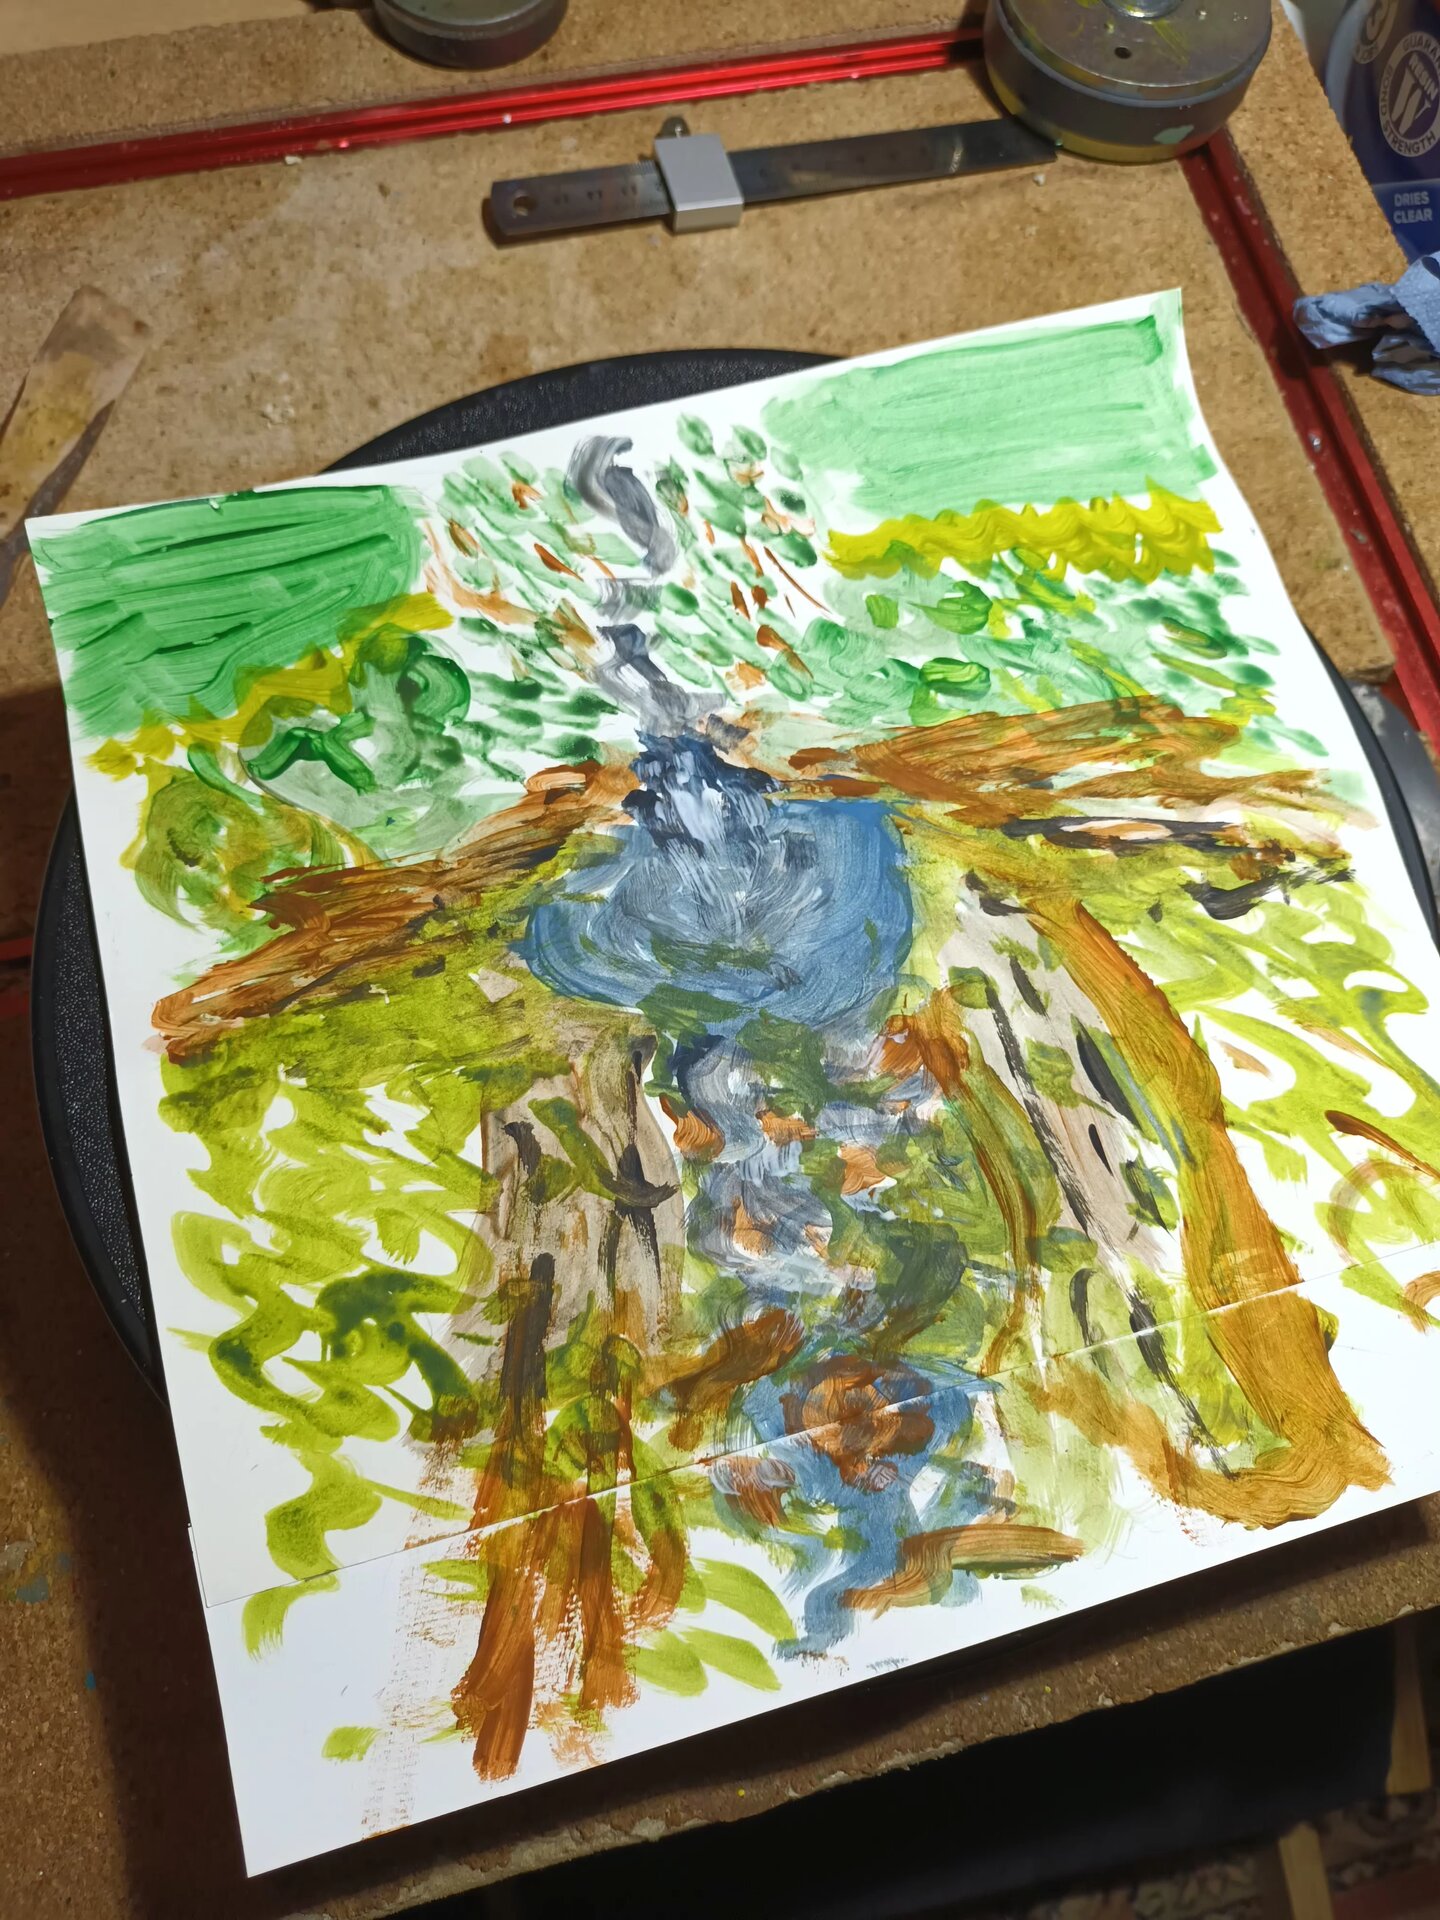 Before covering the base, the layout was first planned on paper, adding a bit of colour to the drawing to improve the overall evaluation of the effect. This helped visualize the river path, cliff position, and overall composition.
Foundation Structure
 Wooden strips (3cm × 20cm × 15cm) placed on top of the compressed underlay to prevent bending during drying. The surface mix was applied thicker at the sides, with a strip forming the river rundown in the middle and the mount for the rockface at the back (in a 2:3 ratio).
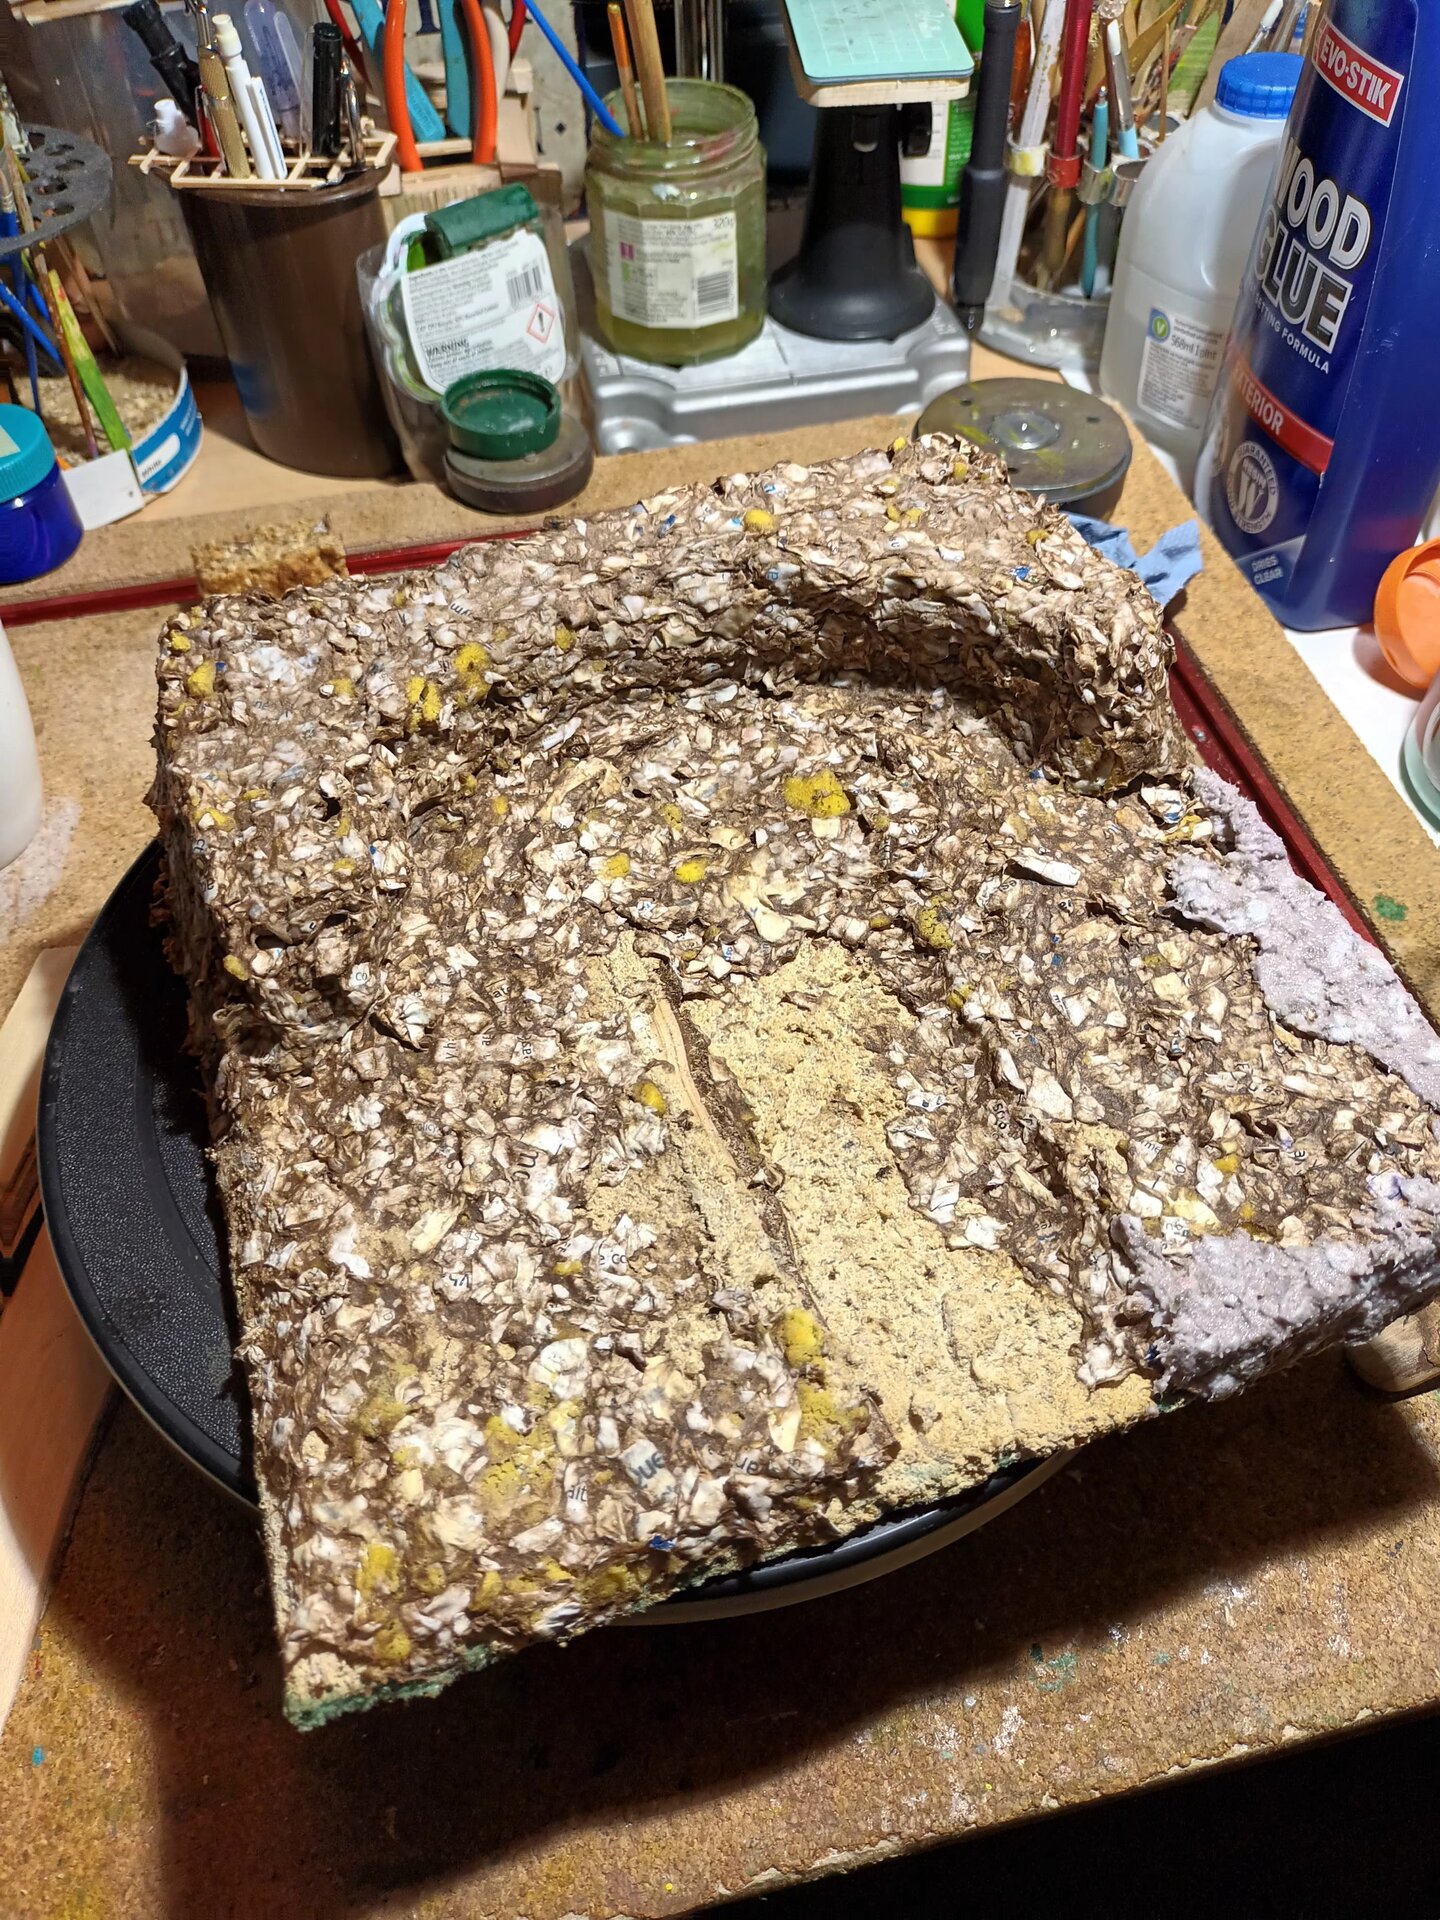 The wooden strips covered with the surface mix - shredded paper, PVA glue, water, and vinegar as a cold mix. This was thoroughly kneaded until a thick paste and applied to the base.
Building Up Layers
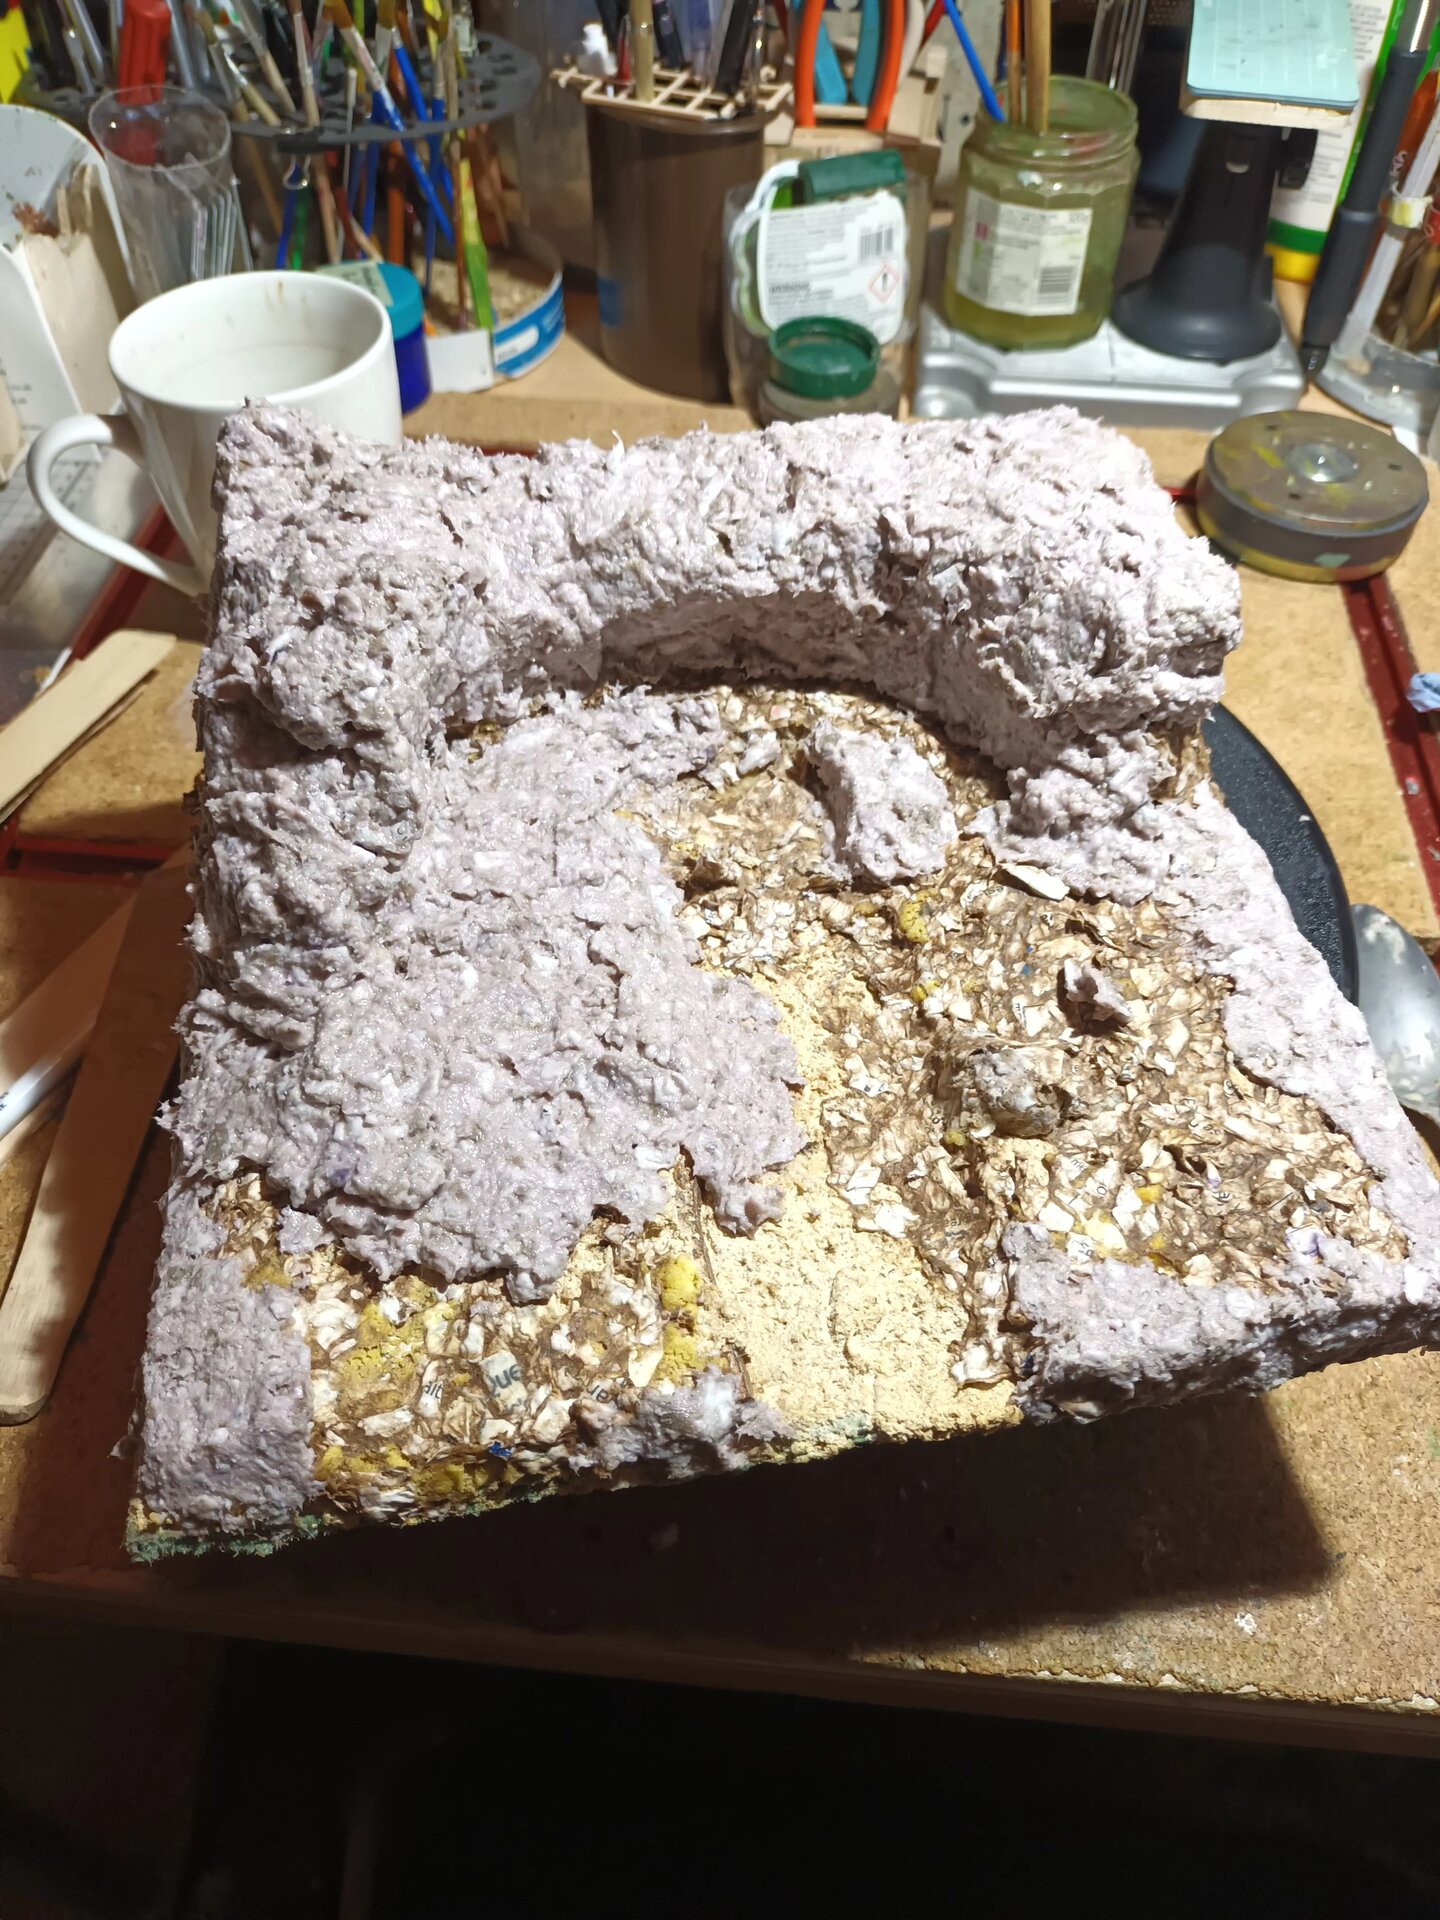 The slow process of building up layers. After switching to the cooked flour mixture for finer texture, the base was built up with approximately 2cm applications, leaving enough time to dry between each layer. Oven drying at 100°C helped speed the process but still took several hours each time.
Construction Process
Step 1: Foundation Preparation
The compressed fiber underlay (laminate flooring underlay) was:
- Cut to 25×25cm size
- Painted with PVA glue to seal it
- Left to dry
- Not immediately glued to the plywood base
Step 2: Layout Planning
Before covering the base with terrain, the composition was planned on paper with colour added to evaluate the visual effect. This planning stage helped establish:
- River path from waterfall pool to bottom edge
- Cliff position at 2/3 back of board
- Side terrain elevation
- Overall three-dimensional composition
Step 3: Wooden Strip Reinforcement
Wooden strips (3cm × 20cm × 15cm) were placed on top of the underlay to prevent bending during the drying process. These strips were then covered with the surface mixture.
Step 4: Initial Surface Mix Application (Cold Mix)
The first attempt used a cold mix:
- Shredded paper
- PVA glue
- Water
- Vinegar
This was thoroughly kneaded into a thick paste and applied:
- Thicker at the sides
- River channel strip in the middle
- Mount for rockface at the back (2:3 ratio positioning)
Problem Discovered: The rough surface and malleability of the pure shredded paper mix presented potential issues for refining the rocky surface textures.
Step 5: Improved Cooked Mixture
The mixture was evolved by:
- Adding flour to the original recipe
- Cooking it thoroughly to allow flour and paper shredding to bind properly
- Creating a much finer texture
- Allowing it to cool
- Dividing into fist-size blobs wrapped in cling film to keep moist
Step 6: Patient Layer Building
Using the fist-size blobs, the base was built up:
- Approximately 2cm per application
- Leaving enough time for each layer to dry thoroughly
- Oven assistance at 100°C to speed drying (still took several hours per layer)
Critical Lesson: The 25cm square base requirement combined with the need for a 10cm waterfall drop (representing 27m) pushed the boundaries for creating cliff height. This led to impatience.
Challenges & Solutions
Challenge 1: Rough Texture of Cold Mix
The Problem:
The rough surface and malleability of the pure shredded paper mix (cold version) presented potential issues for refining the rocky surface textures that would come later.
The Solution:
Changed the mixture by adding flour and thoroughly cooking it. This allowed the flour and paper shredding to bind properly and created a much finer texture that would be easier to carve and texture for realistic rock formations.
Lessons Learned:
Cooking the mixture transforms the material properties. The cooked version is superior for detailed work.
Challenge 2: Impatience with Drying
The Problem:
The 27m waterfall (10cm model height) requirement on a 25×25cm base pushed the boundaries for creating cliff height. This pressure led to impatience - adding layers before previous layers were properly dry in the center.
The Solution:
I basically took the rockface apart and started over again, this time in thinner layers (approximately 2cm maximum) and adding more time for drying between applications.
Lessons Learned:
Patience is not optional in paper pulp construction. Internal moisture that doesn’t dry properly will compromise the entire structure. Better to take the extra time than to rebuild completely.
Challenge 3: Cracking
The Problem:
Cracks appeared during drying, though not nearly as large and frequent as in previous models.
The Solution:
Adding the paper mache component (cooked flour mixture) into the mix helped a lot to prevent cracking. The thorough binding created by cooking the flour with the shredded paper significantly reduced crack formation.
Lessons Learned:
The cooked flour method is the key breakthrough for this type of terrain construction. It creates a more stable, less crack-prone material than cold paper pulp mixes.
Key Techniques Developed
Cooked Paper Pulp Method
This technique became the foundation for successful base construction:
- Mix ingredients: Shredded paper, flour, water, vinegar, PVA glue, general purpose filler
- Cook thoroughly: Heat until flour binds with paper fibers
- Cool completely: Allow mixture to reach room temperature
- Portion control: Divide into fist-size blobs, wrap in cling film
- Apply thin layers: Maximum 2cm per application
- Dry completely: Use oven at 100°C, but don’t rush - several hours needed
- Repeat patiently: Build up height gradually over many applications
Oven-Assisted Drying
- Temperature: 100°C
- Duration: Several hours per layer
- Purpose: Speeds drying without compromising material integrity
- Critical: Don’t increase heat to rush the process
No Foam Construction
Unlike typical terrain building, this project used no foam core. The entire 18cm vertical structure is built from cooked paper pulp. This makes the model:
- Heavy: Solid construction rather than hollow
- Sturdy: Very stable and robust
- Easy to drill: Can drill holes for tree and plant insertion without foam problems
Future Consideration: Next time, use foam or lighter material as core with paper pulp coating to reduce weight while maintaining workability.
Materials & Tools Summary
Materials Used
- 25cm × 25cm × 10mm 3-ply wood base
- Laminate flooring underlay (compressed fiber)
- Wooden strips: 3cm × 20cm × 15cm for reinforcement
- Shredded paper
- Plain flour (for cooking)
- Water
- Vinegar
- PVA glue
- General purpose filler
- Cling film (for storing prepared mixture blobs)
Tools Used
- Cutting tools for base board and underlay
- Mixing containers
- Cooking pot/pan for flour mixture
- Oven (for drying at 100°C)
- Painting/spreading tools for applying mixture
- Measuring tools
Next Steps
With the base structure complete and stable, the next phase focuses on:
- Rock Cliff Formation - Carving and texturing the vertical terrain with geological layers
- Cave Formation - Creating the concave cliff face with the cave behind the waterfall
- Surface Texturing - Using the fine cooked mixture surface for realistic Welsh rock appearance
The completed base provides:
- ✓ Stable 18cm vertical terrain structure
- ✓ River channel formation
- ✓ Cliff mount positioned at 2/3 back
- ✓ Smooth, workable surface for carving and texturing
- ✓ Solid structure that can be drilled for vegetation
Key Learnings Summary
What Worked Excellently
- Cooked flour mixture: Dramatically better texture and bonding than cold mix
- Thin layers (2cm max): Essential for proper drying throughout
- Oven drying at 100°C: Speeds process safely
- Fist-size blob preparation: Makes application manageable and consistent
- Cling film storage: Keeps prepared mixture workable
What Required Correction
- Impatient thick layers: Led to complete rebuild
- Cold mixture first attempt: Too rough for fine rock texture work
- Insufficient drying time: Internal moisture caused structural problems
For Future Projects
- Consider foam core: Lighter weight with paper pulp coating
- Plan even more drying time: Better to over-estimate than under-estimate
- Trust the process: Impatience costs more time in the long run
Status: Base construction complete - ready for rock carving
Next: Build Log #003 - Rock Cliff Formation
Timeline: Mid-November 2025
Have questions or feedback about this project? I'd love to hear from you.