Figures and Tilly - When Clay Doesn't Work
Build Log 004: Creating the Figures and Tilly the Dog
Date: February 12 - March 3, 2025
Phase: Figure Sculpting
Time Spent: ~18 hours
Status: Completed (after significant technique pivots)
The Challenge: Real People and Their Dog
After successfully building the caravan and car, I faced what I suspected would be the most challenging element: creating recognizable miniature figures of real people.
The Brief:
- Two adult figures (my son and his partner)
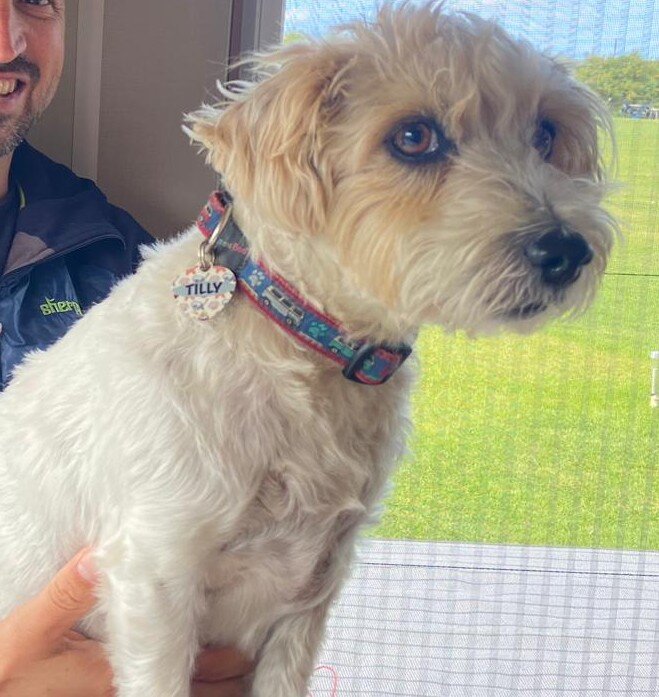
- Tilly the dog (Jack Russell Terrier mix)
- Must be recognizable as “them”
- Scale: 1:42 (making figures approximately 40-45mm tall)
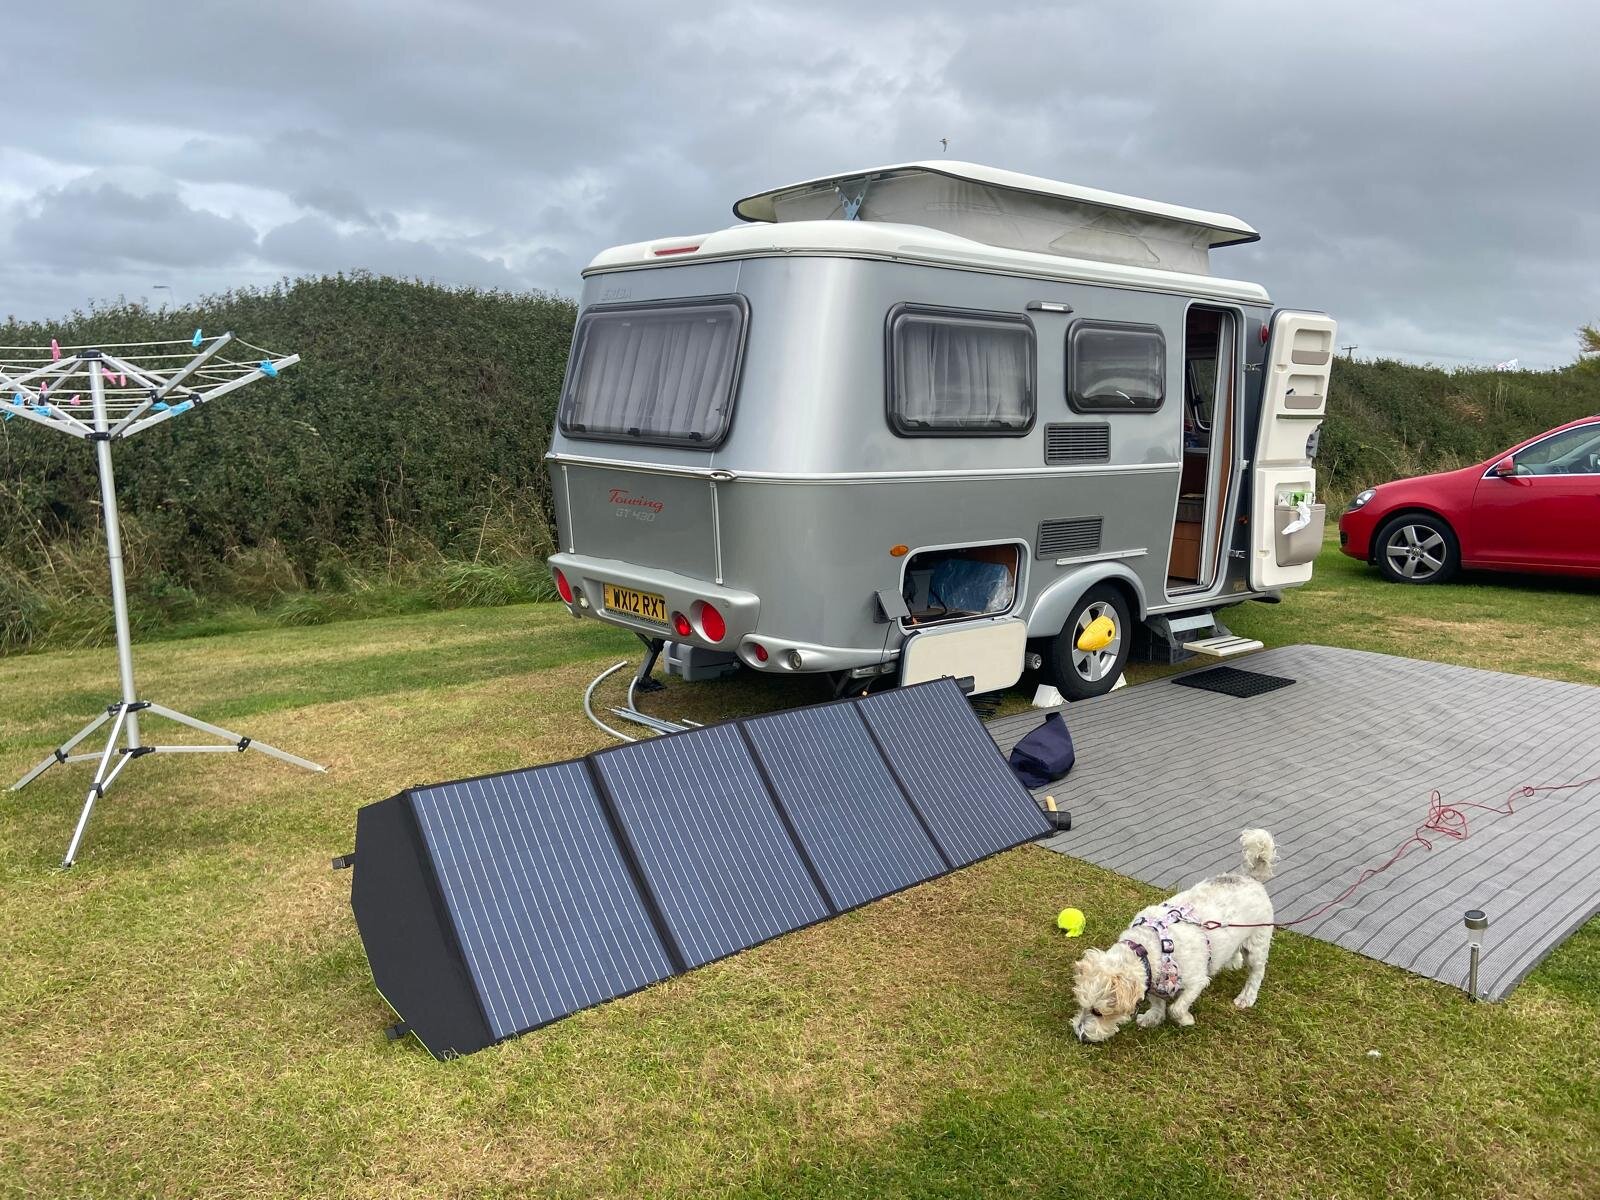
- Style: Casual outdoor clothing (riverside setting)
The problem: At 1:42 scale, human faces are roughly 3mm tall. Creating recognizable portraits at that size is… ambitious.
The realization: I needed to shift my thinking from “portrait miniatures” to “characteristic figures” - capturing pose, clothing, and overall impression rather than precise facial features.
Scale Reality Check

At 1:42 Scale:
- Average human height: ~40mm (1.7m person)
- Head height: ~5-6mm
- Face height: ~3mm
- Hand width: ~2mm
- Details like eyes: under 0.5mm
Looking at these numbers, I adjusted my expectations. I wouldn’t be creating museum-quality portrait miniatures. I’d be creating figures that captured the essence of these people - their build, their posture, their style.
Reference Photos: I studied photos of my son and his partner in outdoor settings, paying attention to:
- How they stand (posture and stance)
- Typical clothing choices
- Overall proportions
- Hair color and style
- General build (height, weight)
Attempt 1: Air-Dry Clay Figures (Spoiler: Didn’t Work)
Initial Approach:
Given my success with air-dry clay on the car, I thought it would work for figures:
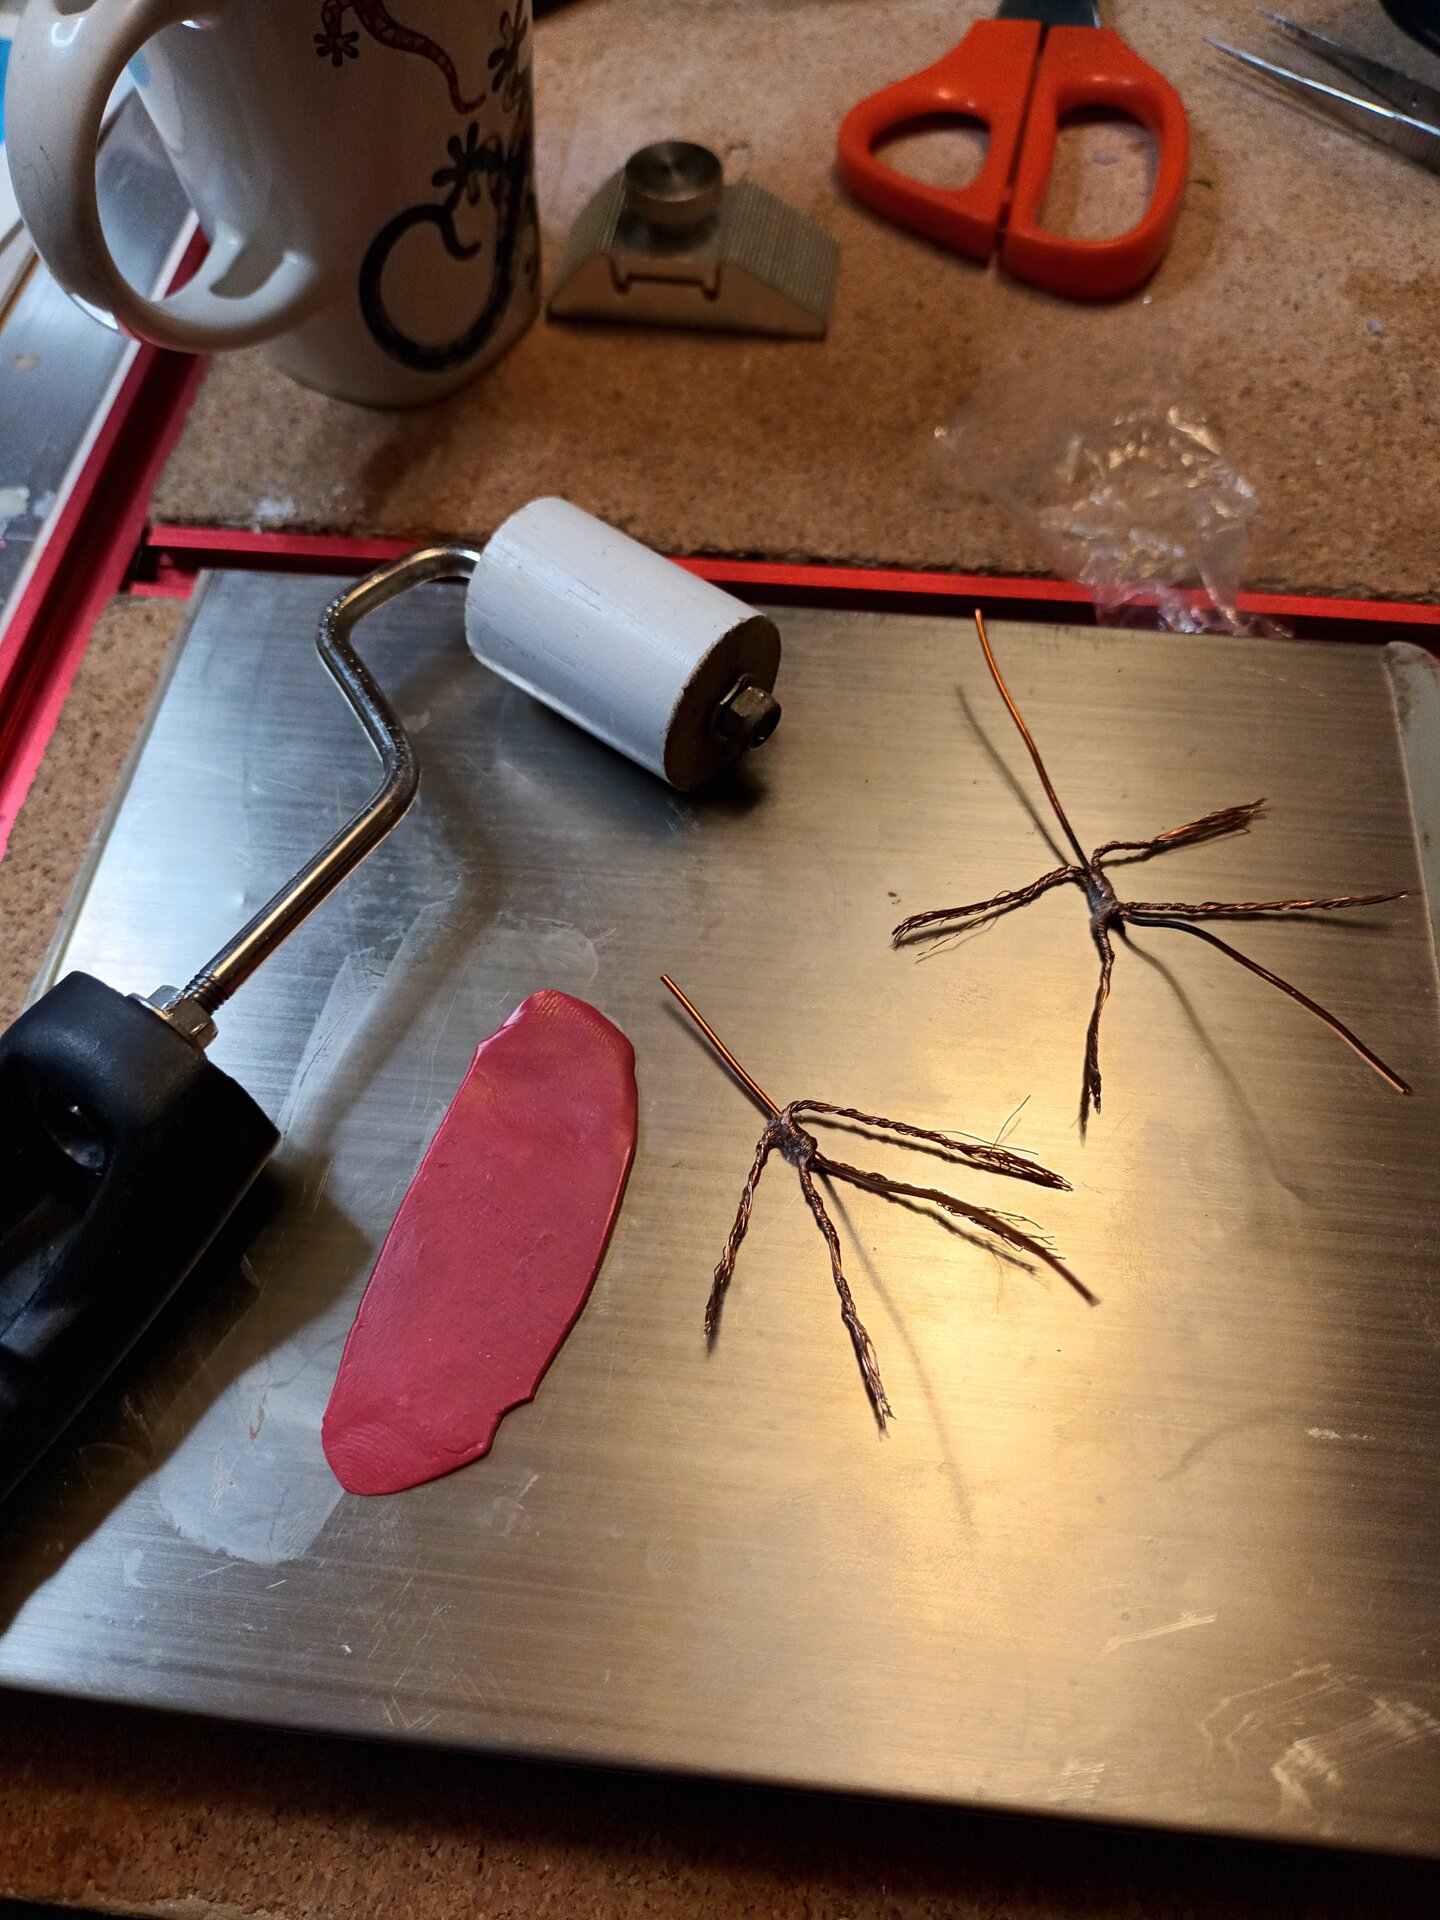
- Wire Armature:
- Twisted wire for basic skeleton
- Proportions marked for head, torso, limbs
- Stable base for standing poses
- Clay Application:
- Built up body mass around armature
- Shaped basic forms
- Attempted to create clothing folds
- Tried to define facial features
- The Problem:
What went wrong:
- Too soft for fine detail - couldn’t hold crisp edges for clothing
- Shrinkage problems - clay shrinks as it dries, distorting proportions
- Surface texture - clay’s texture fought against smooth fabric appearance
- Gravity issues - extended limbs sagged during drying
- Scale problems - at this tiny size, clay’s workability became a liability
Hours wasted: Approximately 6 hours on various clay figure attempts
Lesson learned: Materials that work at one scale or for one purpose don’t automatically work for everything. Air-dry clay was perfect for the car body. It was terrible for tiny figures.
Time to try something completely different.
Pivot: Simplified Stylized Figures
New Strategy:
Rather than fighting the material and scale to create realistic figures, I embraced a more stylized approach:
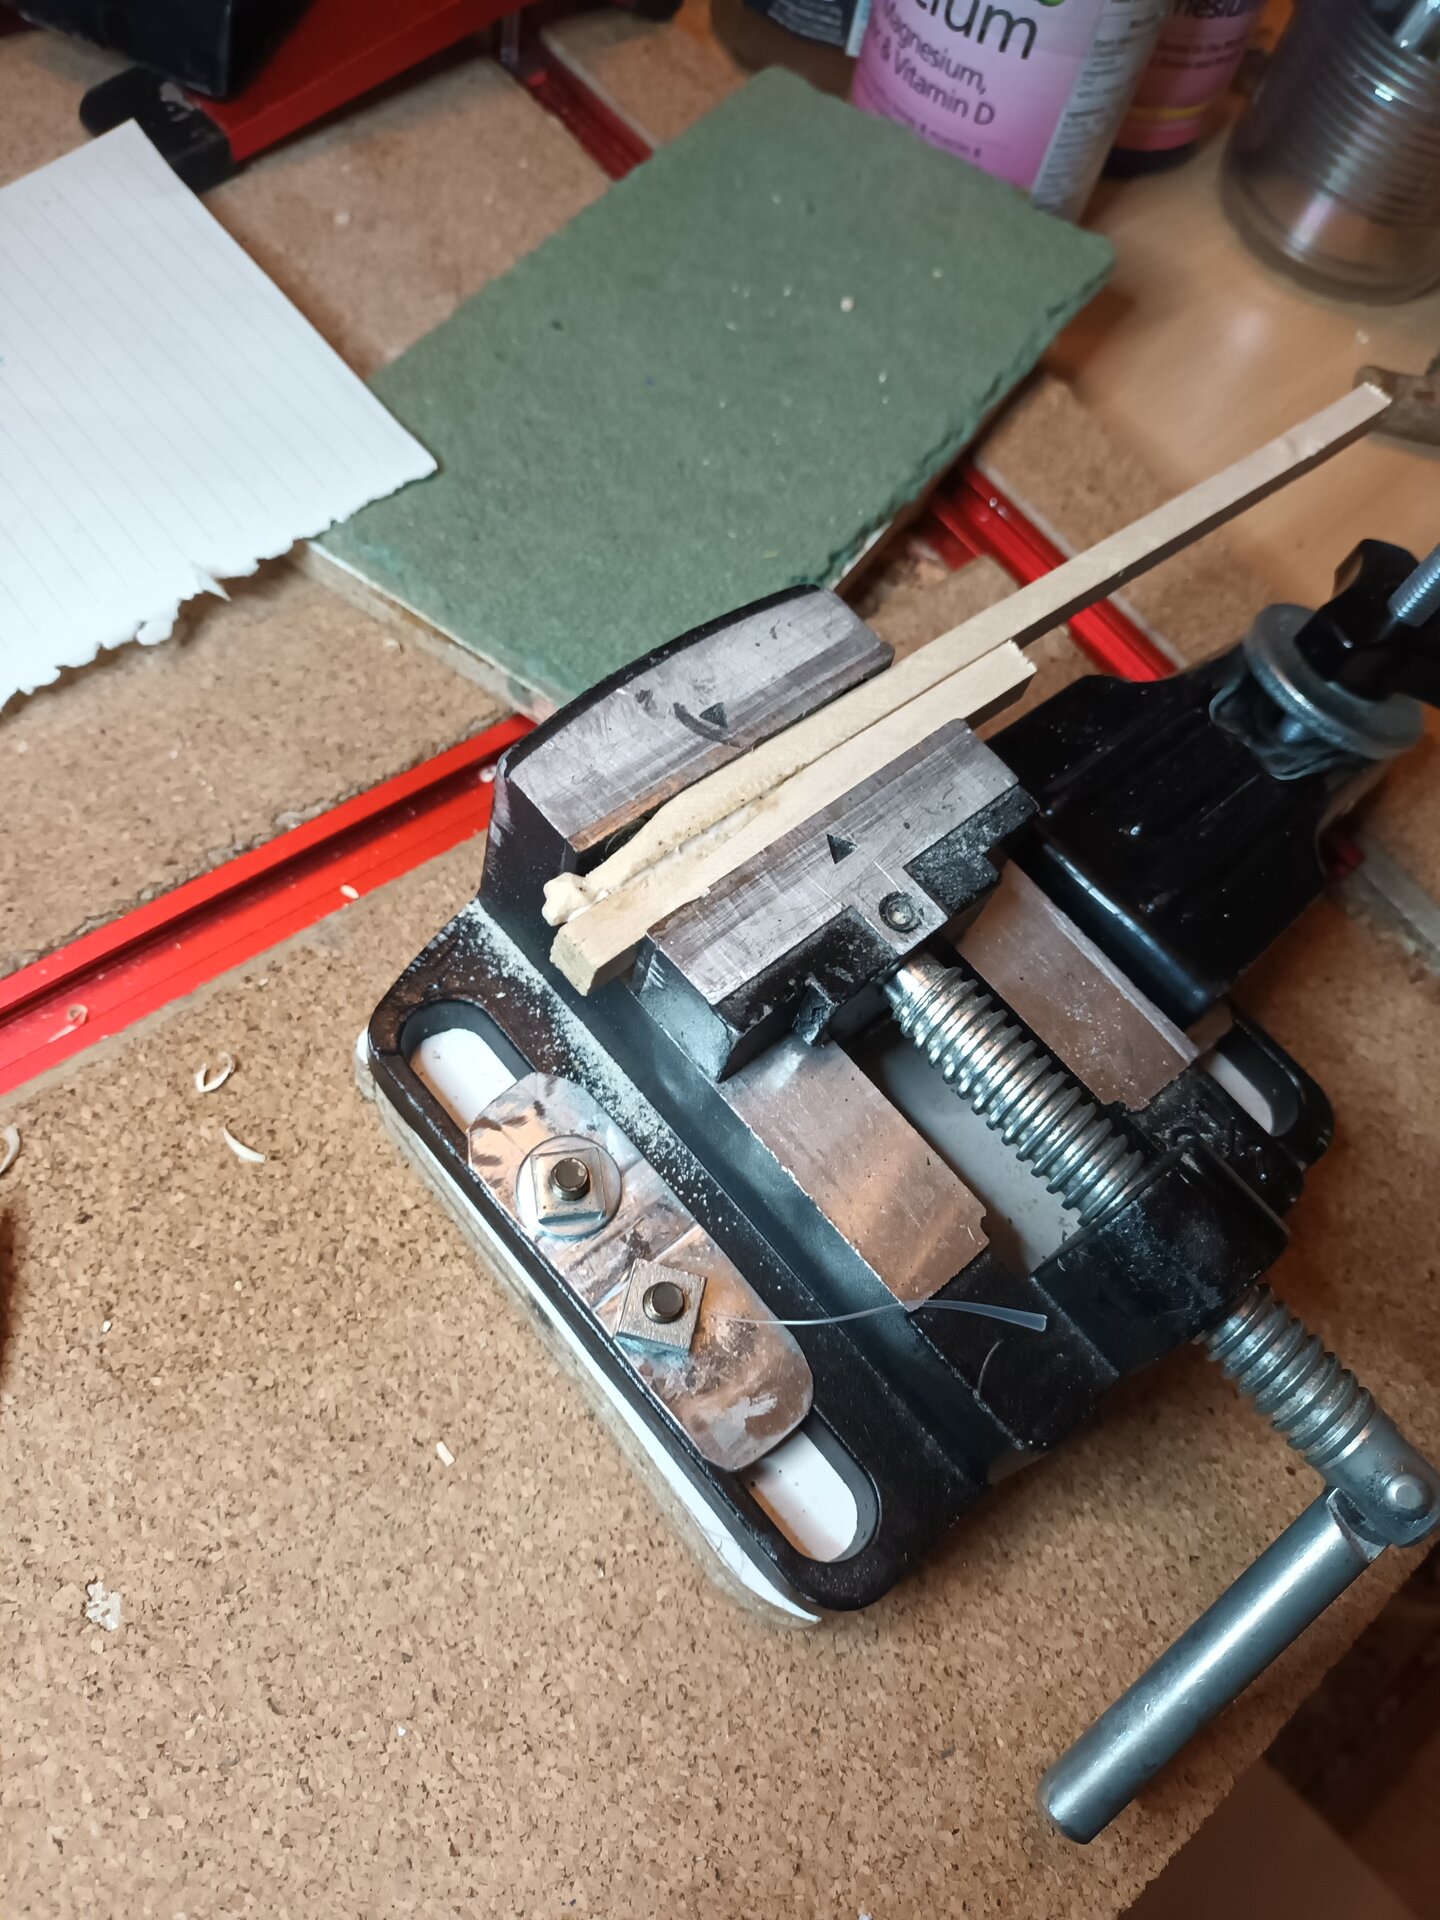
- Carved Wooden Bases:
- Started with small pieces of hardwood
- Carved basic human shapes
- Simple, solid, no fiddly wire armatures
- Let the wood grain add character
- Minimal Detail:
- Suggested features rather than detailed faces
- Paint to define clothing and hair
- Posture and proportion carry the identity
- Accepted abstraction
- Focus on “Reading” from Display Distance:
- The diorama would be viewed from 30-50cm away
- At that distance, suggestion beats precision
- Overall impression matters more than tiny detail
This was a harder mental shift than expected. I had to let go of “making it look like them” and accept “making it feel like them.”
Tilly the Dog: Discovery of Wood Carving

While struggling with the human figures, I decided to tackle Tilly. This turned into the breakthrough moment.
Why Tilly First:
- Dogs are less about facial recognition, more about breed characteristics
- Smaller scale meant even less room for clay issues
- Four legs = more structural stability challenges
- If I couldn’t make a convincing dog, forget about people
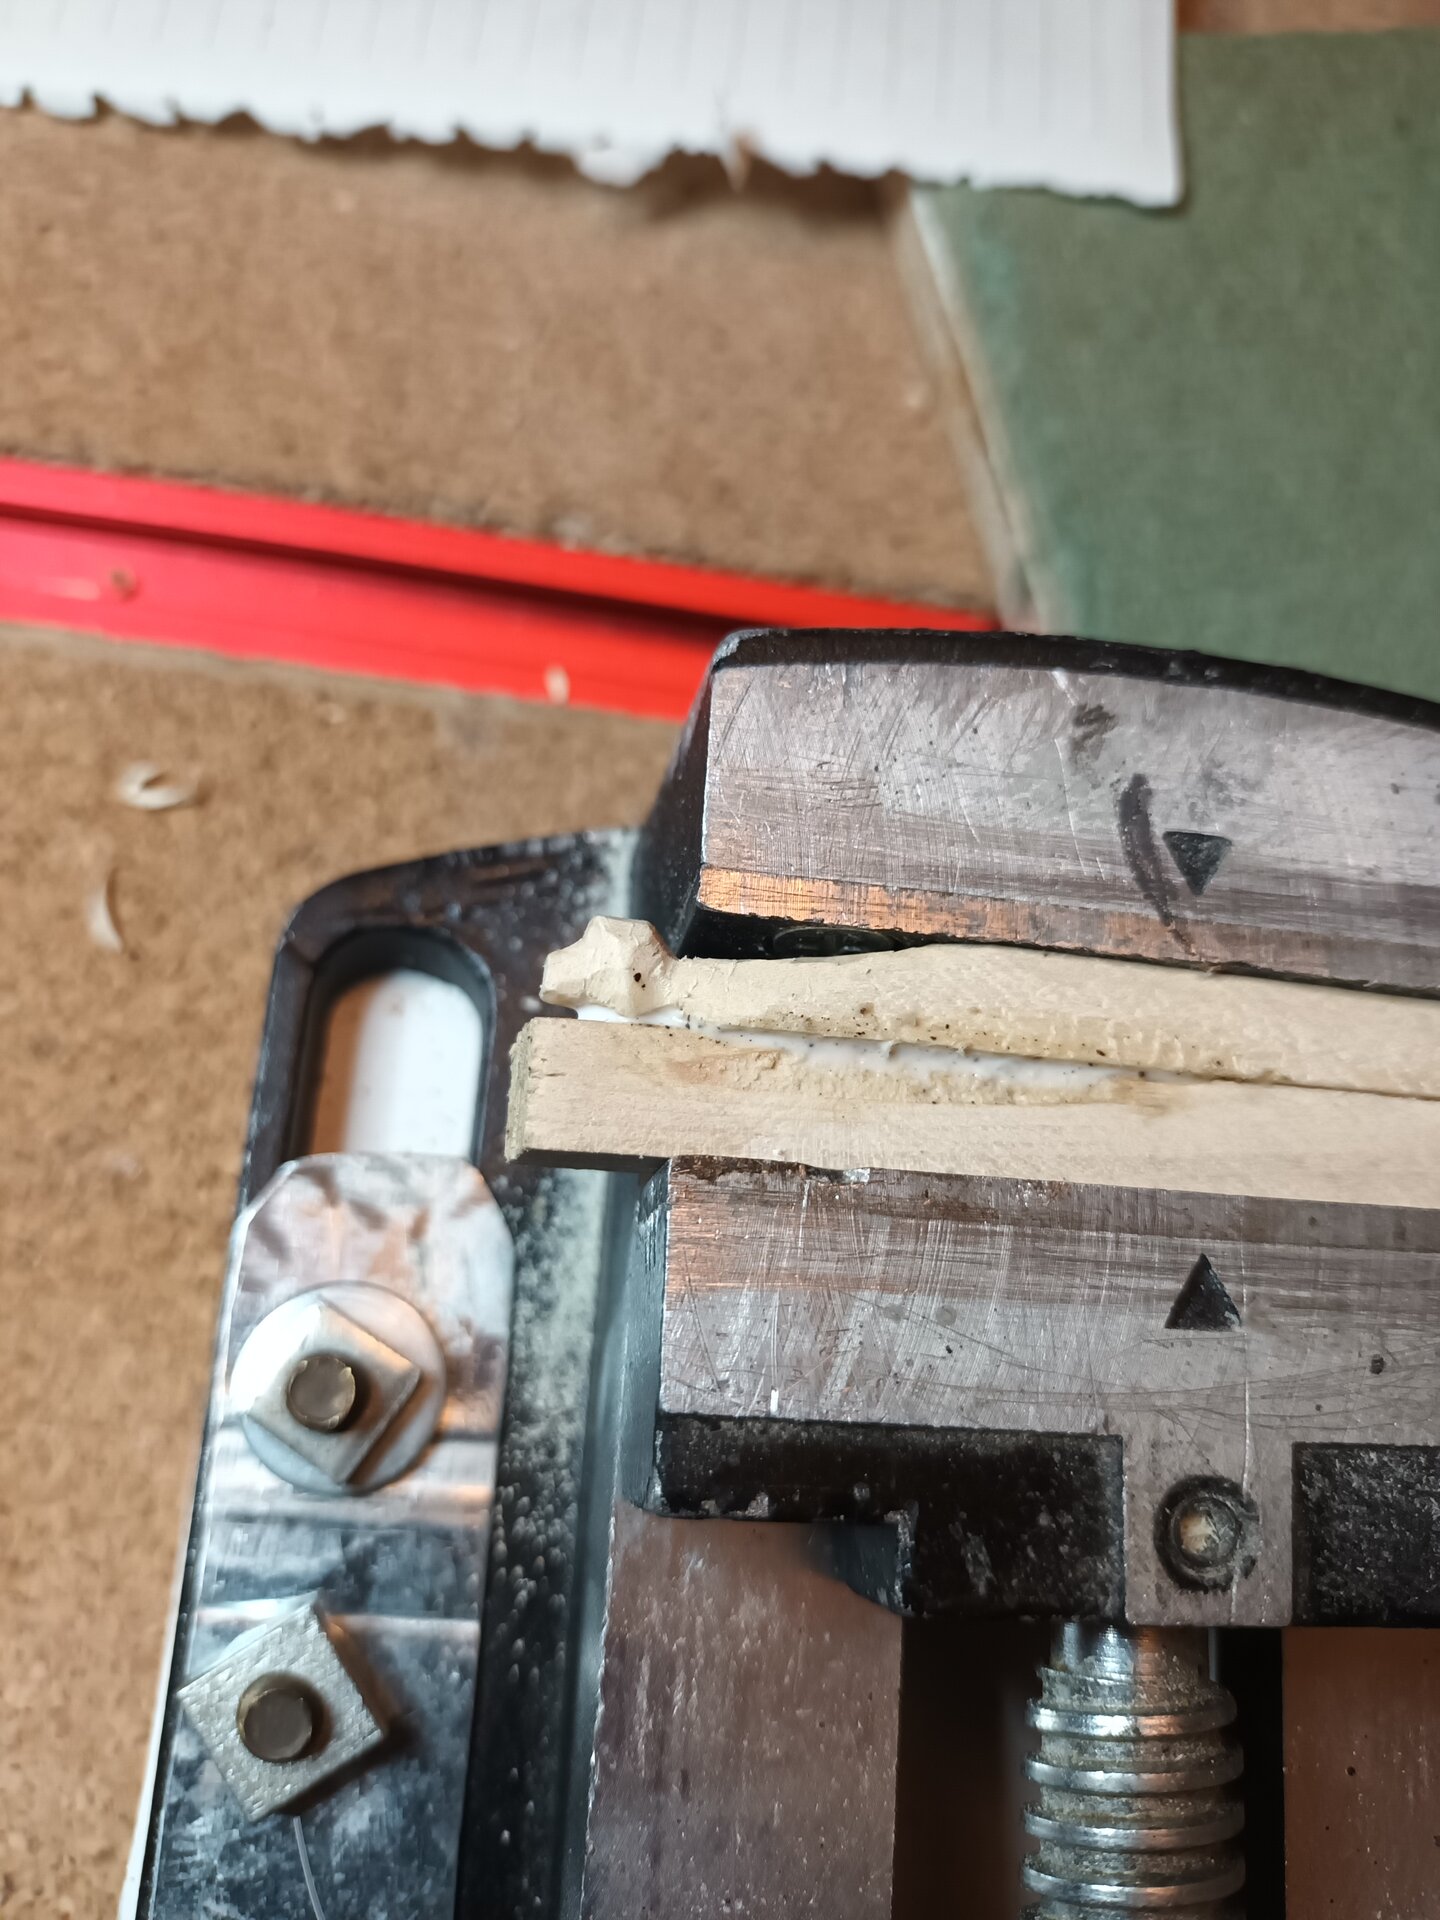
The Carving Process:
- Wood Selection:
- Light-colored hardwood (lime or basswood)
- Tight grain for fine detail
- Small block roughly 15mm x 10mm x 10mm
- Rough Shaping:
- Drew dog profile on wood block
- Cut basic shape with coping saw
- Established head, body, and leg positions
- Marked ear placement
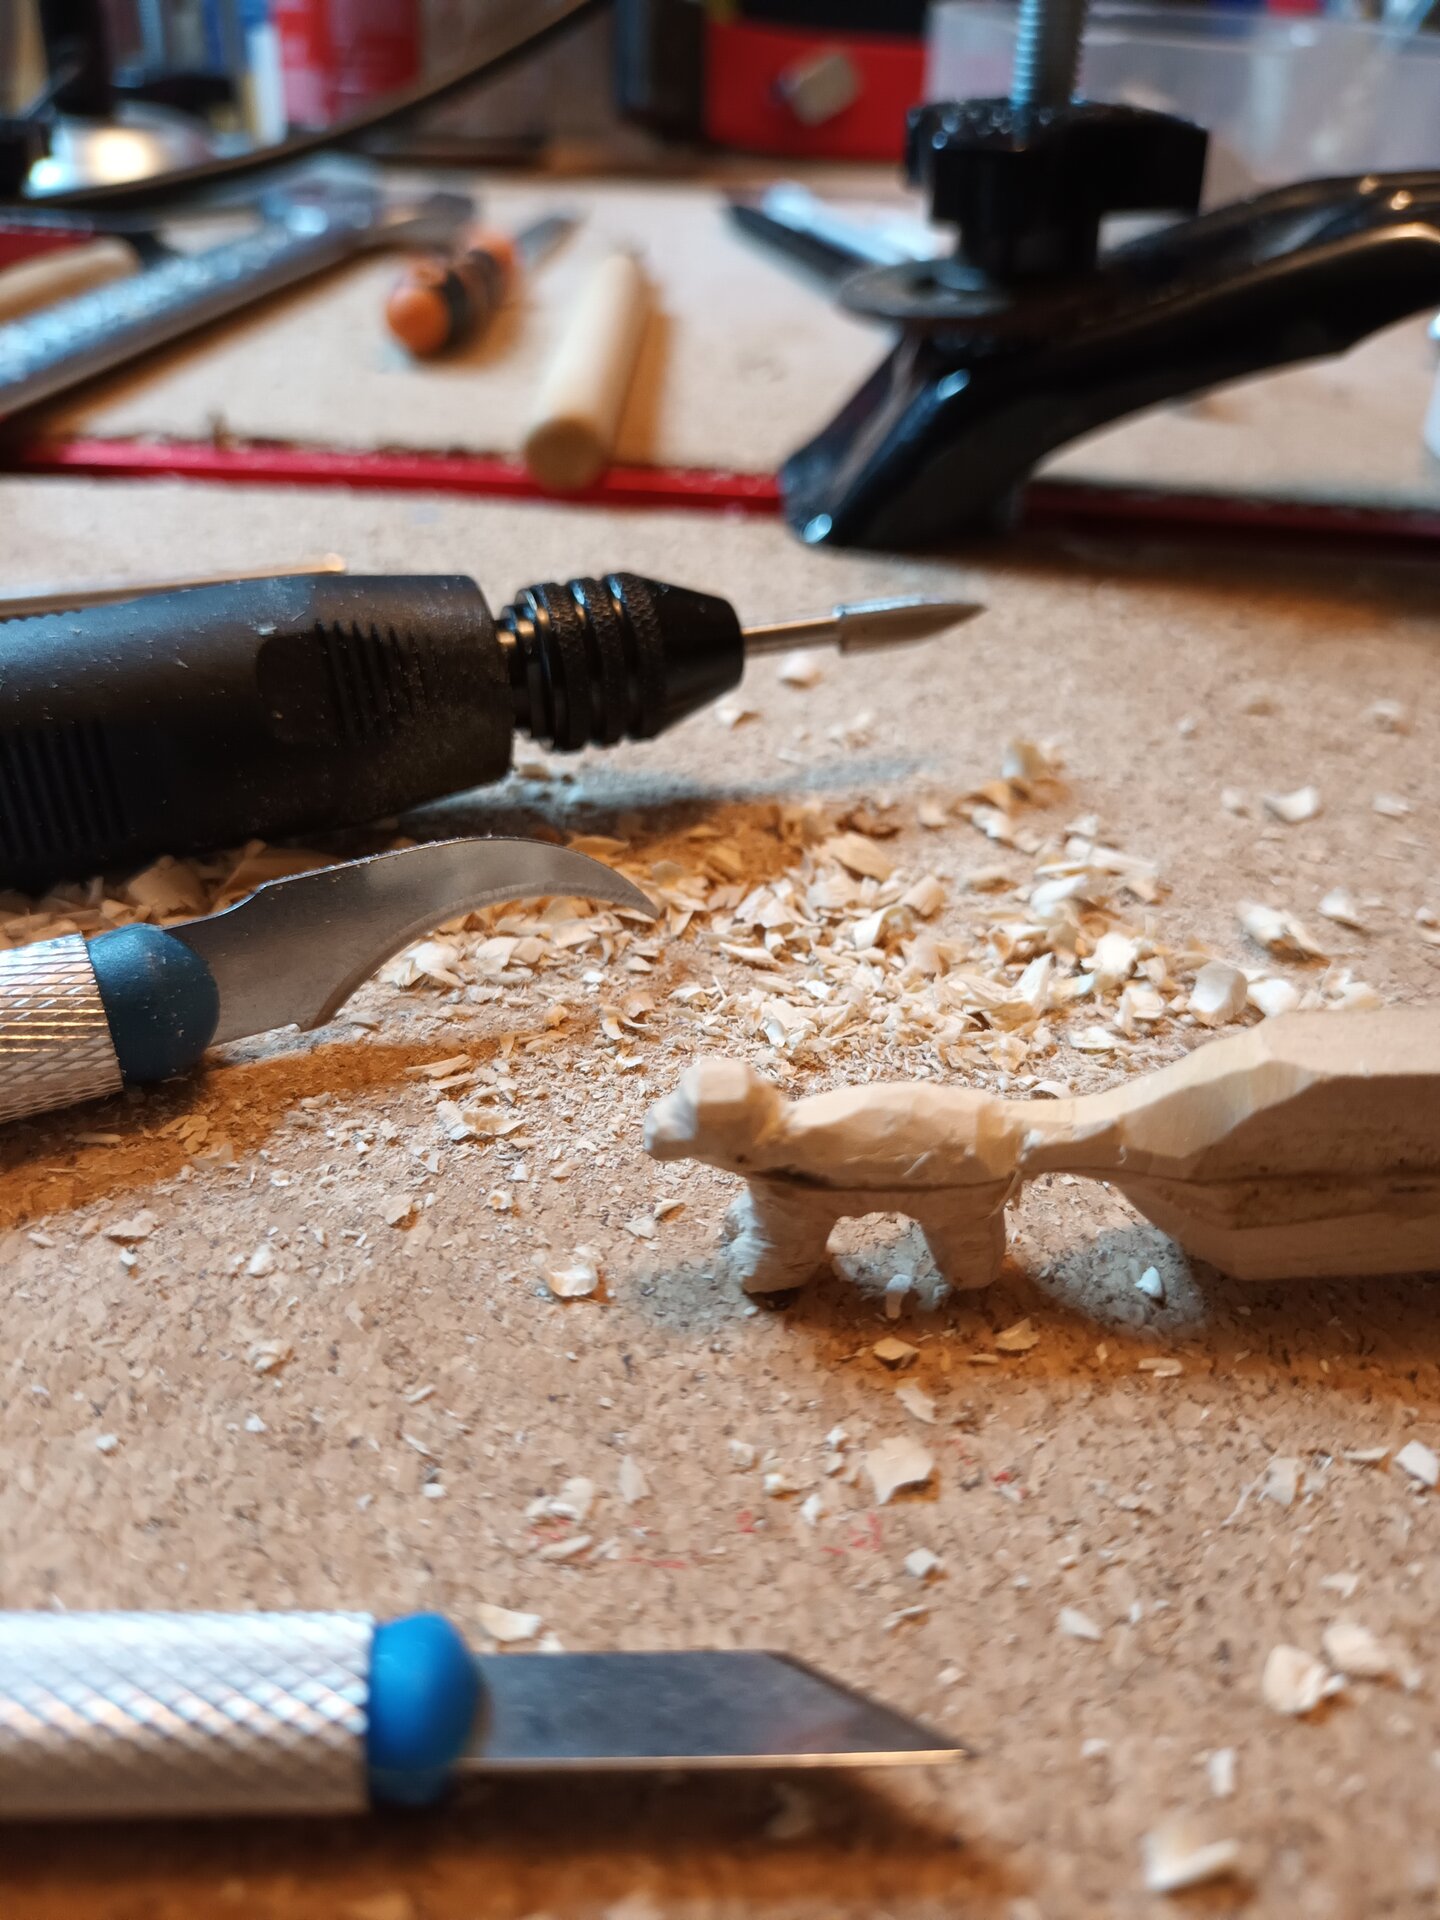
- Detail Carving:
- Used craft knife for general shaping
- Scalpel for fine details (ears, paws, tail)
- Needle files for refining curves
- Sandpaper (600 grit) for smoothing
- Defining Character:
- Tilly has distinctive perked ears (Jack Russell characteristic)
- Alert stance (head up, tail out)
- Compact body (terrier build)
- Curious expression (suggested through ear and head position)
The revelation: Wood carving worked BEAUTIFULLY at this scale. The material held crisp edges. No shrinkage. No sagging. Details stayed where I put them.
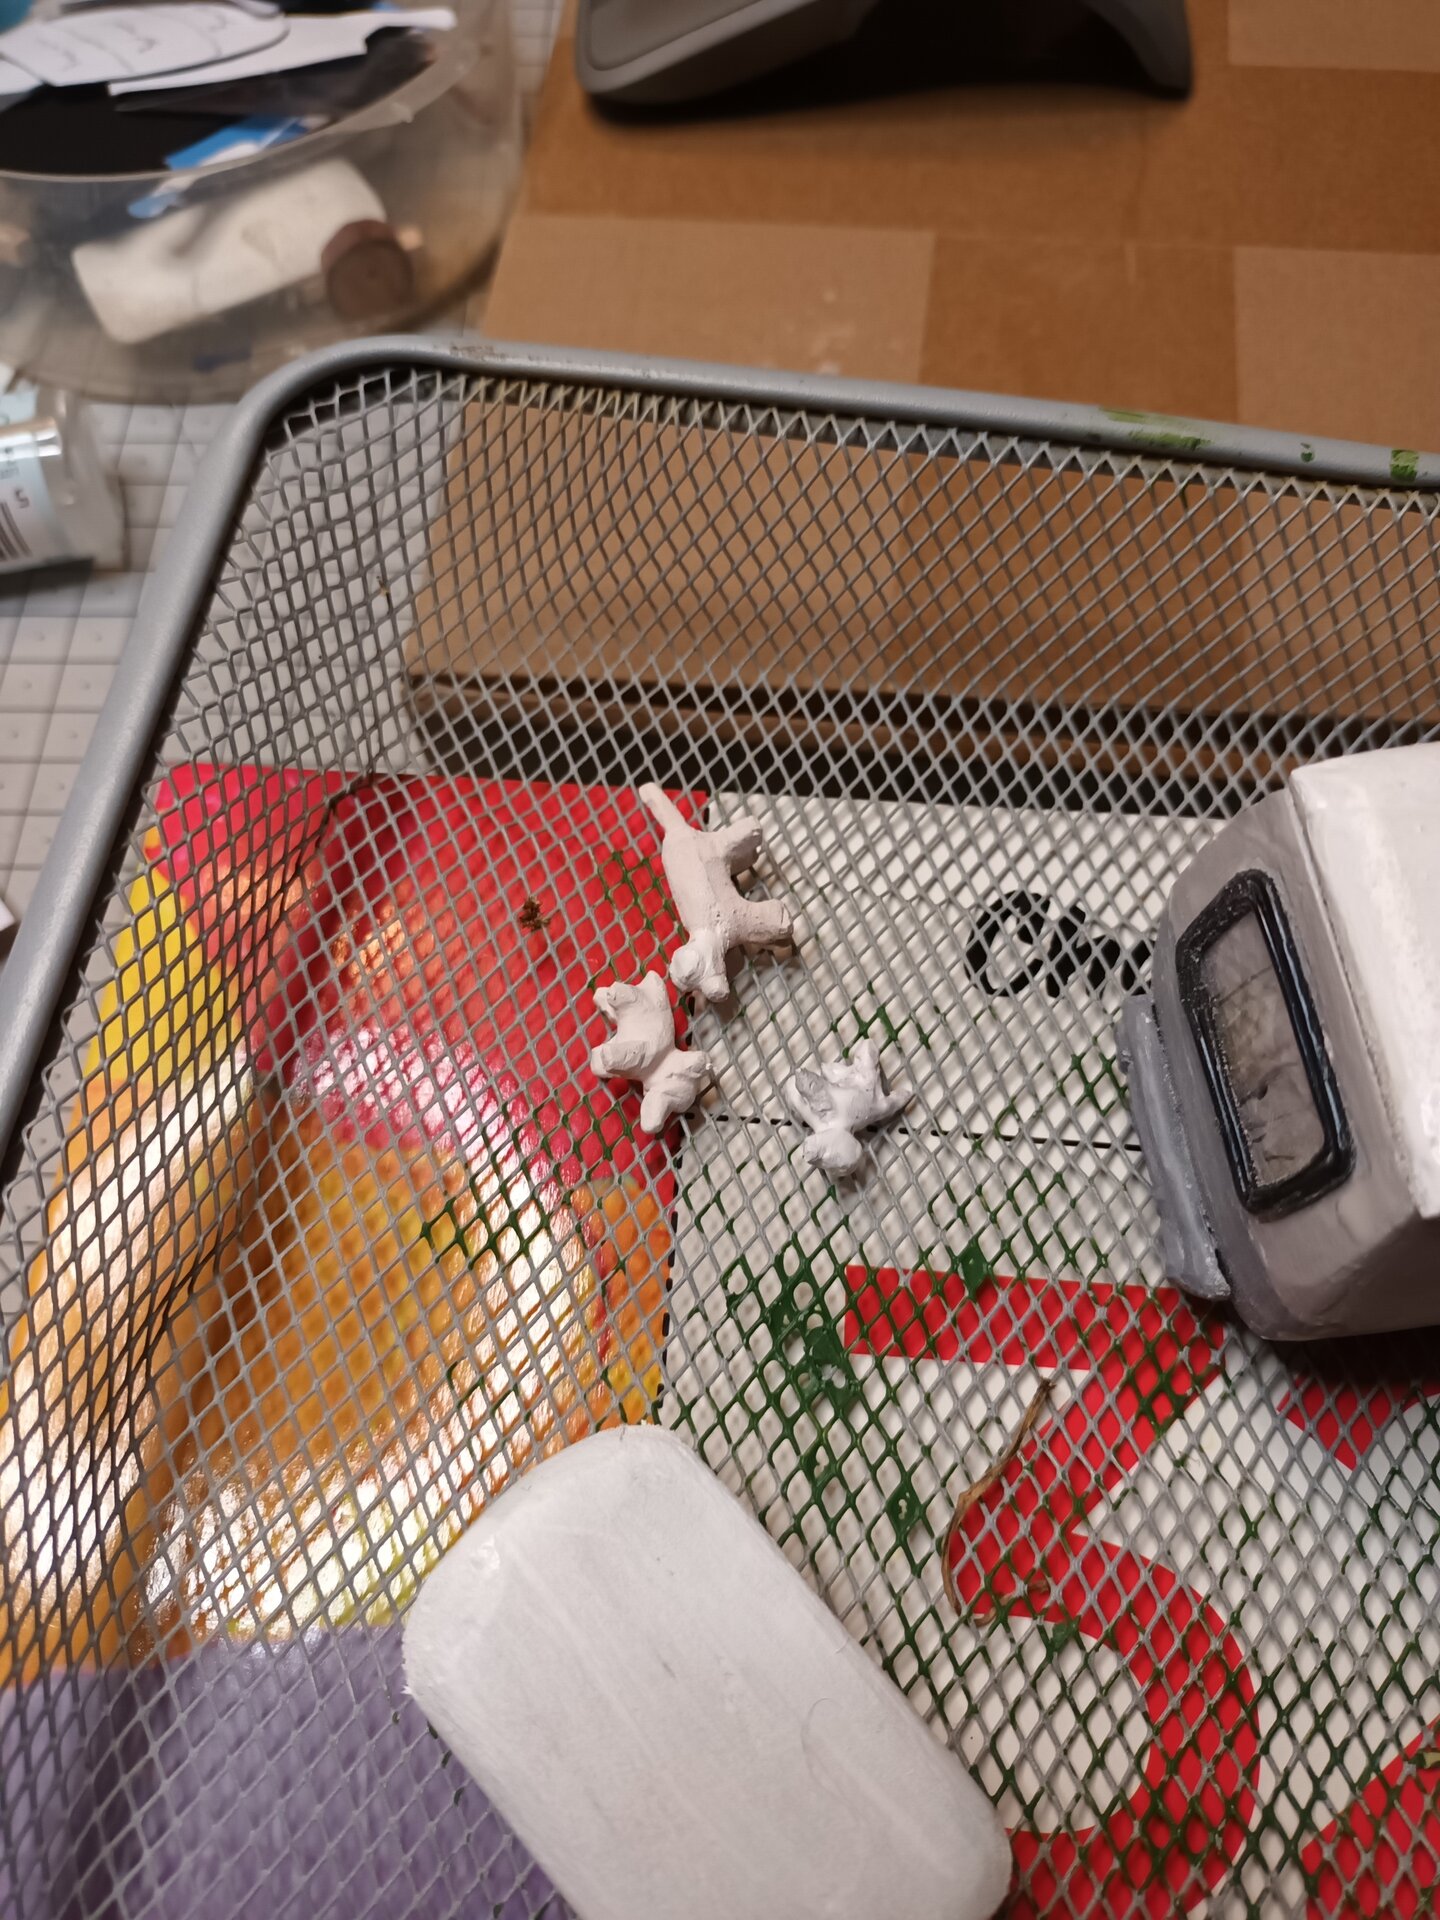
Painting Tilly

Paint Process:
- Base Coat:
- White for body (Jack Russell base color)
- Thin coats to preserve carved detail
- Markings:
- Brown patches (head, ears, body spots)
- Reference photos showed Tilly’s specific pattern
- Irregular shapes (realistic dog markings)
- Details:
- Black nose (tiny dot, but crucial)
- Dark eyes (suggested, not detailed)
- Pink tongue (just visible in mouth)
- Paw pad details (barely visible but adds realism)
- Finish:
- Matte varnish (dogs aren’t shiny)
- Selective gloss on nose (wet nose effect)
Client reaction later: “That’s definitely Tilly! You got her ears perfect!”
Success! If I could make a recognizable 10mm dog, I could make acceptable 40mm people.
Human Figures: Applying the Wood Carving Technique
Process for Each Figure:
- Basic Shape:
- Rectangular wood block (~45mm tall)
- Carved to basic human silhouette
- Head (1/7 of total height)
- Torso (3/7)
- Legs (3/7)
- Posture:
- Male figure: Standing, hands in pockets (casual, relaxed)
- Female figure: Arms at sides, slight hip lean (natural stance)
- Both figures: Weight distribution showing life, not rigid
- Minimal Detail Carving:
- Separated legs (gap between)
- Suggested arms (not fully carved free)
- Head angle and tilt
- Overall body proportions
- Let Paint Do the Work:
- Clothing details through color
- Hair through paint and shape
- Facial features barely suggested
- Focus on overall impression
Painting the Figures

Male Figure (Son):
- Clothing: Jeans (blue), casual jacket (green), walking boots (brown)
- Hair: Dark brown, suggested texture
- Build: Taller, broader shoulders
- Pose: Relaxed, hands in pockets
Female Figure (Partner):
- Clothing: Dark trousers, light top, waterproof jacket, walking boots
- Hair: Light brown/blonde, shoulder length
- Build: More petite proportions
- Pose: Natural stance, arms at sides
Paint Technique:
- Thin layers - preserved carved details
- Distinct color blocks - defined clothing pieces
- No blending - crisp separations read better at scale
- Flesh tones - minimal, mostly hands and face
- Faces - suggested features (eyes as dark dots, that’s it)
- Matte finish - realistic fabric appearance
The “Does It Look Like Them?” Question
This was the anxious moment. At this scale, with this level of stylization, would they be recognizable?
What makes them “them”:
- ✅ Correct relative heights (he’s taller)
- ✅ Correct relative builds (his broader, hers more petite)
- ✅ Correct clothing colors (from reference photos)
- ✅ Characteristic stances (his relaxed, hers naturally posed)
- ✅ Hair colors approximately right
- ✅ Together with their actual dog
What doesn’t look like them:
- ❌ No actual facial likenesses
- ❌ Simplified body forms
- ❌ Stylized overall approach
The client’s reaction: “I can totally see us in those! Especially with Tilly - that makes it obvious it’s us.”
Relief. They didn’t need portrait miniatures. They needed figures that represented them as a couple with their dog, in a Welsh riverside scene. Mission accomplished.
Scale Check and Integration
Placing the figures with the completed car and caravan confirmed the scale relationships:
Proportions:
- Figures stand naturally next to car (not too big or small)
- Tilly’s size works with human figures
- Caravan door height suggests they could enter
- Overall scene reads as coherent scale
Composition Notes:
- Figures would be positioned interacting with scene
- Tilly near couple (dogs stay close to owners)
- Casual riverside moment (not posed, just being)
The diorama was starting to come alive with inhabitants.
Skills Developed
New Skills:
- Wood carving for miniature figures
- Stylized figure approaches (letting go of realism)
- Carving dog anatomy at tiny scale
- Using paint to define forms carved simply
Failed Skills (But Learned From):
- Air-dry clay for tiny figures (doesn’t work at this scale)
- Portrait miniatures (beyond current skill level and scale limitations)
Important Lessons:
- Material suitability changes with scale and subject
- Stylization is not failure, it’s strategic choice
- Suggestion beats precision at viewing distance
- Dogs are easier than people (fewer expectations)
- Client recognition comes from overall impression, not detail
Confidence Gain: Successfully pivoting from failing technique to working technique without giving up.
Materials Used
Successful Approach:
- Basswood/lime hardwood (light colored, tight grain)
- Craft knife (general carving)
- Scalpel (fine details)
- Needle files (refining)
- Sandpaper (600-1000 grit smoothing)
- Acrylic paints (clothing, hair, details)
- Matte varnish (protection and finish)
Failed Approach (But Worth Listing):
- Air-dry clay (6 hours wasted, lesson learned)
- Wire armatures (for clay figures that didn’t work)
Time Investment:
- Failed clay attempts: ~6 hours
- Successful wood carving: ~12 hours
- Total: ~18 hours
The Dog Tax
In any project involving pets, the pet becomes the star. This proved true here.
Tilly Facts:
- Smallest element in diorama (~10mm long)
- Took longest to get right (3 attempts)
- Generated most client excitement
- Most photographed element during build
- Proves that dogs make everything better
Lesson: In commissioned work featuring someone’s pet, get the pet right first. Everything else becomes easier once you’ve nailed what they care about most.
Reflections
What Worked:
- Embracing stylization over failed realism
- Wood carving for crisp details at small scale
- Making Tilly first (confidence builder)
- Accepting “reads as them” over “looks exactly like them”
What Didn’t Work:
- Air-dry clay for figures (wrong material for this scale)
- Attempting realistic portrait features (wrong approach for this scale)
- Fighting the material instead of changing technique earlier
What I’d Do Differently:
- Try wood carving first, skip the clay attempts
- Accept stylization sooner
- Take more in-progress photos (forgot in the frustration)
- Practice figure carving before the commissioned piece
Key Insight: Different elements of a project may require completely different materials and techniques. The material that worked perfectly for the car was wrong for figures. Being willing to abandon failing approaches and try something new is crucial.
The Completed Group
With the figures complete, all the main components were done:
- ✅ Eriba Triton caravan
- ✅ VW Golf R Estate
- ✅ Two human figures
- ✅ Tilly the dog
Time to build the world around them: the Welsh riverside scene with trees, rocks, grass, and flowing water.
Next Steps
The figures gave life to the scene. Now I needed to create the environment: the riverside setting in Wales with native plants, trees, rocky banks, and water effects.
This would involve entirely new techniques: miniature tree construction, static grass application, and resin water effects.
Coming in Build Log 005: Scenery and Layout - Building trees, researching Welsh plants, and fitting everything into space constraints.
Materials Cost This Phase: ~£12
Time Spent: 18 hours (6 wasted on clay, 12 productive on wood)
Failed Attempts: Multiple clay figures (all scrapped)
Successful Technique: Wood carving
Client’s Favorite Element: Tilly (obviously)
Lesson Learned: Right material matters more than skill level
Previous: 003 - Car Construction
Next: 005 - Scenery and Layout
Have questions or feedback about this project? I'd love to hear from you.