The Reality Behind These Techniques
I started this modeling journey from absolute zero just a few years ago as part of my retirement. After a 50-year career that was very far removed from hands-on craft work, everything you see documented here has been built up through experimentation, research, trial and error, and countless “let’s try this and see what happens” moments.
This isn’t a collection of perfect professional techniques. Far from it. These are the methods I’ve stumbled upon, adapted, sometimes failed at, and occasionally gotten right. There are undoubtedly better ways to do most of these things. Many people in this hobby work at far more professional standards and should be incredibly proud of what they achieve.
So why document these techniques? Because this site isn’t primarily about impressing others—it’s about capturing real life and creating a memory bank to look back on this journey. It’s about remembering what I tried, what worked, what didn’t, and how each project taught me something new. If sharing this messy, imperfect, very human learning process helps someone else on their own journey, that’s a wonderful bonus.
What you’ll find here:
- Honest documentation of what I actually did (not what I “should” have done)
- Both successes and failures (the failures often teach more)
- Workarounds when I couldn’t find the “proper” materials or tools
- Techniques that evolved across multiple projects
- The reality that sometimes “good enough” beats “perfect but never finished”
If you’re looking for professional-grade tutorials, there are many excellent resources out there. But if you want to see what a complete beginner can learn through determination, experimentation, and accepting that mistakes are part of the process—welcome. Let’s learn together.
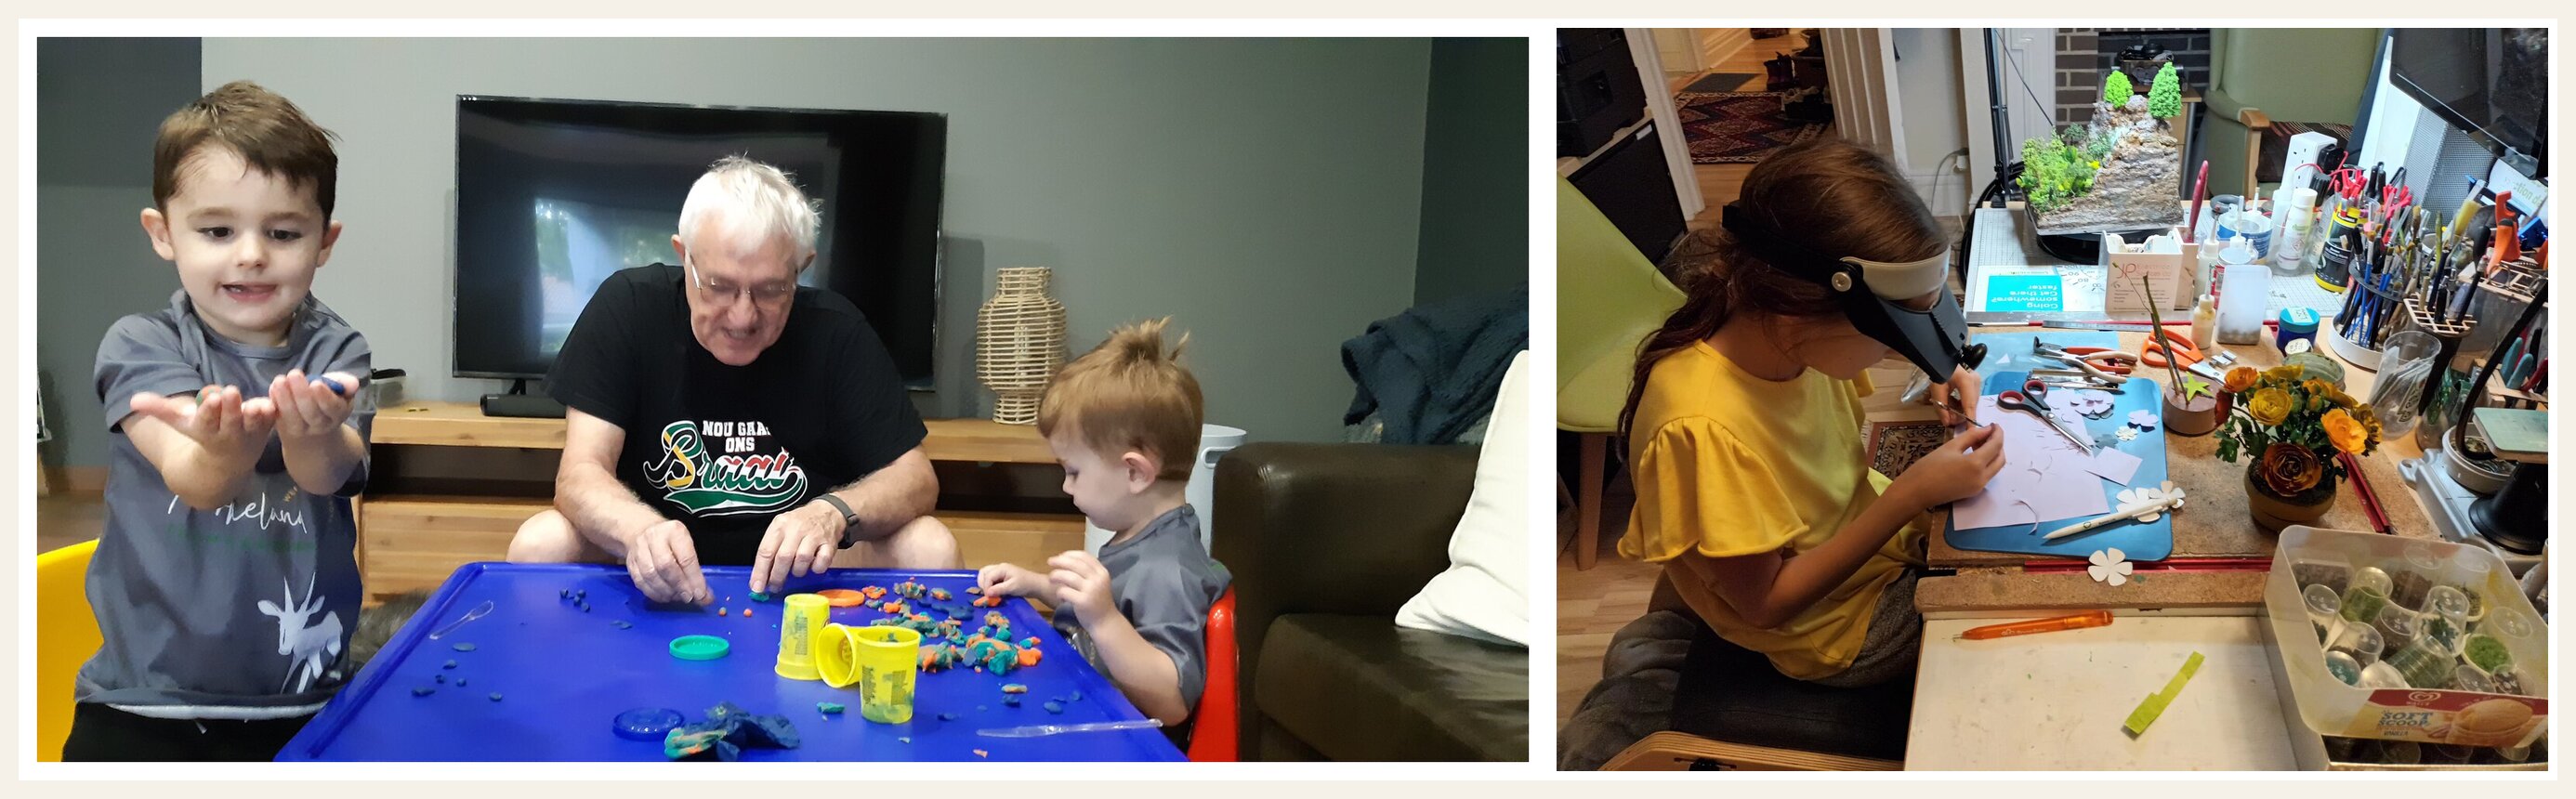
It gives me great joy to inspire the next generation and let them use my tools. Watching young hands discover the satisfaction of creating something, learning to be patient with the process, and seeing their confidence grow—this might be one of the most rewarding parts of the whole journey.
Techniques by Area
🌿 Plants & Flowers
Building miniature plants from scratch—one of the most challenging but rewarding aspects of dioramas. Each flower and tree represents trial, error, and gradual improvement.
What I’ve Learned:
- Copper wire tree construction (still improving with each build)
- Paper flower creation (multiple methods, some work better than others)
- Static grass application (DIY applicator that actually works)
- Leaf creation techniques (stencils, punches, hand-cut)
- Sawdust cluster flowers (surprisingly effective)
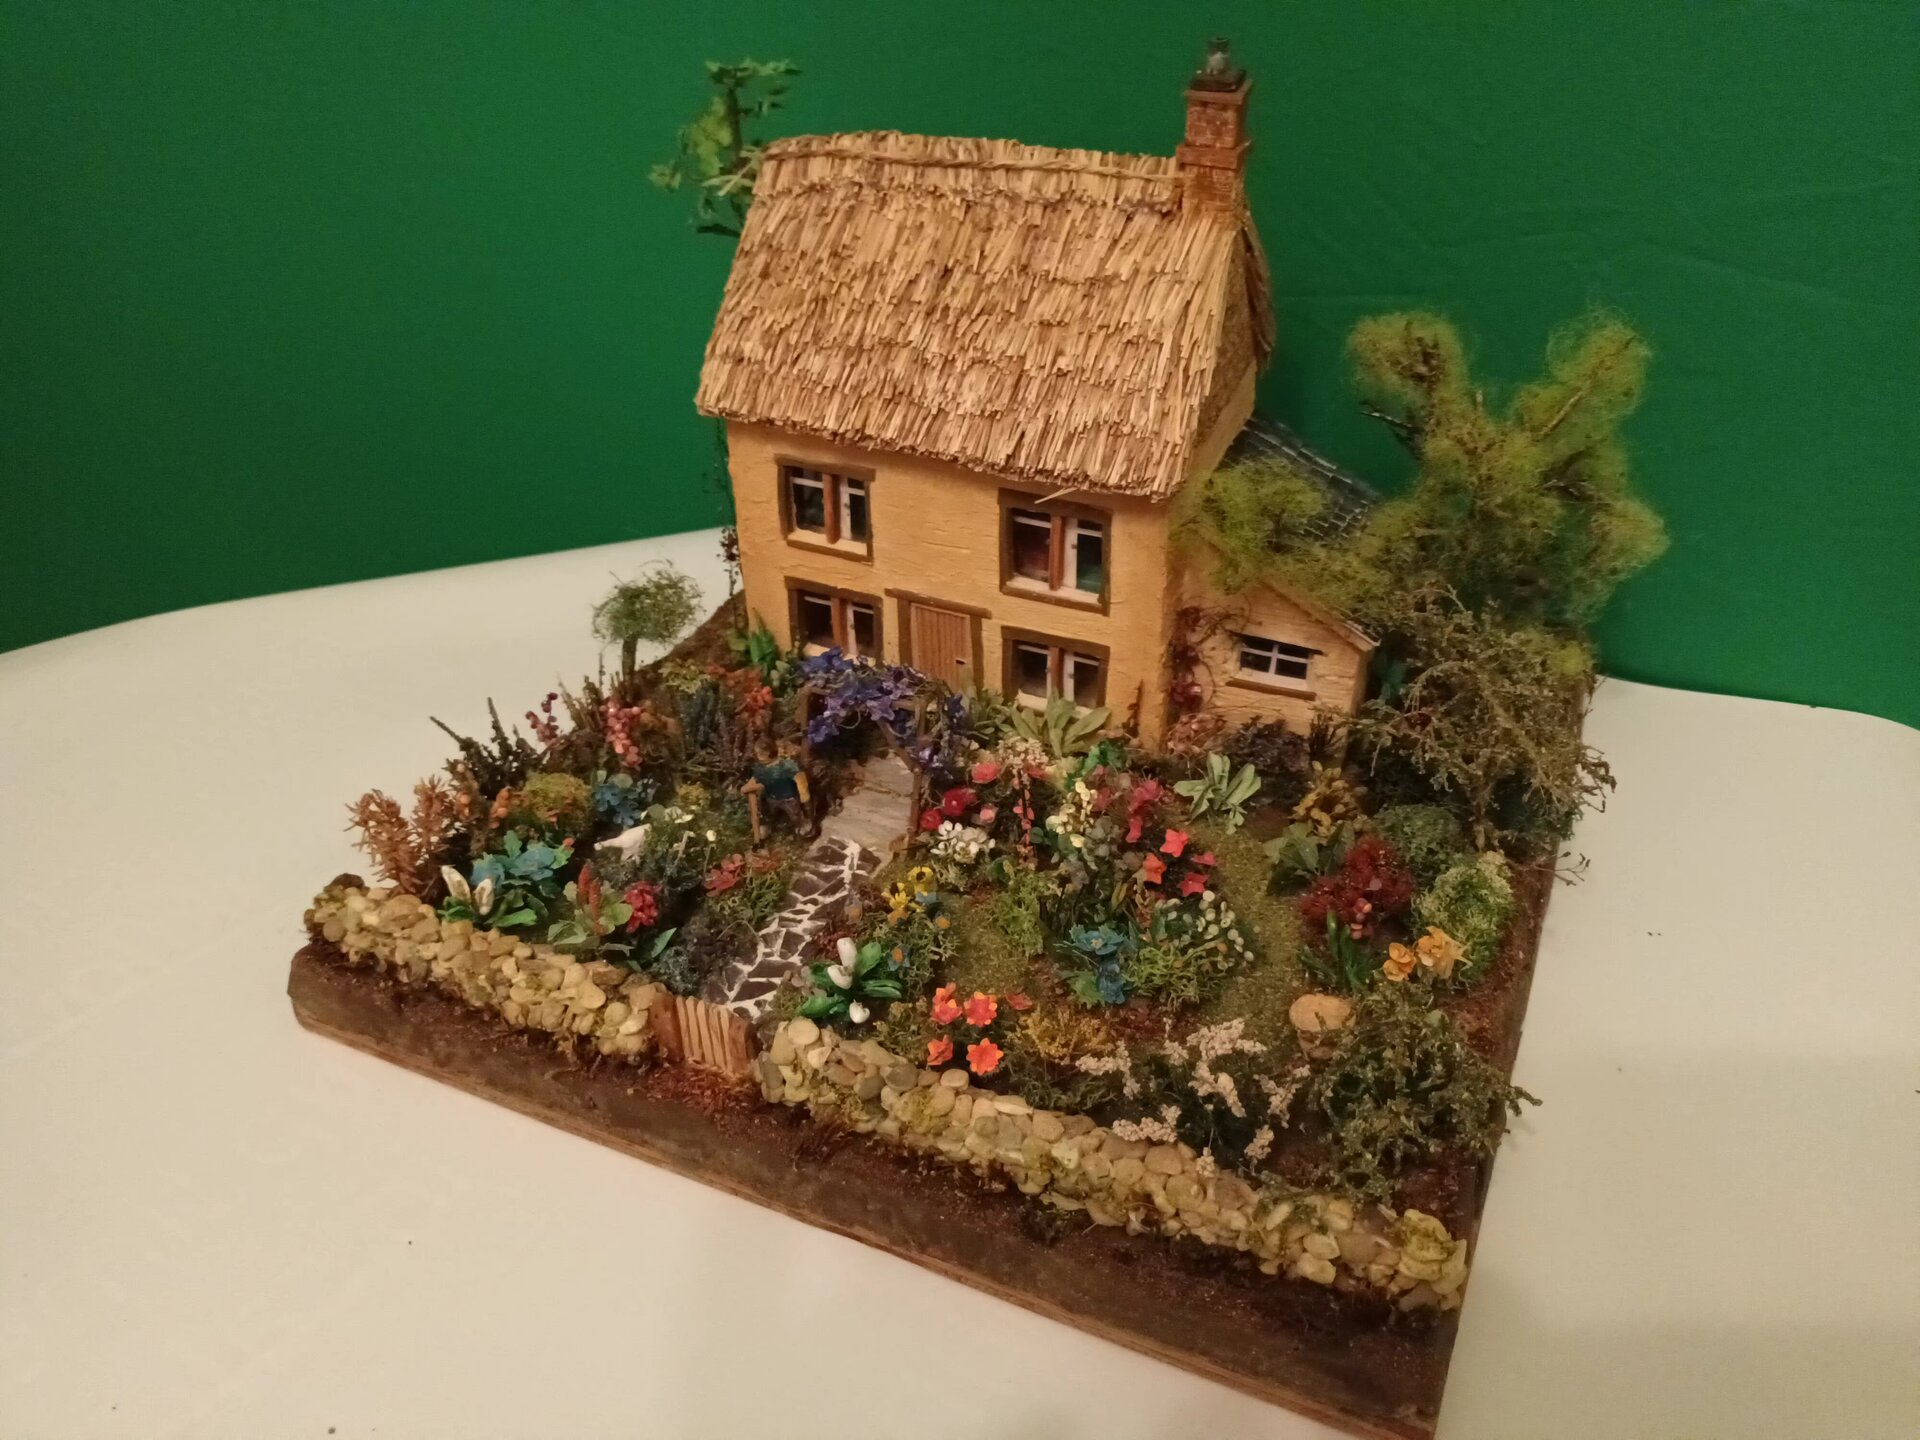
Projects Using These: English Country Garden (100+ plants), Traditional English Cottage (40+ plants), Log Cabin
Documentation Status: Many techniques documented in build logs; detailed technique pages coming as I use them in future projects.
🏠 Building & Structures
Creating miniature buildings from scratch without formal plans—learning as I go, measuring and adjusting constantly.
What I’ve Figured Out:
- Wood frame construction with paper cladding
- Wall texturing (flint stones with modelling paste, brick patterns)
- Multi-layer window fabrication (up to 7 layers, learned the hard way)
- Door construction and detailing
- Roof techniques (shingles, thatch, paper tiles)
- Chimney building (epoxy putty first, air-dry clay later)
Projects Using These: Traditional English Cottage, English Country Garden cottage, Log Cabin, SS Great Britain
My Learning Curve: First attempts were rough. Windows in the cottage project are much better than early tries. Still learning but getting there.
🚗 Vehicles & Transportation
Vehicle building was completely new territory—never imagined I’d be sculpting car bodies from clay.
What I Discovered:
- Air-dry clay for vehicle bodies (game-changer after struggling with epoxy putty)
- Creating curved surfaces (caravan taught me a lot)
- Windows and transparent details
- Wheel construction techniques
- Paint finishes and weathering for vehicles
Projects Using These: Caravaning (Eriba caravan and VW Golf Estate—both first-time attempts)
Honest Assessment: Not perfect, but I learned you can build vehicles from scratch even with zero experience. The car took three major reworks.
👤 Figures & Sculpting
Figure making has been one of the most challenging areas—proportions at miniature scale are brutally unforgiving.
What I’ve Attempted:
- Wire armatures (the breakthrough that made figures possible)
- Air-dry clay sculpting (better than my epoxy putty disasters)
- Custom tools (figure holder to avoid squashing wet clay)
- Proportions at different scales (still struggling with faces)
- Painting miniature figures (paint flaking was a problem)
Projects Using These: Bamboo River Lookout (girl figure), Caravaning (family and dog Tilly)
Reality Check: Faces are still a challenge. Dog Tilly was my best figure work so far—sometimes animals are easier than people.
🏞️ Landscapes & Terrain
Base and landscape building—where every project starts and where I’ve learned the most about texturing and materials.
What Works for Me:
- Base construction (using whatever’s available—even tree planks from the garden)
- Terrain texturing with homemade clay (flour, water, glue, vinegar)
- Roads and paths (crushed Welsh slate, sifted sand)
- Water effects (still experimenting—resin, varnish, paint techniques)
- Multi-level layouts (learning to think in layers)
- Static grass lawns (DIY applicator saved hundreds)
Projects Using These: All projects—landscapes are fundamental
Evolution: Compare early projects to recent ones—the techniques keep improving. Zoning approach for landscaping (Traditional English Cottage) worked much better than trying to do everything at once.
🎨 Finishing & Weathering
Making things look real rather than toy-like—the difference between “built” and “finished.”
Techniques I Use:
- Dry brushing (most-used technique across all projects)
- Wood staining and aging
- Brick weathering (multiple paint layers)
- Metal aging effects
- Integrated weathering (building it in as you go)
- Varnishing and protective coats
Where I’ve Applied These: Every project, but especially visible in Log Cabin chimney, Traditional English Cottage bricks, English Country Garden structures
What I’ve Learned: Weathering can hide imperfections. Sometimes “distressed” means “I’m covering up mistakes” but it works.
🛠️ Tools & Problem-Solving
Making and modifying tools when you can’t find or afford the “proper” ones—necessity breeds innovation.
Custom Tools I’ve Made:
- DIY static grass applicator (electric fly swatter method—works brilliantly)
- Wire twisting jigs for tree branches
- Grass caddy for sorting thatching materials
- Figure holder for clay work
- Various clamps and holders from household items
Problem-Solving Approaches:
- Working without formal drawings (measure, fit, adjust)
- Material substitution (when you can’t find the “right” thing)
- Test-and-refine methodology (try, fail, adjust, repeat)
- Knowing when to pivot (car sculpting attempt #3)
Philosophy: “Good enough” that gets finished beats “perfect” that never gets done.
📐 Planning & Scale Work
The unglamorous but essential part—figuring out sizes, proportions, and how to translate ideas into buildable projects.
What I Do:
- Scale calculations (lots of math, lots of mistakes)
- Paper prototypes (saves disaster later)
- 3D visualization (Meshy AI for cottage was helpful)
- Reference gathering (photos, measurements, research)
- Material planning (learned to gather first, build later)
Projects Where This Mattered Most: Caravaning (commission required accuracy), Traditional English Cottage (2D photo to 3D model)
The Learning Journey Perspective
“Here’s what I tried” - not “here’s the right way”
“This worked for me” - not “this is how professionals do it”
“I failed three times before this” - not hiding the struggle
“I couldn’t find X so I used Y” - real-world substitutions
“Still learning this” - honest about ongoing challenges
Why This Matters
If you’re starting from zero like I did, seeing someone else’s learning process (complete with failures and reworks) is often more helpful than watching an expert make it look effortless. Every technique here has a story of trial, error, adjustment, and eventual “good enough to move forward.”
What This Isn’t
This isn’t expert instruction—I’m not professionally trained, just learning as I go. There are probably better ways to do most of these things. Many hobbyists work at far higher standards. But if you want to see what’s possible when someone starts from complete zero and just keeps experimenting… that’s what this documents.
How to Use This Section
If you’re planning a project: Check what techniques were used in similar builds—the build logs show them in context with all the messy reality.
If you’re stuck on something: Look for the problem-solving approaches and material alternatives—sometimes the workaround is better than the “proper” method.
If you’re new to this: Start with simpler kit projects first. My first scratch-build (SS Great Britain) was probably too ambitious. Learn from my overconfidence.
If you want technique details: Build logs show techniques in action. Dedicated technique pages (coming soon) will focus on specific methods once I’ve used them enough times to have learned what works.
What’s Coming
As I continue building new projects, I’ll document techniques with better photo coverage and clearer explanations. Each new build is an opportunity to improve both the technique and the documentation.
Priority techniques to document properly:
- Copper wire tree construction (used in 4+ projects now)
- Static grass application with DIY applicator
- Multi-layer window fabrication
- Air-dry clay vehicle building
- Paper flower creation methods
Future projects will help document:
- Water effects (Sea Rescue project)
- Advanced weathering
- Maritime techniques (if I return to ships)
Contributing to This Journey
This is primarily my personal memory bank, but if you’re following along on your own journey, I’d love to hear what worked for you, what you tried differently, or what you discovered. When comments are enabled, share your experiences—we’re all learning together.
Related Pages
- Projects Gallery - See where techniques are applied
- Build Logs - Watch techniques being used in real-time with all the mistakes included
- About - More about this retirement journey from zero
This section grows as the journey continues. Every project teaches something new. Every technique evolves. That’s the point.