Gorch Fock Training Ship - Build Log #001: Complete Build Journey
Build Overview
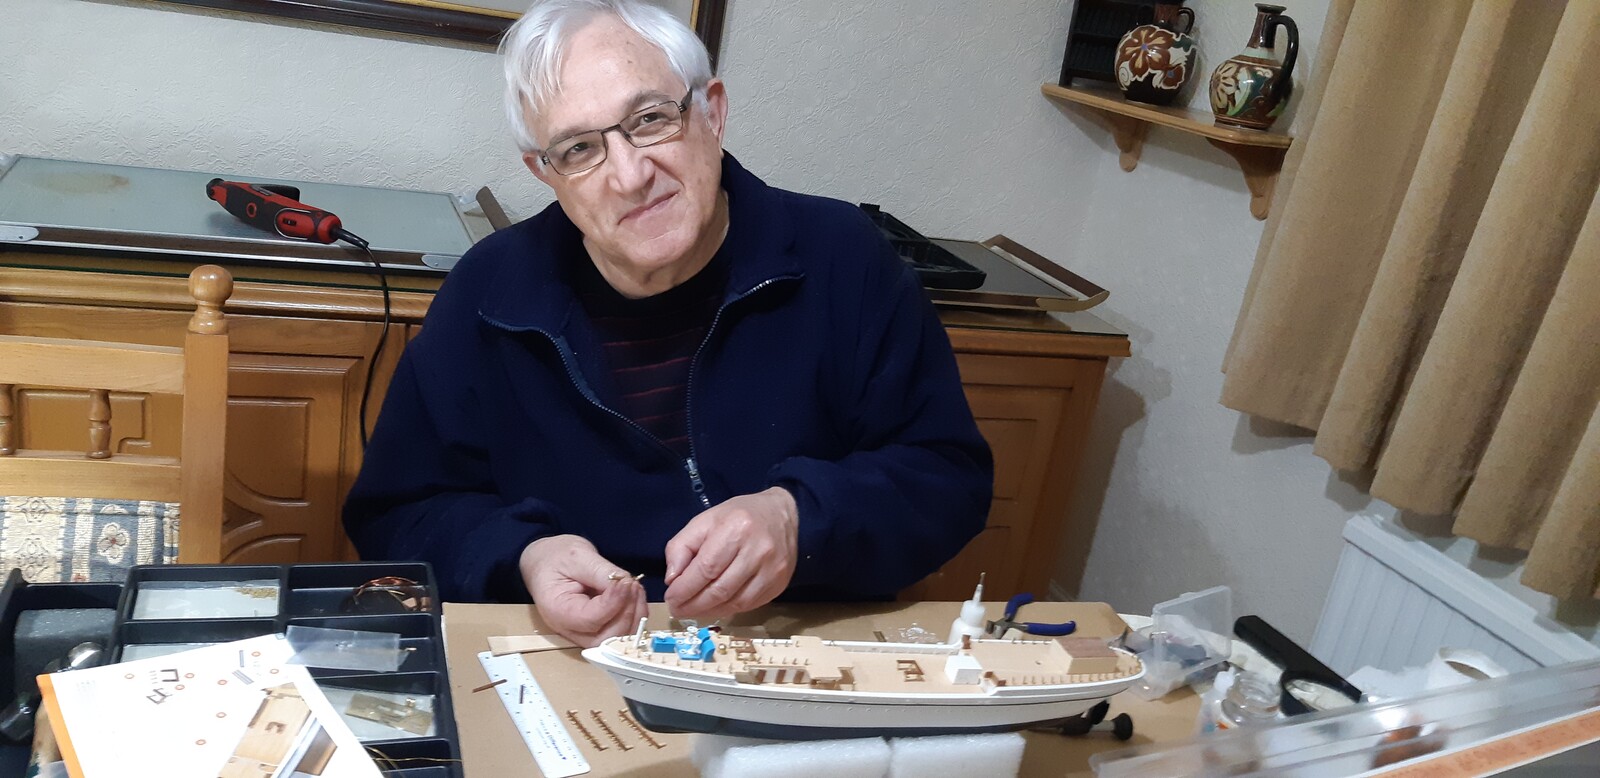
This was my very first serious model building project, taken on in November 2019 after the kit had sat in a cupboard for years. Originally bought in 2007 to inspire my grandson, it eventually became my own learning journey into the world of scale modeling.
Timeline: November 2019 - May 2020
Kit: Revell Gorch Fock 1:150 scale
Parts Count: Approximately 700 parts
Experience Level at Start: Complete beginner
Why This Build Happened
When I bought this kit in 2007, I had no idea of its complexity or the commitment it would require. I just wanted to inspire my grandson to build balsawood models. Years later, after it remained untouched in the cupboard, I offered to build it for him. What started as solving a problem I’d created became an unexpected retirement passion.
Starting with no model building experience, limited tools, and not even the right glue, this build became an intensive several-month learning experience.
The Learning Curve
Starting from Zero
 The overwhelming reality of 700 parts - where to even begin?
This first build was all about reading instructions. The Revell instructions were of reasonable quality, which helped, but there was so much I didn’t know:
- How to work with very small parts
- Which glue to use for different materials
- How to prepare parts properly
- Basic assembly sequences
- How to avoid common mistakes
Essential Tools Acquired
 Learning to work with small parts required magnification and precision tools
Early in the build I realized I needed:
- Magnifying glasses - For seeing the tiny parts clearly
- Fine tweezers - For handling small components
- Proper adhesives - Learning which glue works for what
- Sanding tools - For preparing parts before assembly
- Cutting mat and knife - For clean part removal from sprues
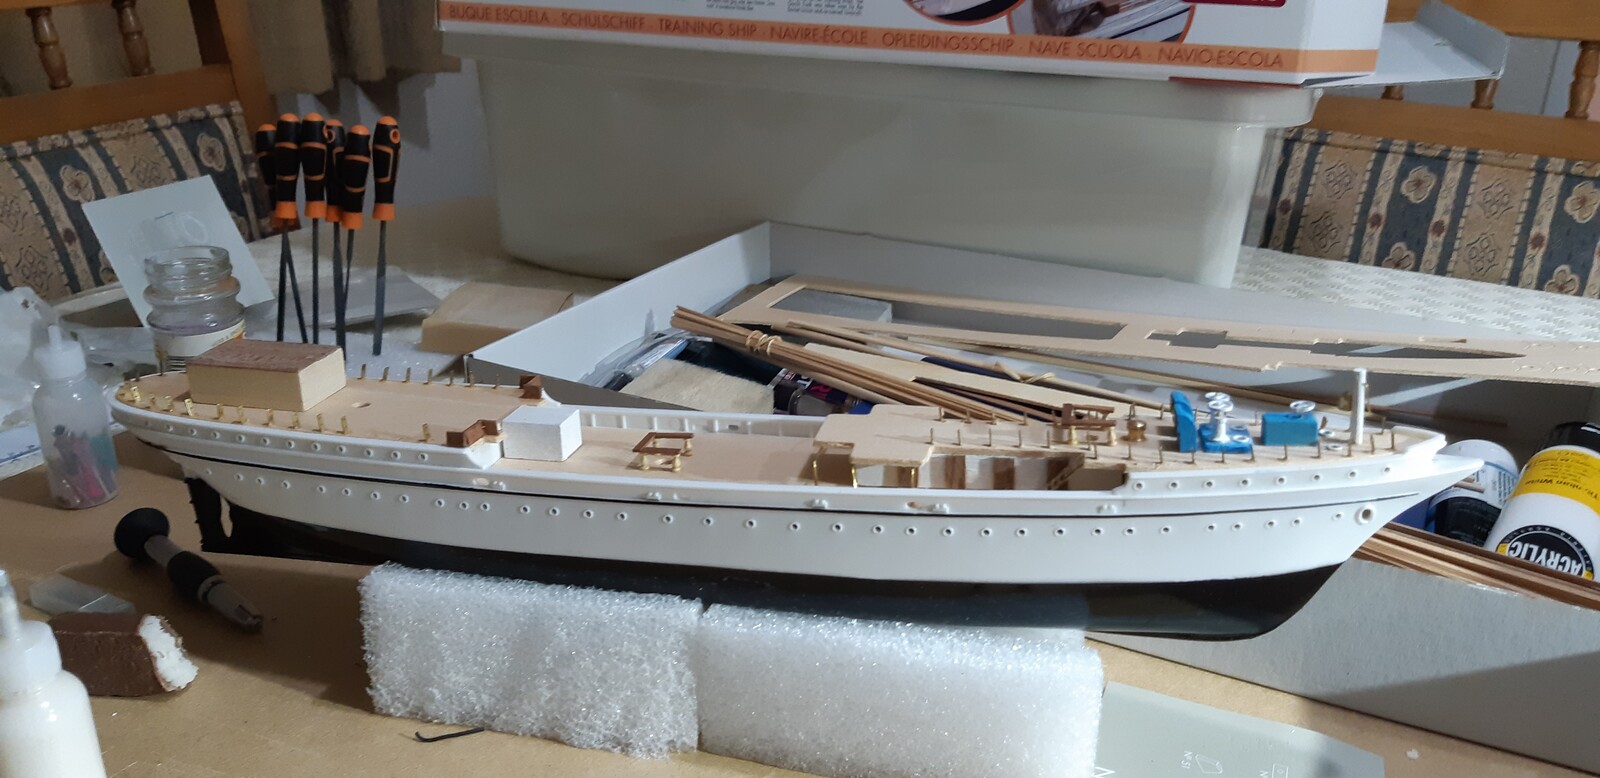
Hull Construction
 Building the hull taught me about dry-fitting and test assembly
The hull construction was my introduction to:
- Dry-fitting first - Always test fit before gluing
- Working in stages - Don’t rush assembly
- Clamping techniques - Keeping parts aligned while glue sets
- Filling gaps - Learning about putty and filling techniques
Key Lessons from Hull Work
Patience is everything. I wanted to rush, but learned quickly that taking time to prepare each part properly made all the difference. Parts needed to be:
- Carefully removed from sprues
- Cleaned of flash and mold lines
- Test-fitted before gluing
- Held firmly until adhesive set
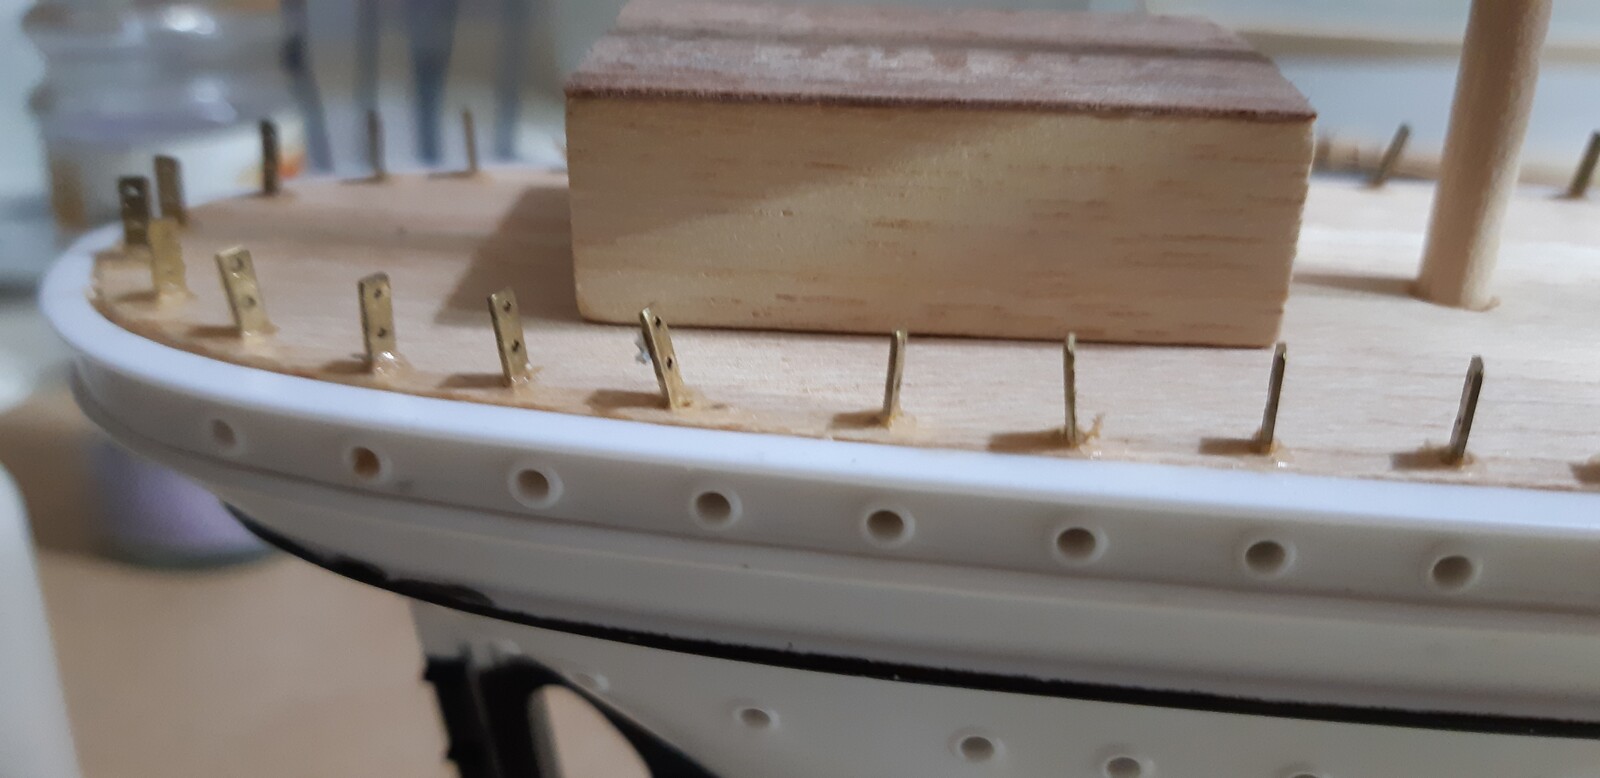
Deck Details and Fittings
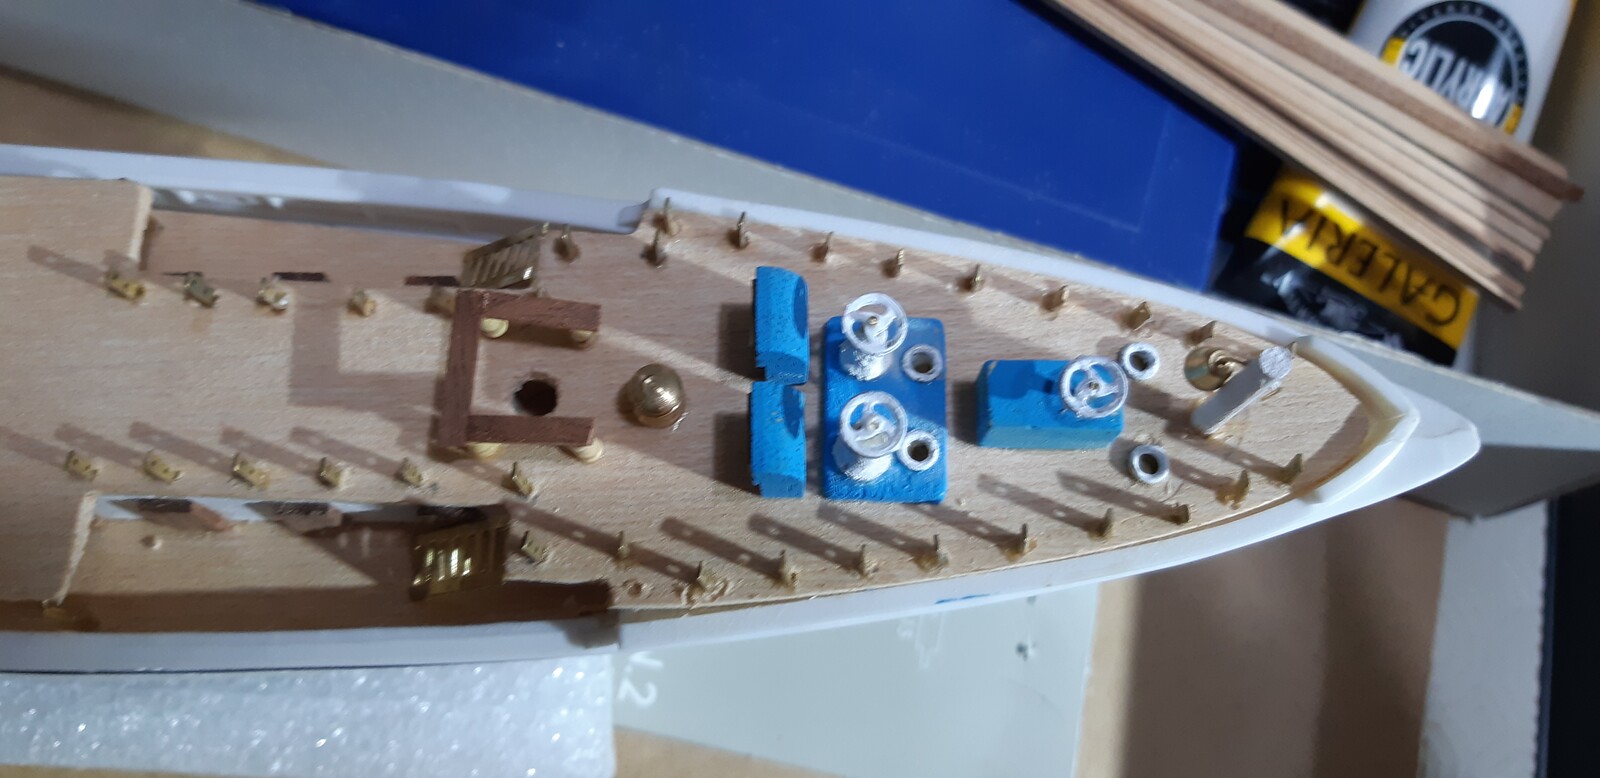 Deck fittings required steady hands and endless patience
The deck work introduced me to:
- Working with extremely small parts
- Positioning tiny fittings accurately
- Building sub-assemblies before installing them
- Understanding the importance of workspace organization
Challenge: So many tiny parts that could easily be lost.
Solution: Started using small containers to organize parts by assembly stage. Kept the instruction manual open at all times.
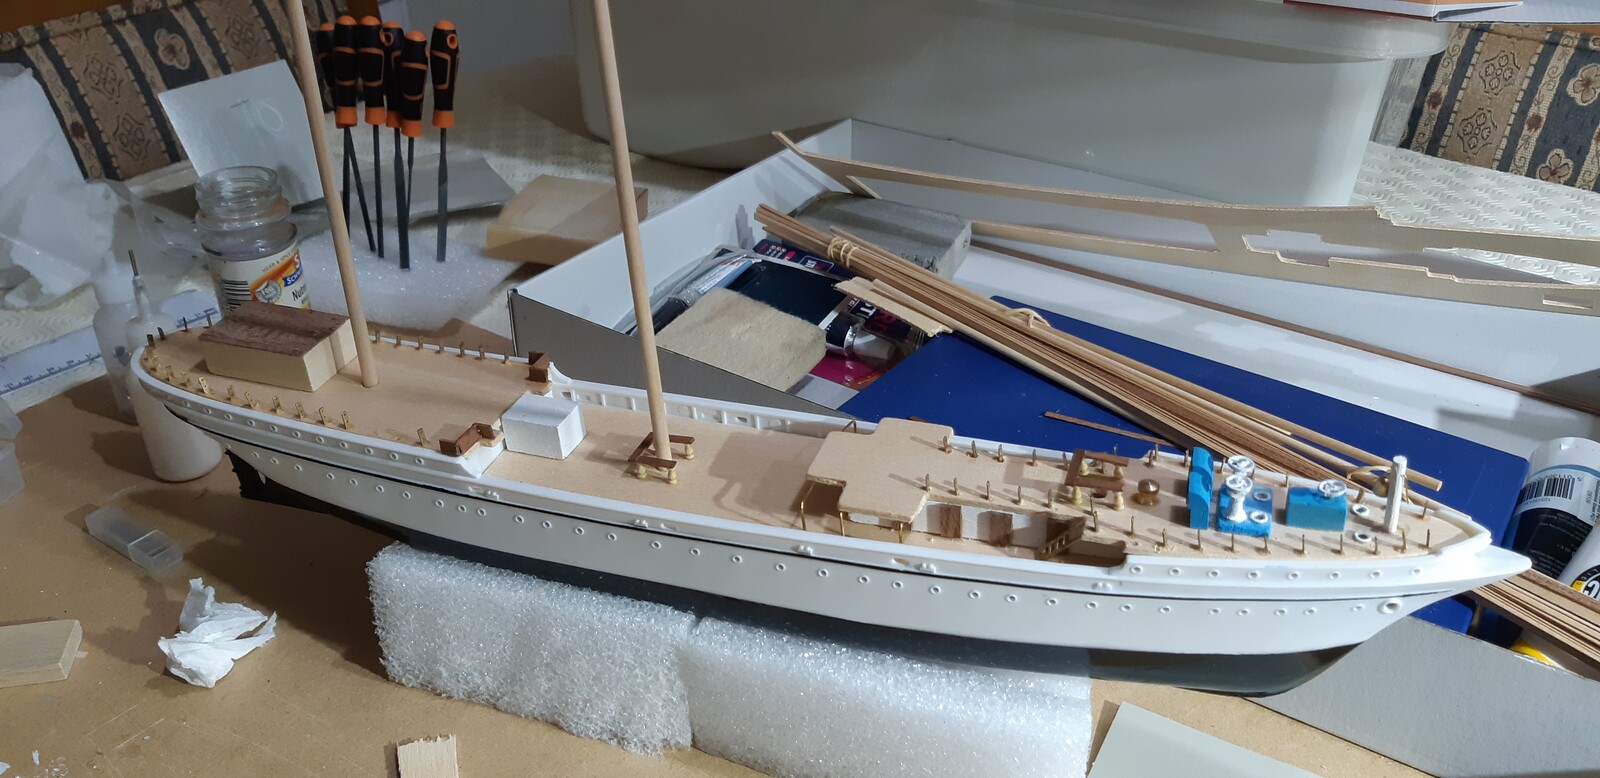
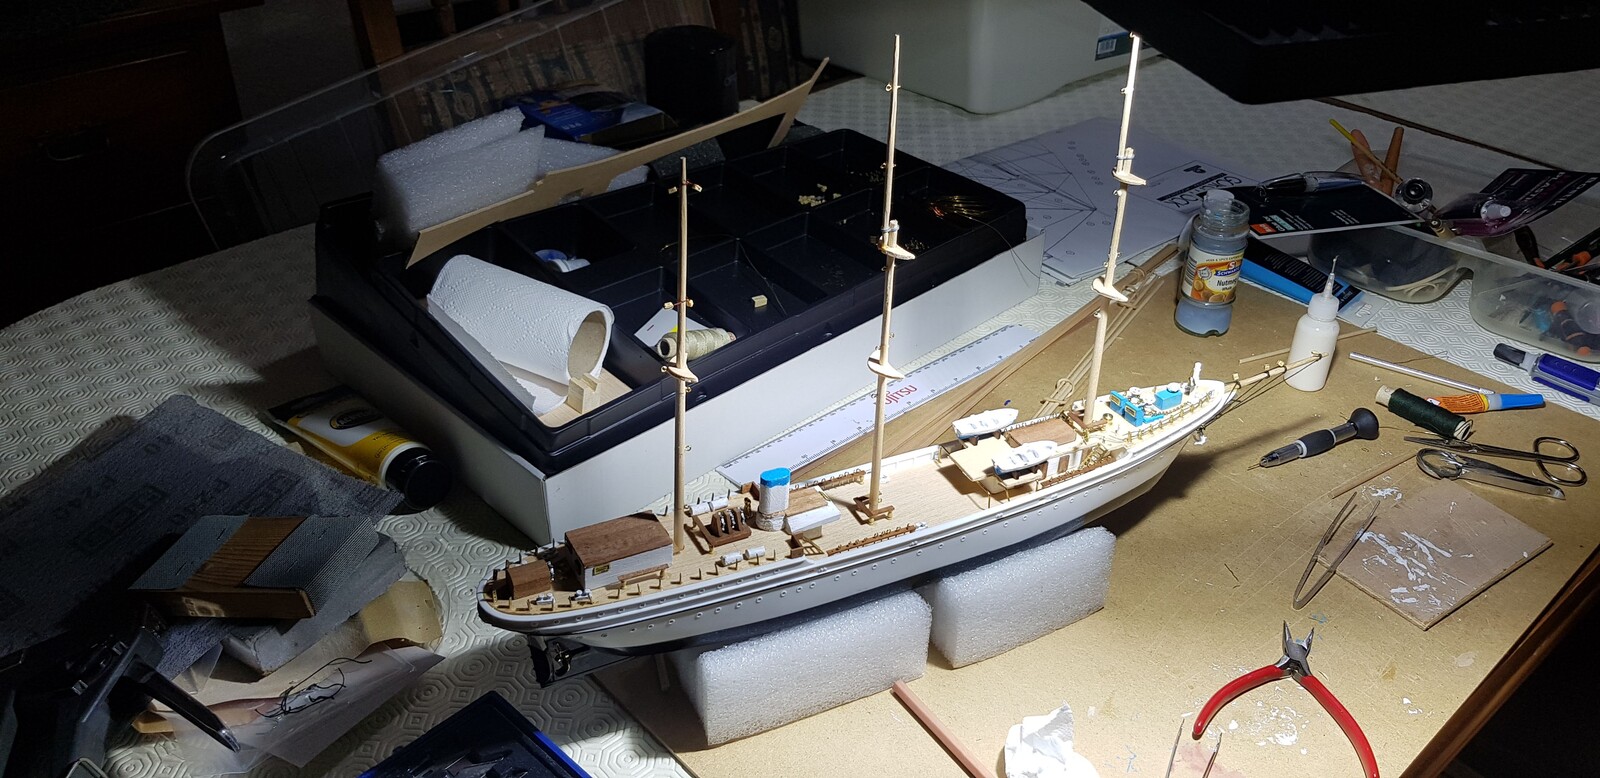
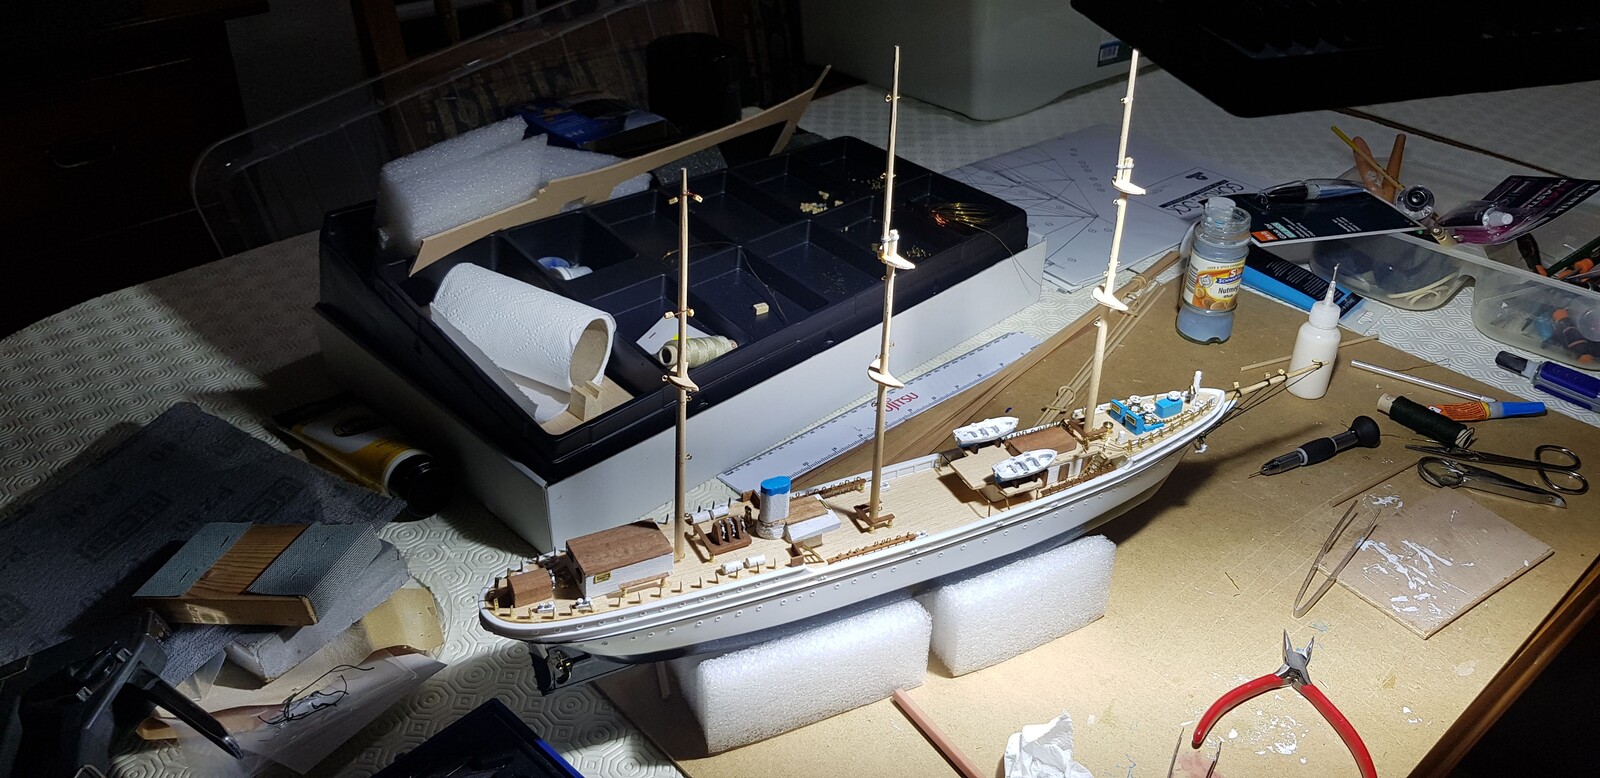
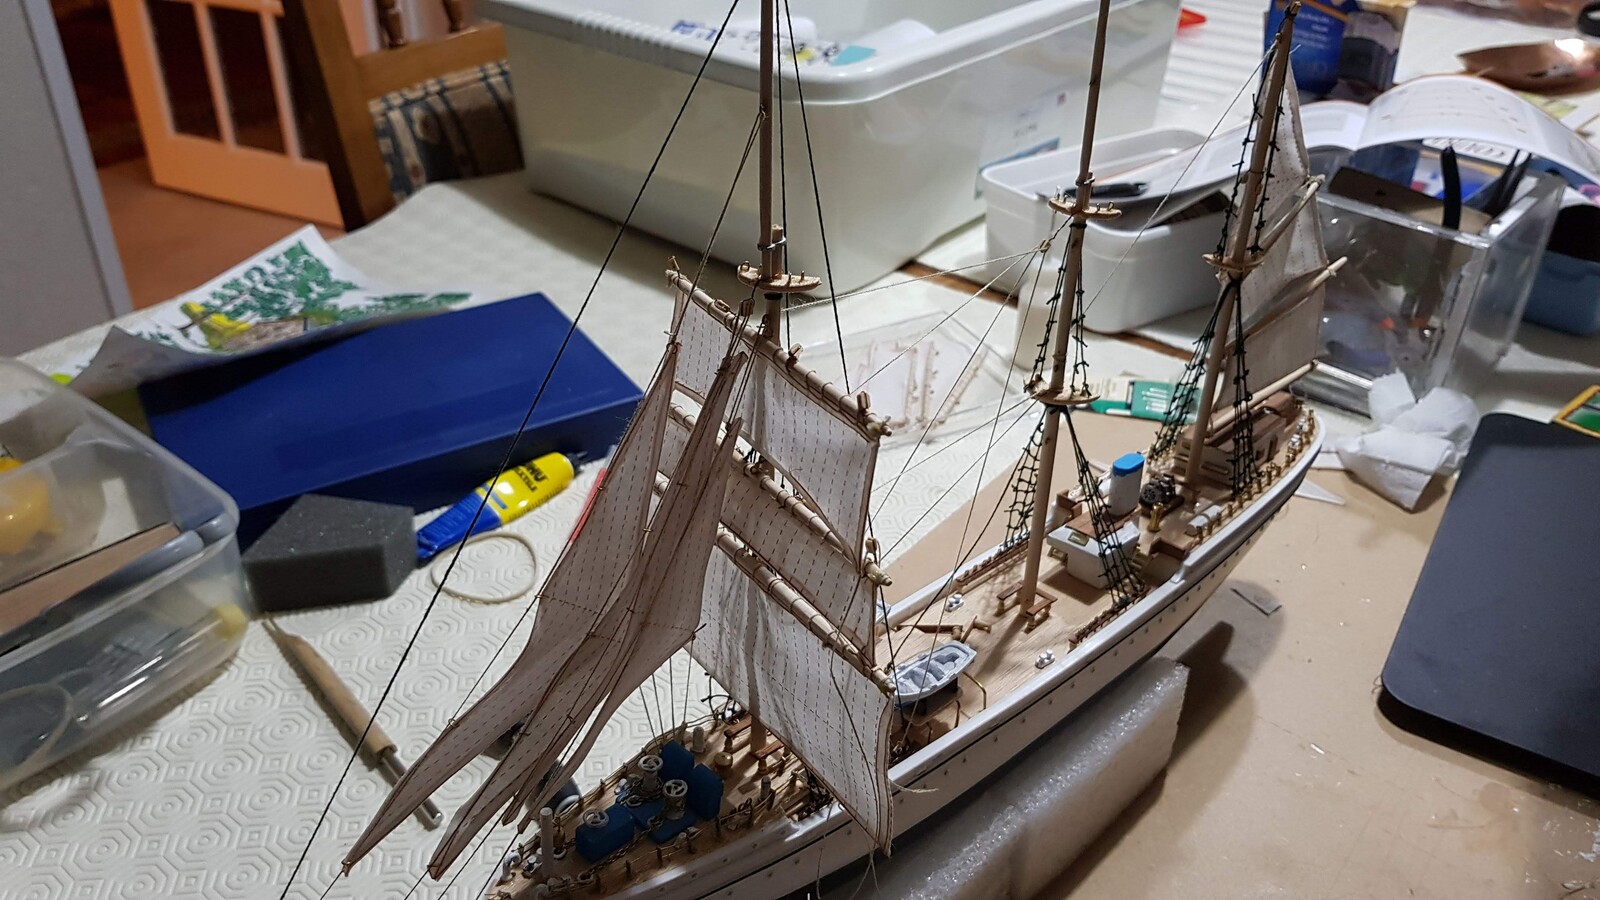
Masts and Rigging Preparation
 The three-masted barque required careful mast construction before rigging
Building the masts taught me about:
- Structural integrity - Masts needed to be strong enough for rigging
- Alignment - Getting masts perfectly vertical
- Pre-planning rigging paths - Understanding where lines would attach
 Early rigging work - learning about thread tension and knot-tying
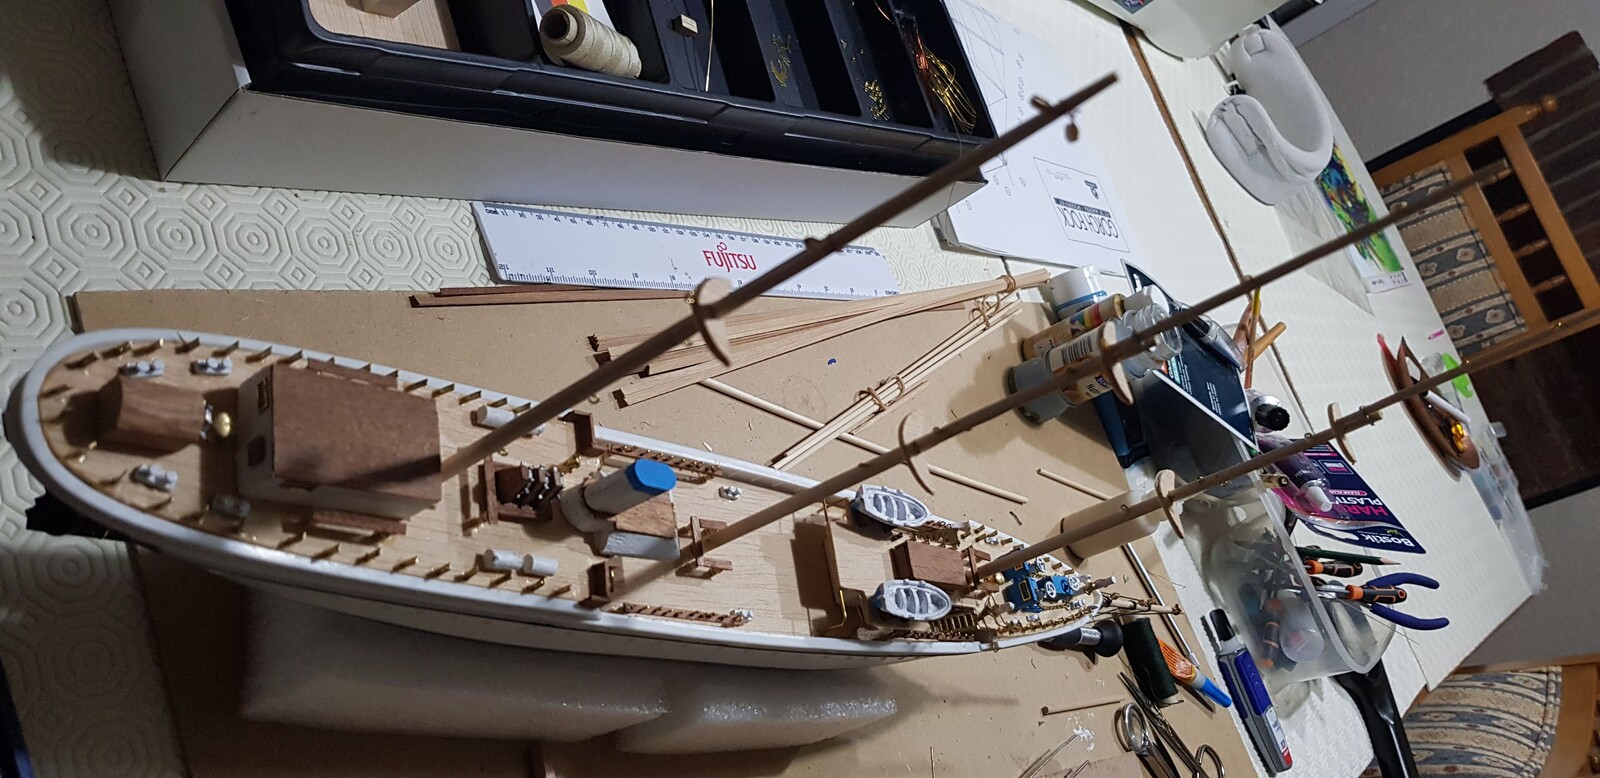
The Rigging Challenge
Creating the sails, seaming, and rigging were the most intricate and demanding parts of the entire build. This required a level of dedication I hadn’t anticipated.
 Rigging required learning entirely new skills - knot-tying, thread tensioning, and patience
What I Learned About Rigging
- Start with the lower lines first - Work from bottom to top
- Keep tension consistent - Too tight and things warp, too loose and it looks sloppy
- Secure every knot - A dab of thin glue on knots prevents unraveling
- Work in short sessions - Rigging is mentally demanding - take breaks
 The rigging took weeks - each line carefully placed and tensioned
Sail Construction
The sails needed to be:
- Cut to precise shapes
- Hemmed or sealed at edges
- Attached to yards with realistic folds
- Given a slightly weathered appearance
 Learning to create realistic sail shapes and attachment points
Final Assembly and Details
 As the build neared completion, all the learning came together
The final stages involved:
- Completing the rigging
- Adding weathering effects
- Installing final small details
- Touch-up painting
- Creating a display base
Weathering and Finishing
 Light weathering gave the model a more authentic, sailed appearance
I applied subtle weathering to give the ship a realistic appearance:
- Wash techniques on the hull
- Dry brushing on deck surfaces
- Slight staining on sails
- Rust effects on metal fittings
The Biggest Lessons
Patience and Stickability
The biggest lesson from this build wasn’t about glue or tools - it was about patience and stickability. Learning to:
- Retry when something didn’t work the first time
- Redo sections that weren’t good enough
- Keep going even when frustrated
- Accept that learning takes time
Preparation Before Assembly
I learned that proper preparation made everything easier:
- Reading ahead in instructions
- Preparing parts before gluing (sanding, cleaning)
- Organizing the workspace
- Having all tools ready before starting a session
It’s Okay to Be a Beginner
Starting with zero experience meant everything was new. I made mistakes, took wrong approaches, and had to backtrack. But that’s exactly how you learn. This first build gave me confidence that I could learn complex new skills in retirement.
What I’d Do Differently
Looking back, if I were starting this build again:
- Invest in better tools from the start - Good tweezers and magnification matter
- Research techniques first - Watch videos, read about rigging before attempting it
- Take more photos - Document the process better (I didn’t have many build photos)
- Join modeling communities - Connect with others for advice and encouragement
- Go slower - Don’t rush any stage
Materials Used
Kit Components
- Revell Gorch Fock 1:150 scale kit
- Plastic hull and deck parts
- Photo-etched metal details
- Thread for rigging
- Cloth for sails
Additional Materials
- Plastic cement
- Super glue (CA glue)
- White glue for rigging
- Acrylic paints
- Weathering washes
- Thread in various diameters
Tools Acquired During Build
- Magnifying glasses/visor
- Fine tweezers (multiple sizes)
- Hobby knife and blades
- Fine sandpaper (various grits)
- Small clamps
- Pin vice and drill bits
Time Investment
Total Build Time: Approximately 6 months (November 2019 - May 2020)
This was working in the evenings and weekends, with many sessions spent just learning techniques before applying them to the model.
Estimated Hours: 150-200 hours total
- Hull construction: 30-40 hours
- Deck and fittings: 40-50 hours
- Masts and rigging: 60-80 hours
- Painting and weathering: 20-30 hours
What This Build Gave Me
More than just a completed model, this build gave me:
- Confidence - I can learn complex new skills
- A new hobby - This sparked a passion for modeling
- Patience - Learning to slow down and enjoy the process
- Problem-solving skills - Figuring out solutions to challenges
- Winter focus - Something meaningful to do during dark months
Completion and Reflection
Completing this model in May 2020 was incredibly satisfying. From that overwhelming moment of opening a box with 700 parts and no experience, to having a fully rigged sailing ship on display - the journey taught me far more than just model building.
It taught me that it’s never too late to learn something completely new. That starting as a complete beginner is okay. That patience and persistence matter more than talent. And that the joy is in the journey, not just the finished piece.
This first build opened the door to many more projects, each one teaching new techniques and bringing new satisfaction. But this Gorch Fock will always be special - it’s where the journey began.
Next Projects
After completing this build, I moved on to more ambitious projects:
- SS Great Britain - First scratch-built ship
- Log Cabin - First diorama with scenery
- English Country Garden - Exploring plant techniques
Each build has built on lessons learned from this first one.
Share Your First Build Story
Was this your first model? Or do you remember your first serious build? I’d love to hear about your learning journey. Leave a comment below!
Have questions or feedback about this project? I'd love to hear from you.