English Country Garden - Base & Garden Structures
Foundation Planning
The journey for the base started with sizing the 30cm square plywood with some pictures of a house and base garden layout.
As I made progress with the flowers, they were added to the base to maintain the perspective. Right from the very start, I visualized that the cottage would be to the back, with a garden path running through the middle from the street to the front door.
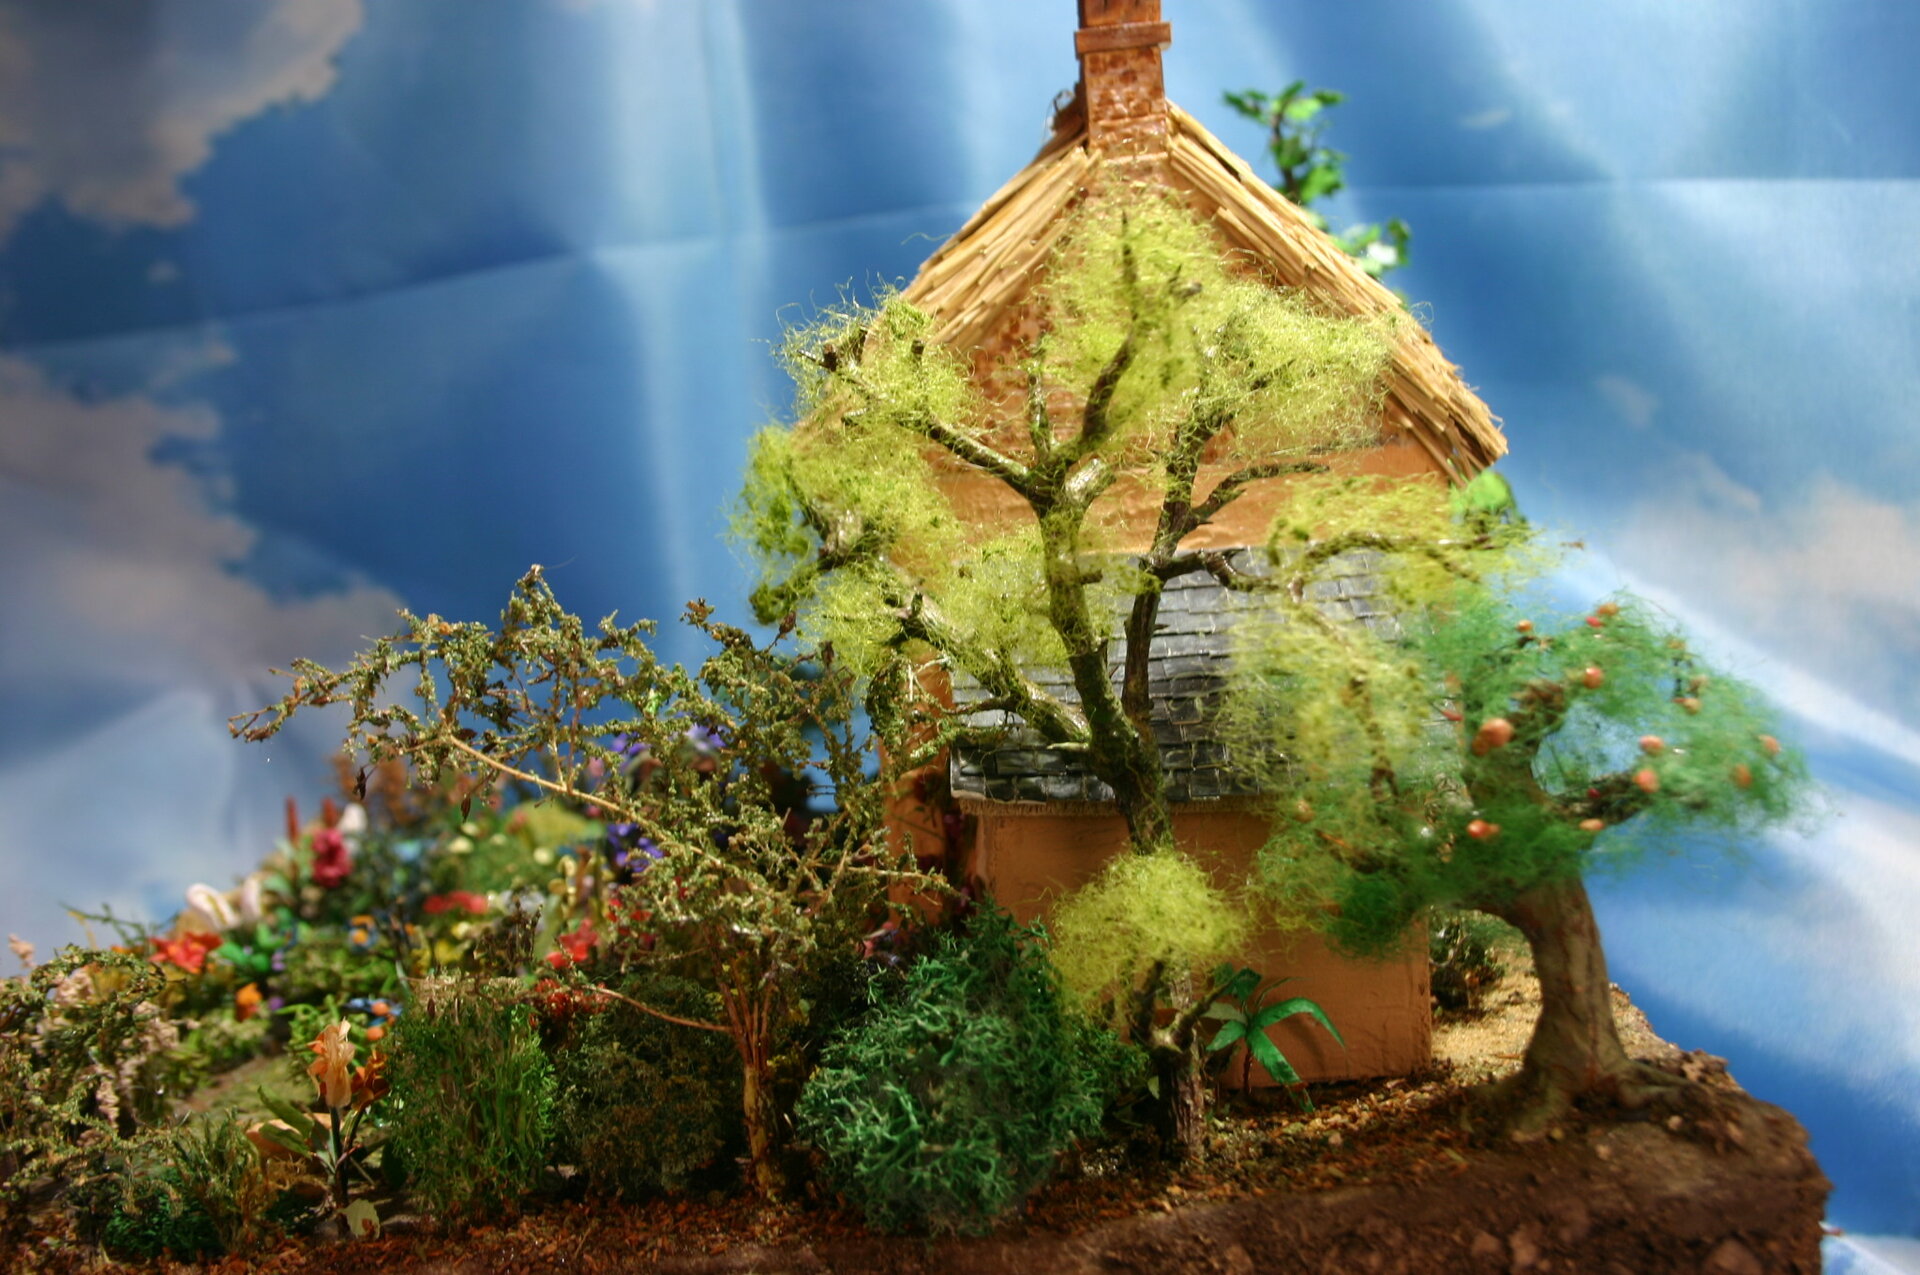
This look and feel had a material impact on my choices, particularly influenced by this reference image:

Paper House Prototype
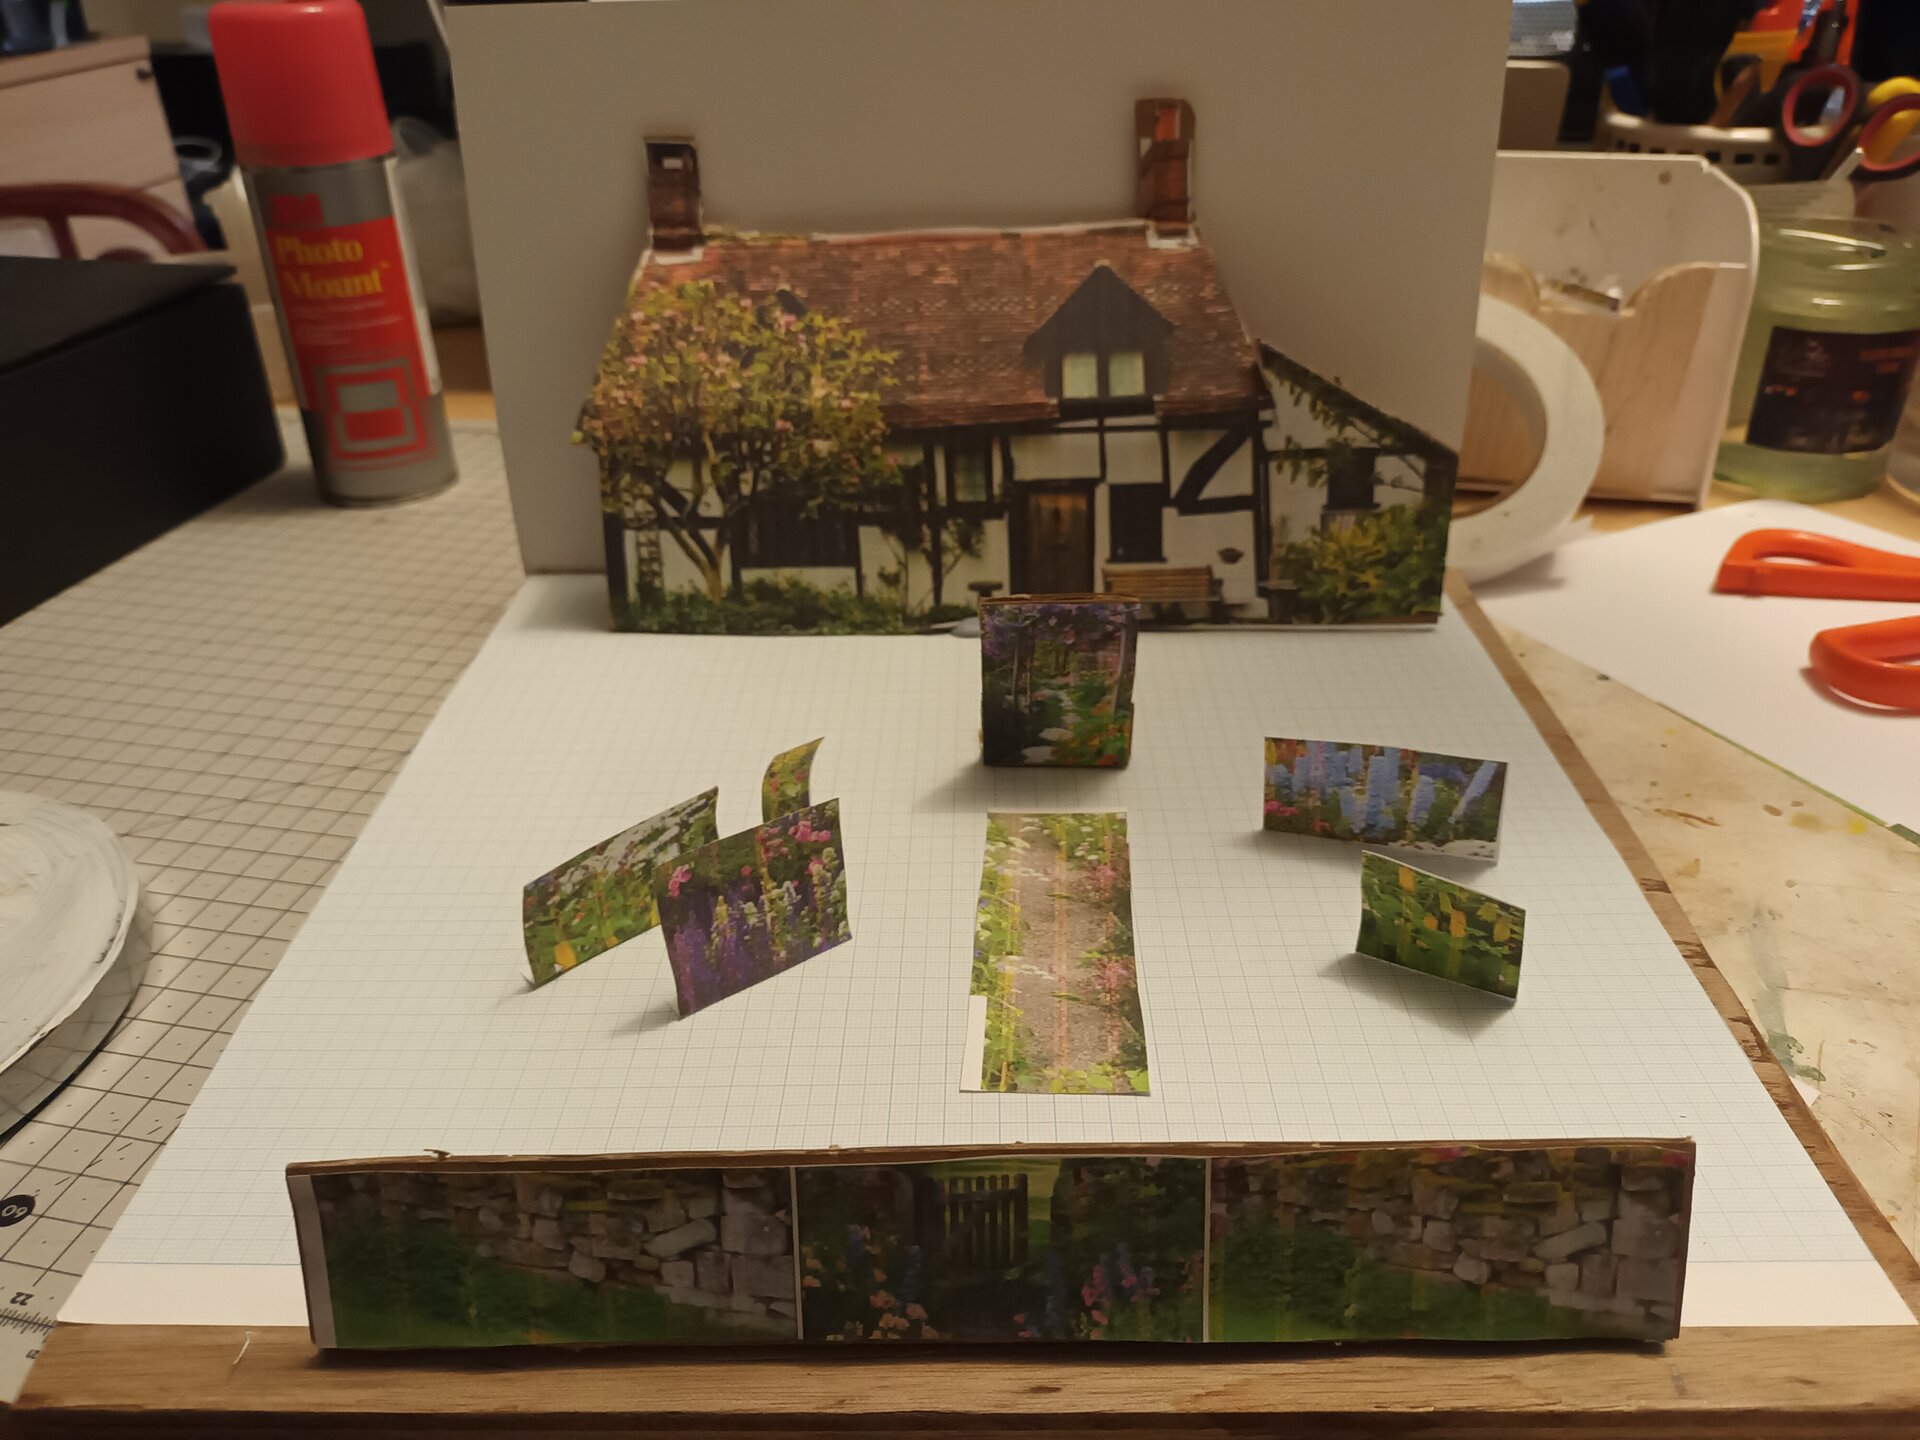
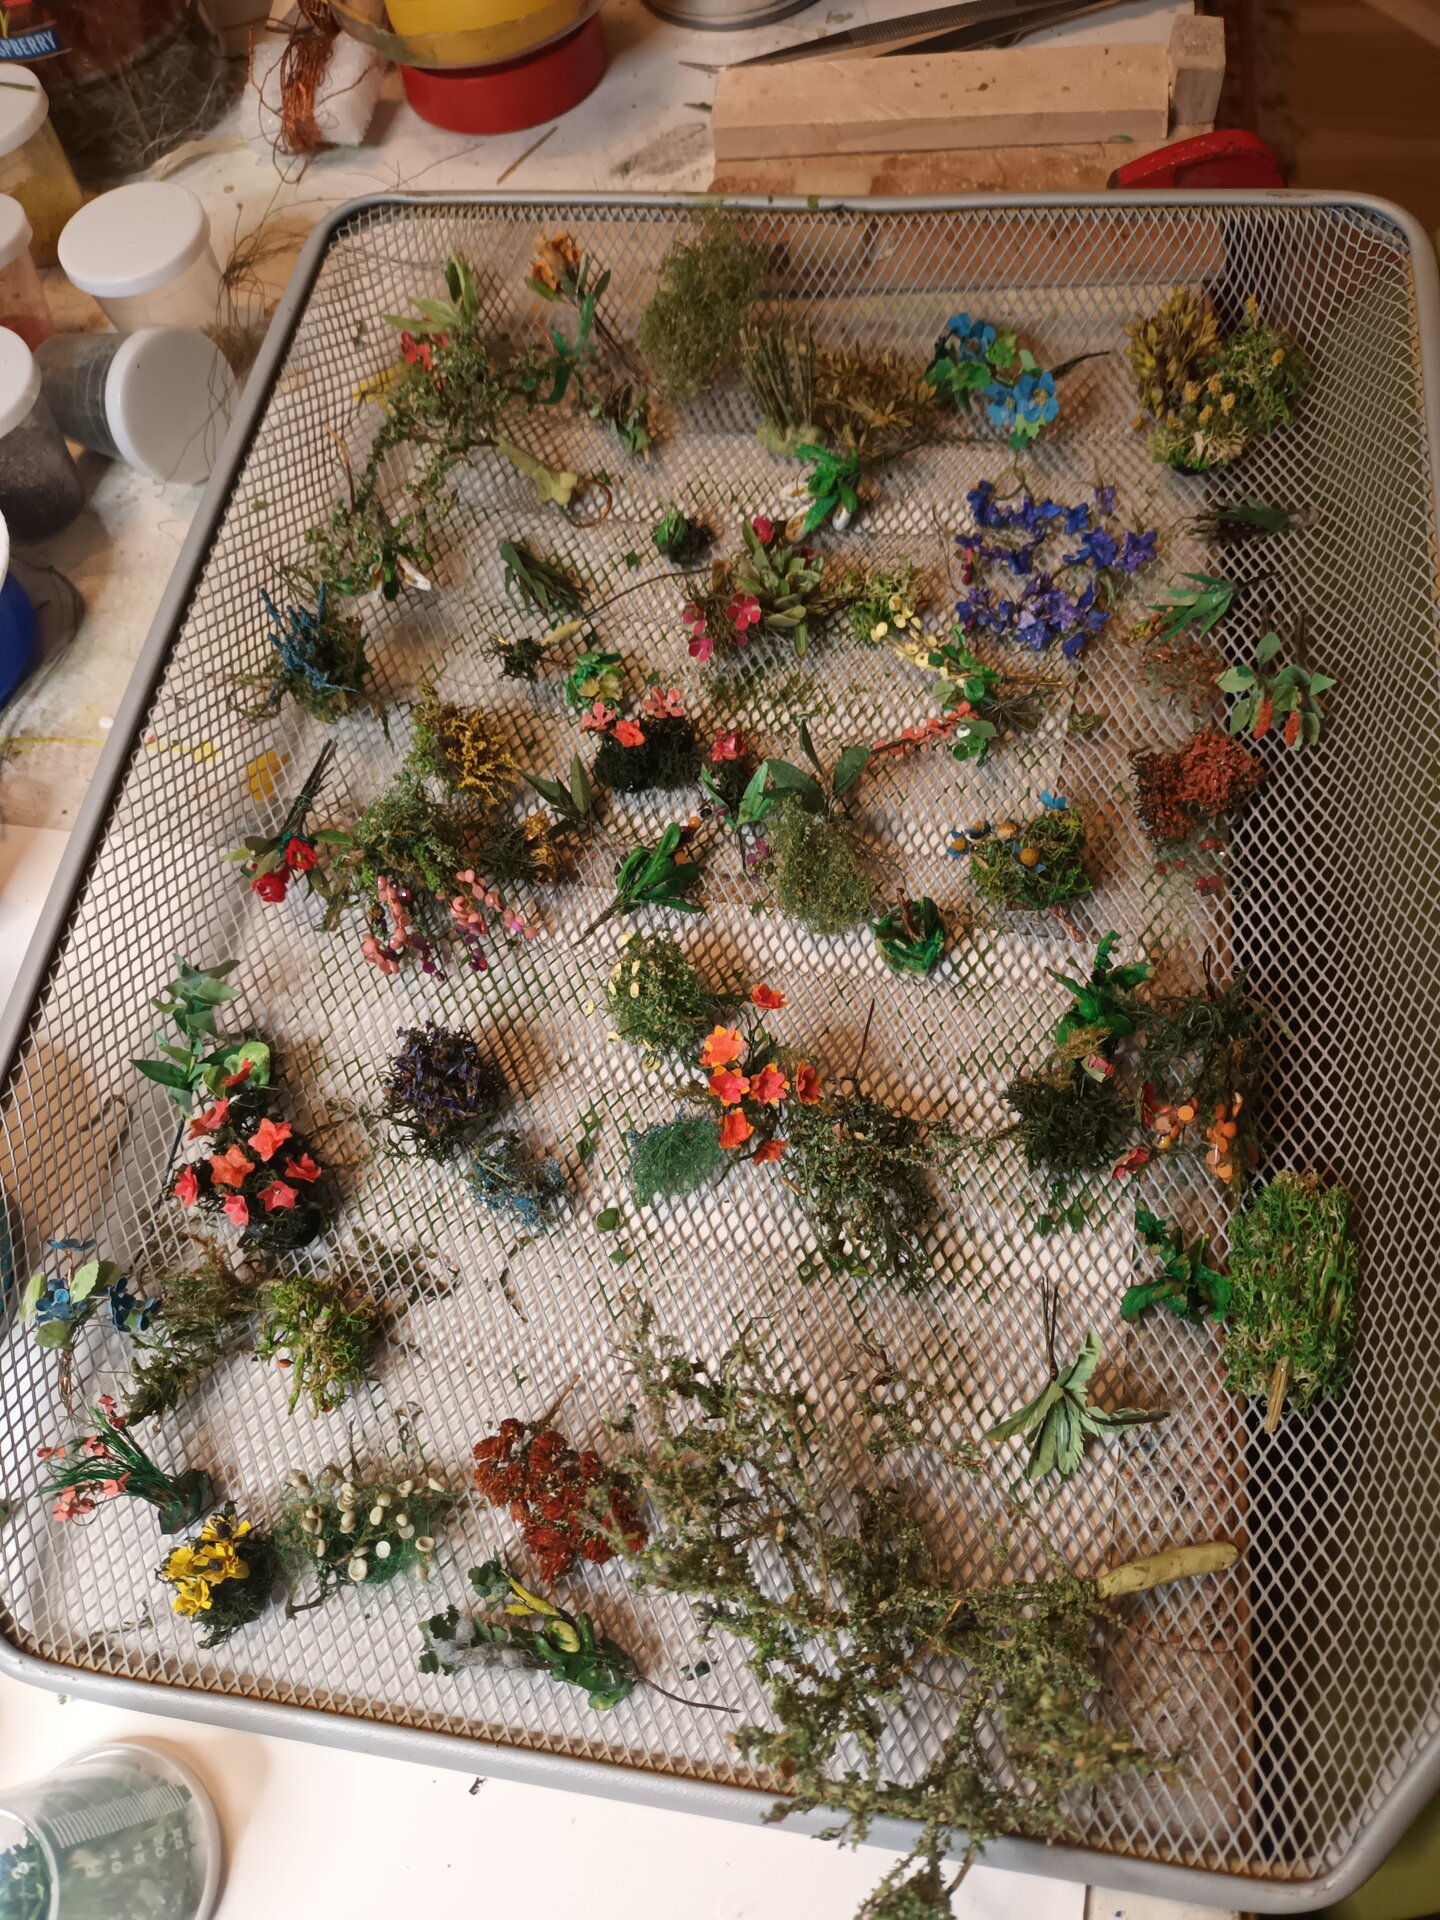
With a fair amount of plants created, I turned my attention to making a house from paper to plan the footprint of the house in August 2024, which is some months into the project. I first wanted to confirm my ability to put the plants together before venturing into planning the final layout.
By now, I had covered the base with homemade clay. This was a mixture of flour, water, white glue, and vinegar. This time I got the mixture better as it did not crack as badly as previous attempts.
[NOTE: What was the flour/water/glue/vinegar ratio that worked best? This could be helpful for others trying homemade modeling clay.]
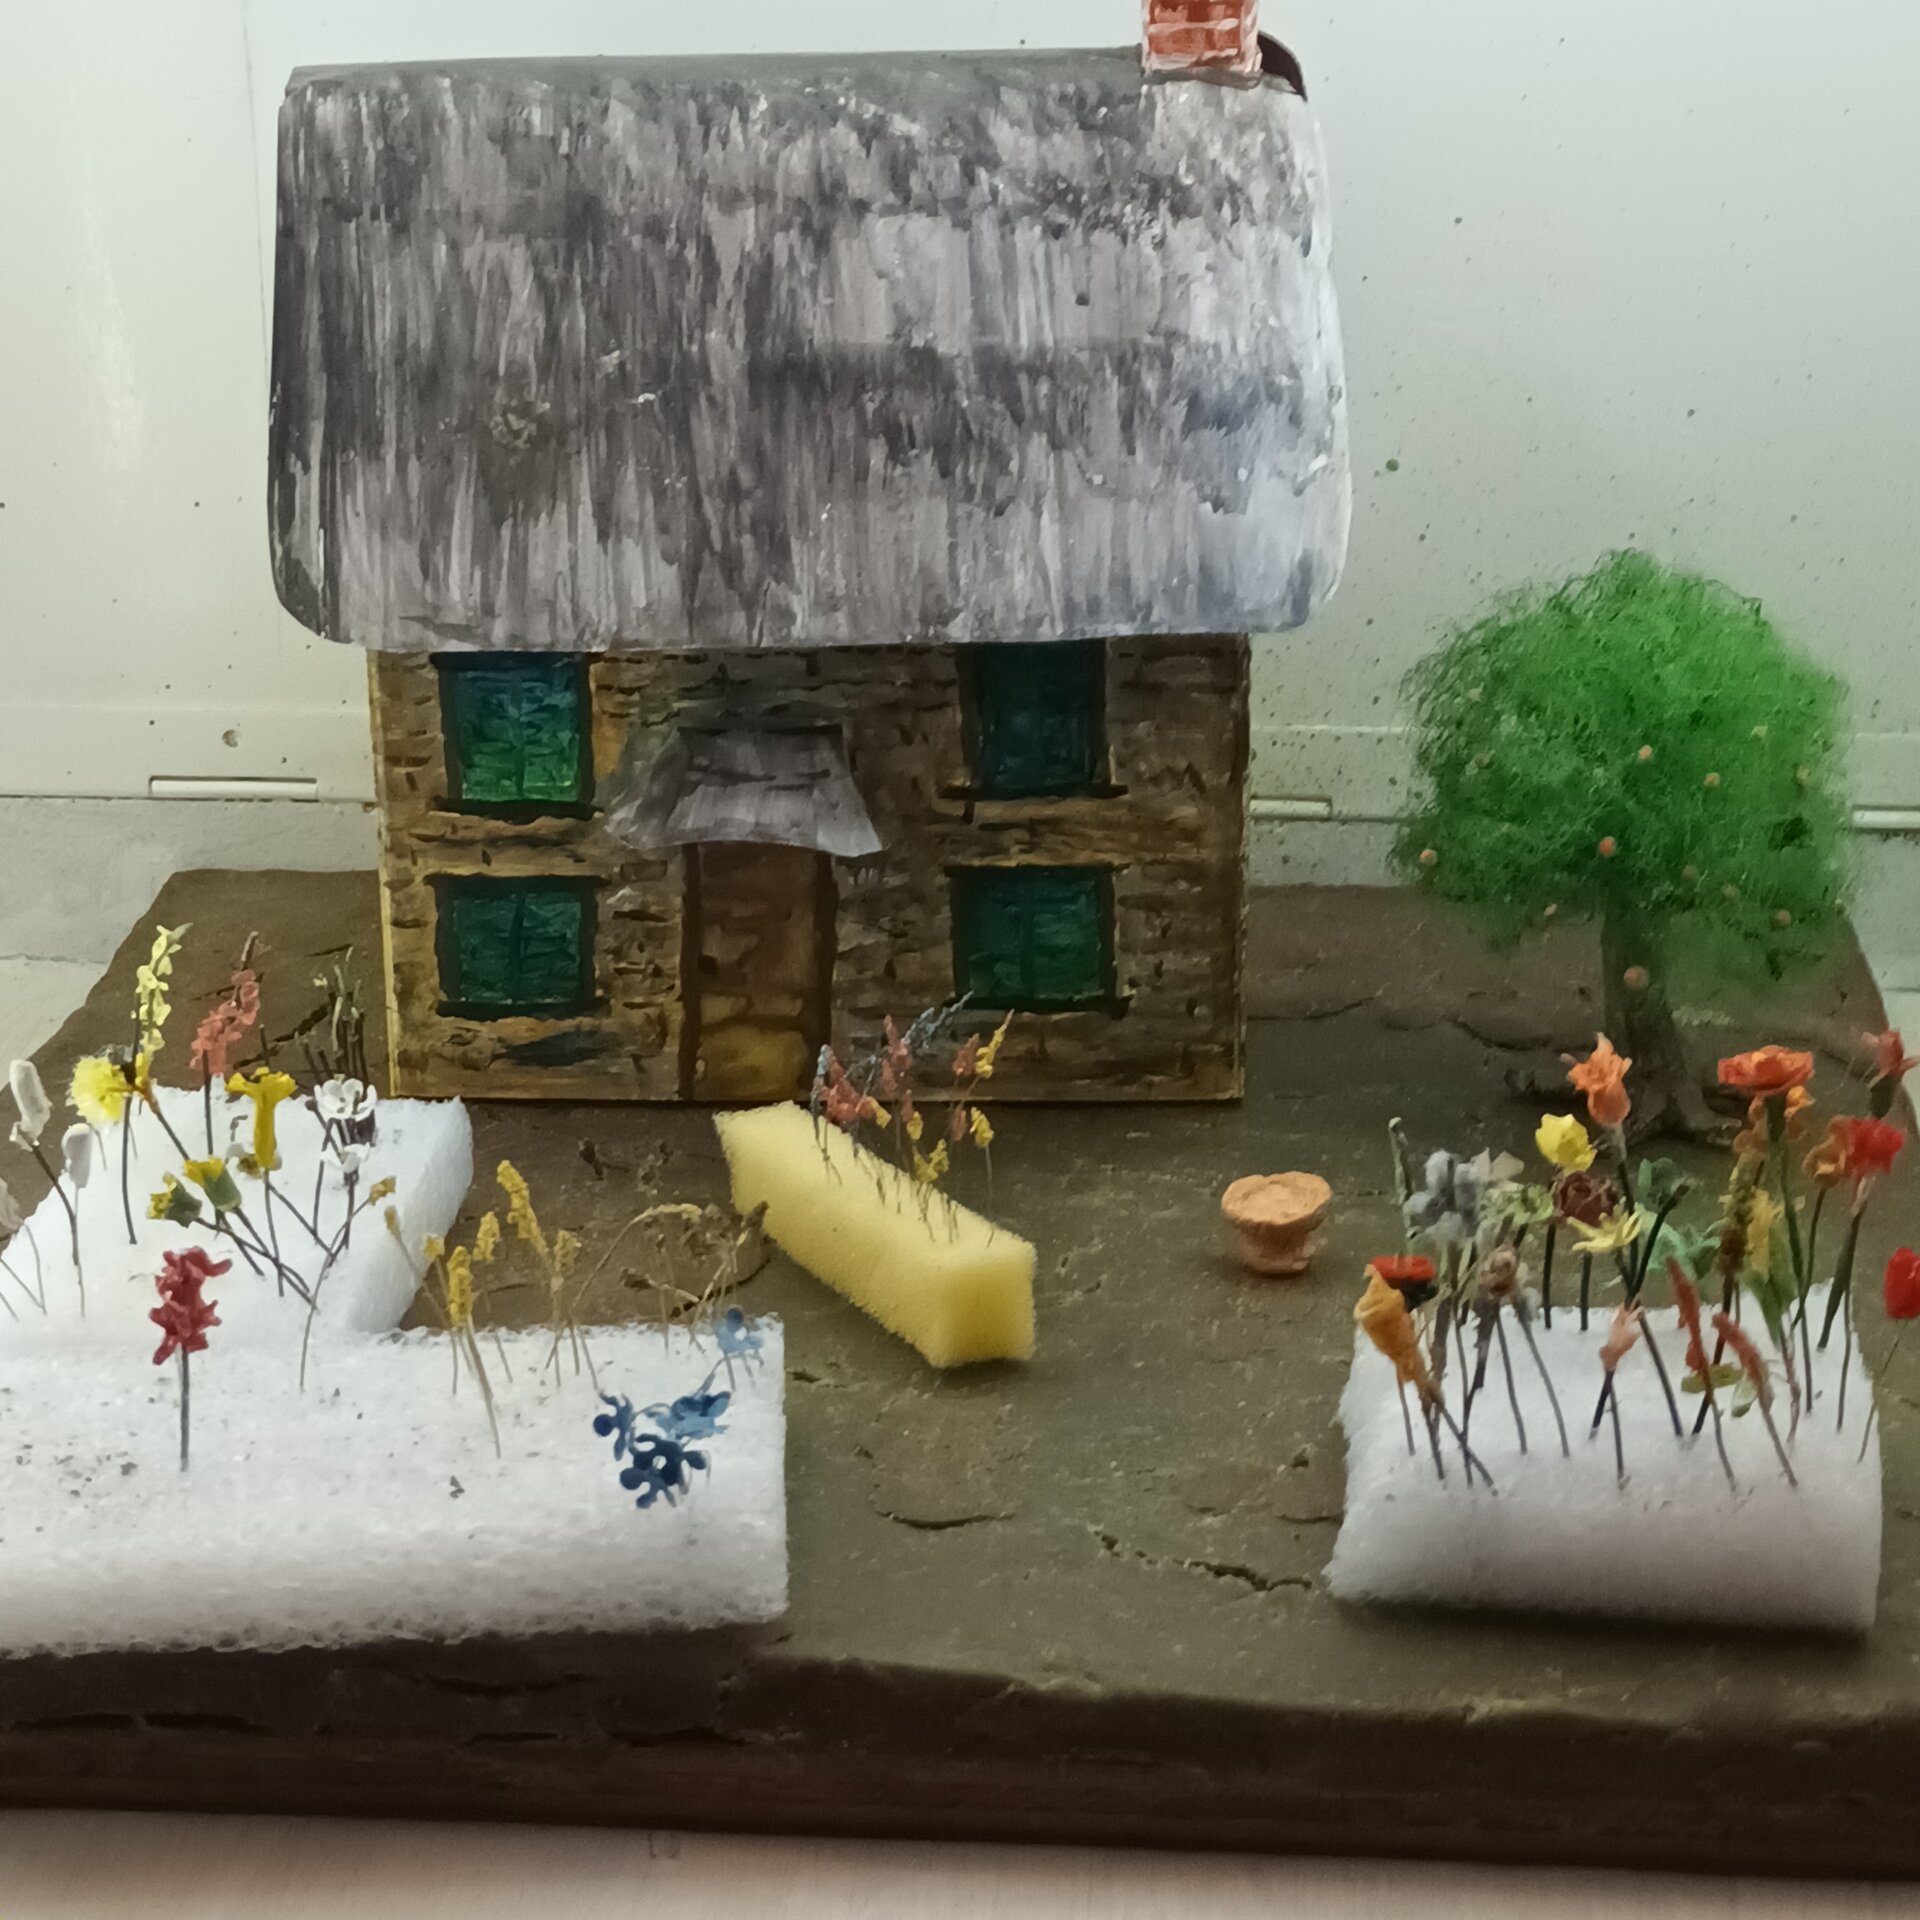
Creating Elevation Changes
With the cottage completed (documented in Build Log #004), I started to realize that I needed to put an elevation into place to show off the garden better. It would be great if there could be a garden wall in front of the house with steps going down through the arch to the rest of the garden.
It was then that I added another layer of clay to the back of the base to lift the cottage area, creating the upper and lower garden levels that became such an important feature of the final design.
Garden Structures
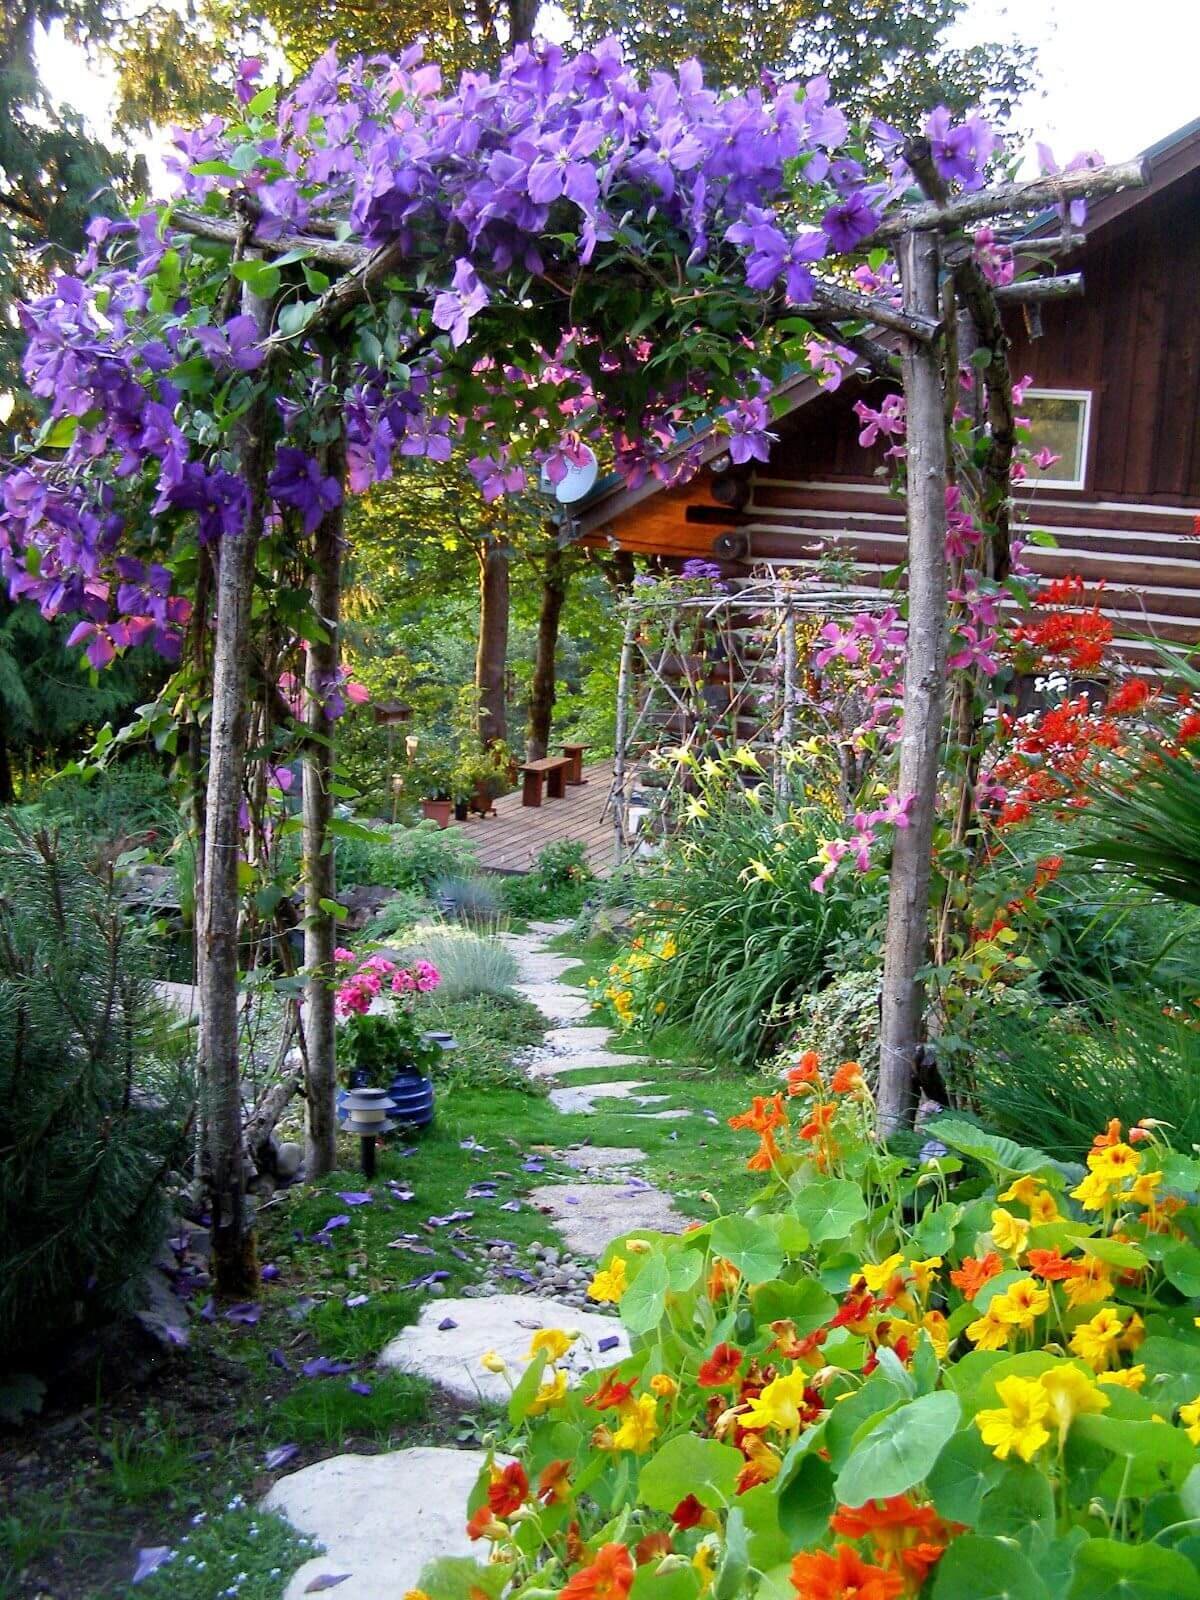
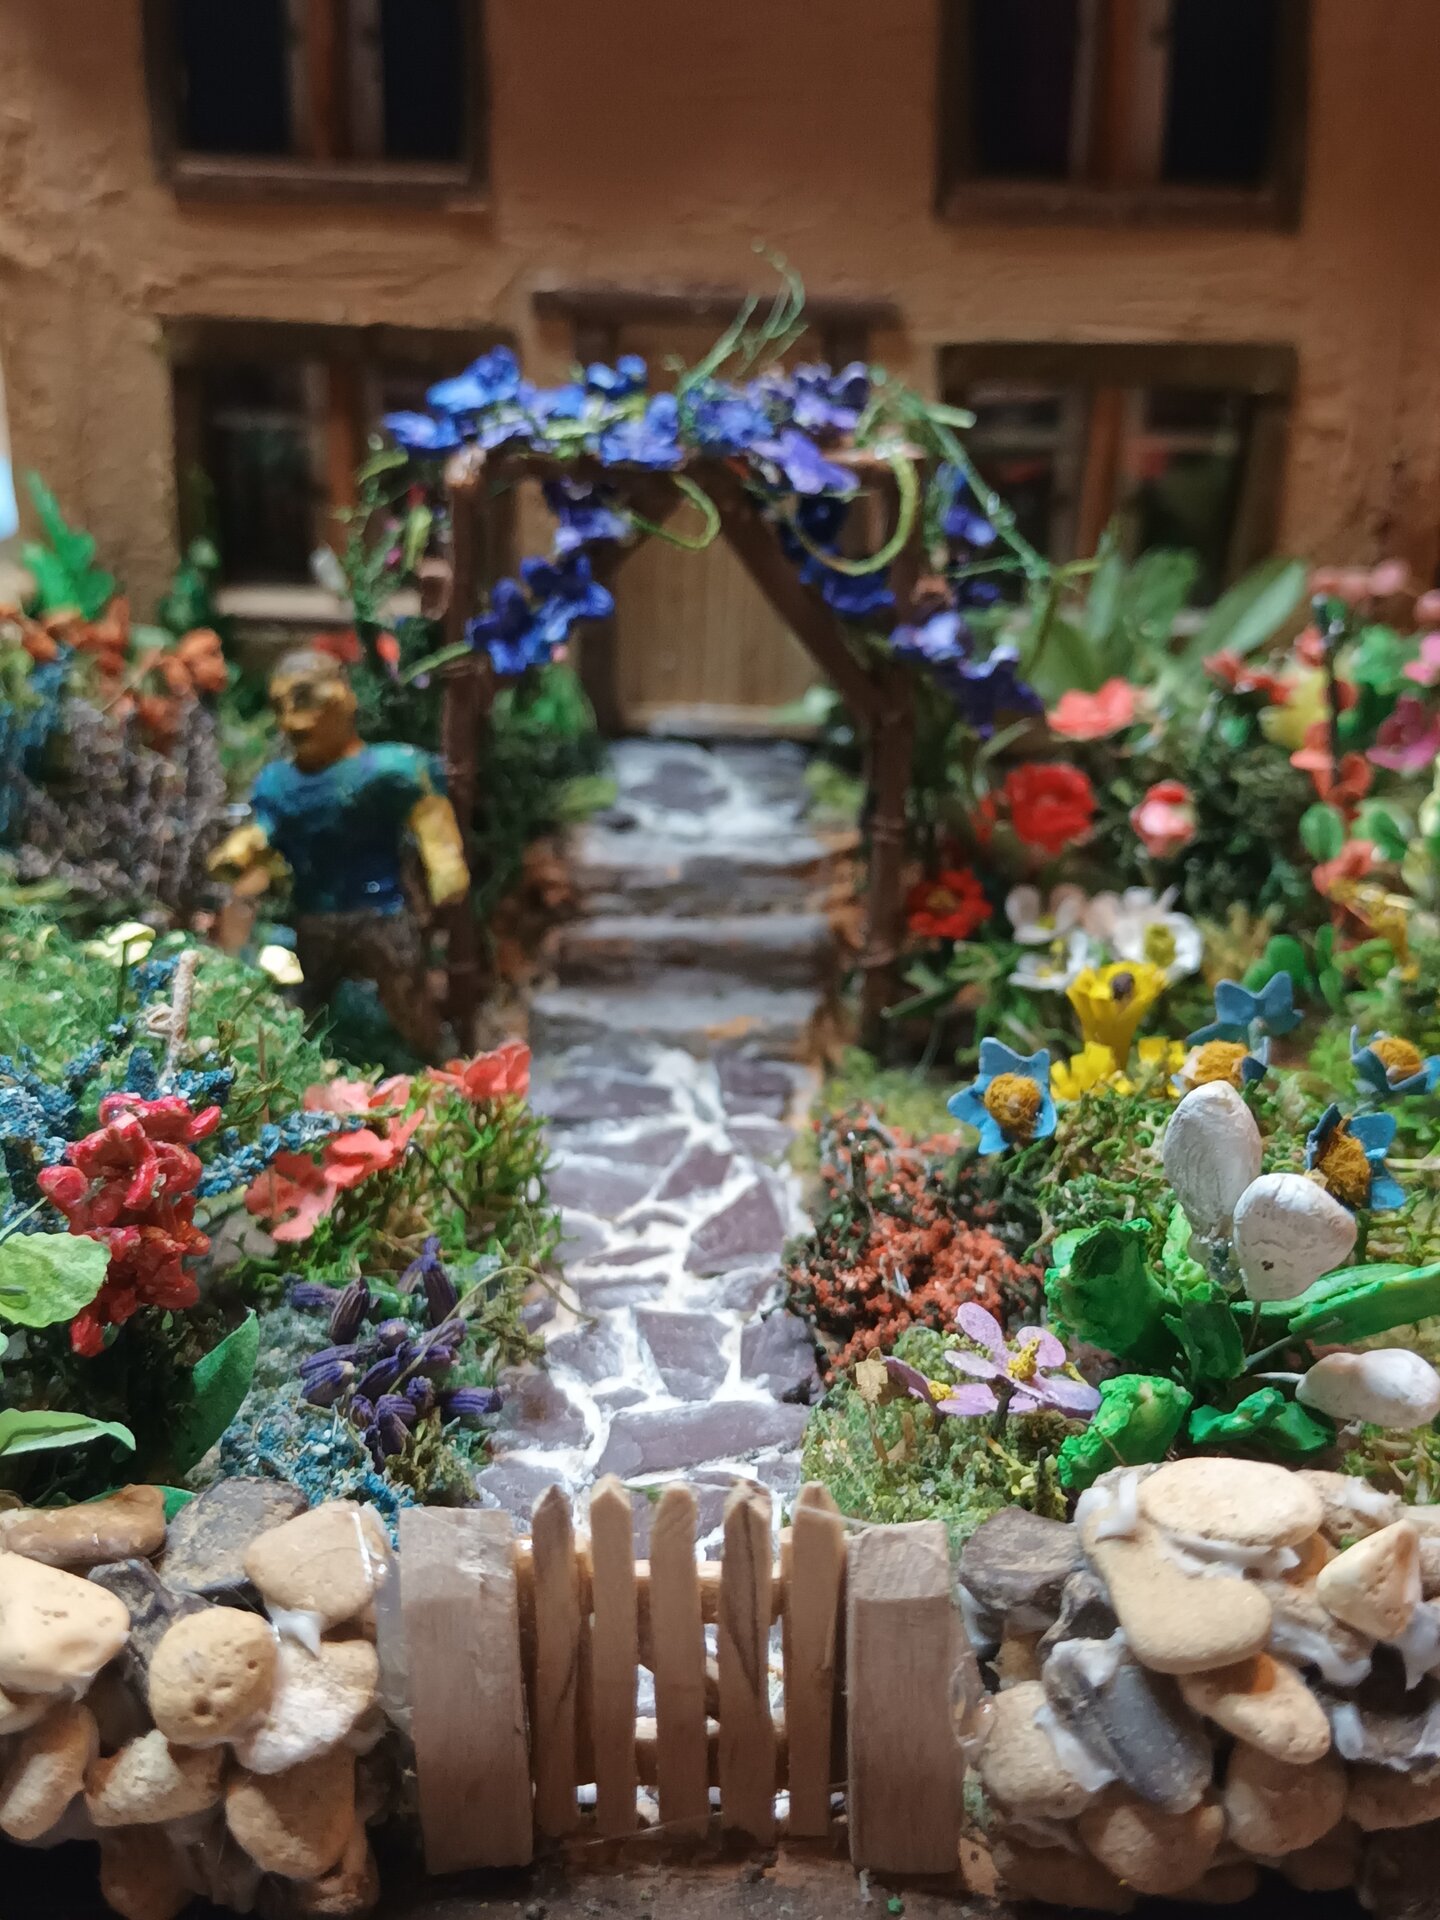
The Clematis Arch
The arch in this reference picture was really attractive and this led to my first creating the arch, then making the clematis flowers from clay, and finally fitting it all together.
Arch Construction Process
The clematis flowers were made from clay using a homemade 4-lobed punch from tin, creating the distinctive star-shaped flowers. These were then attached to the arch to create the climbing effect.
The bright blue clematis on the arch draws the eye into the center, creating a focal point that leads to the various pathways around the garden.
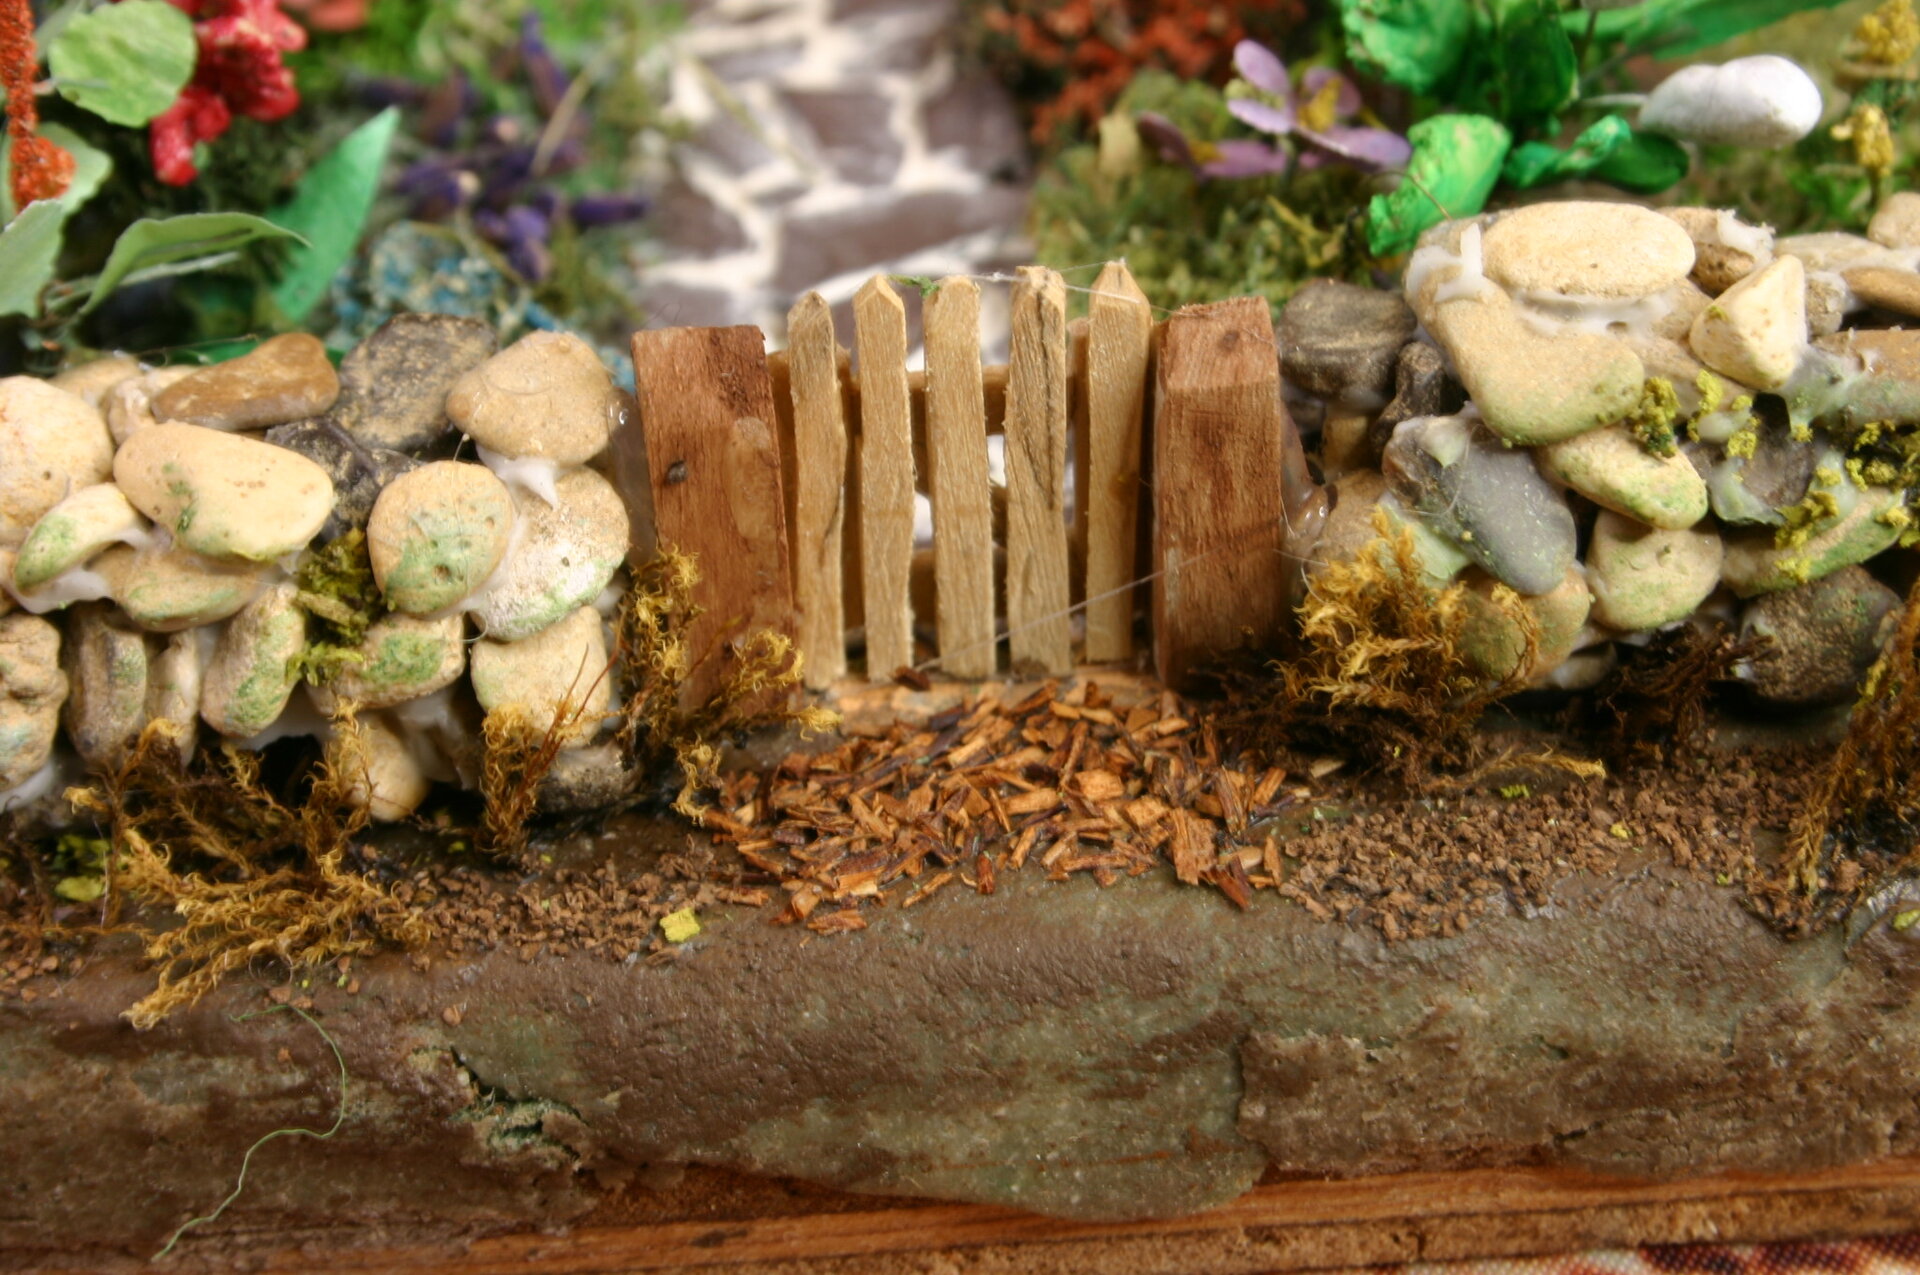
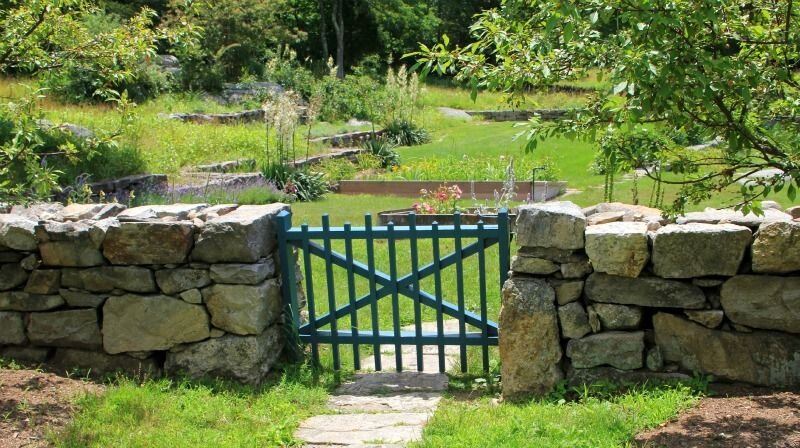
Gate and Stone Wall
Wooden gates and low stone walls were often used in historic English gardens. I first made the gate to conceptualize the height of the wall, and then put the wall together using small stones from horticultural grit.
Reference and Planning
Construction Process
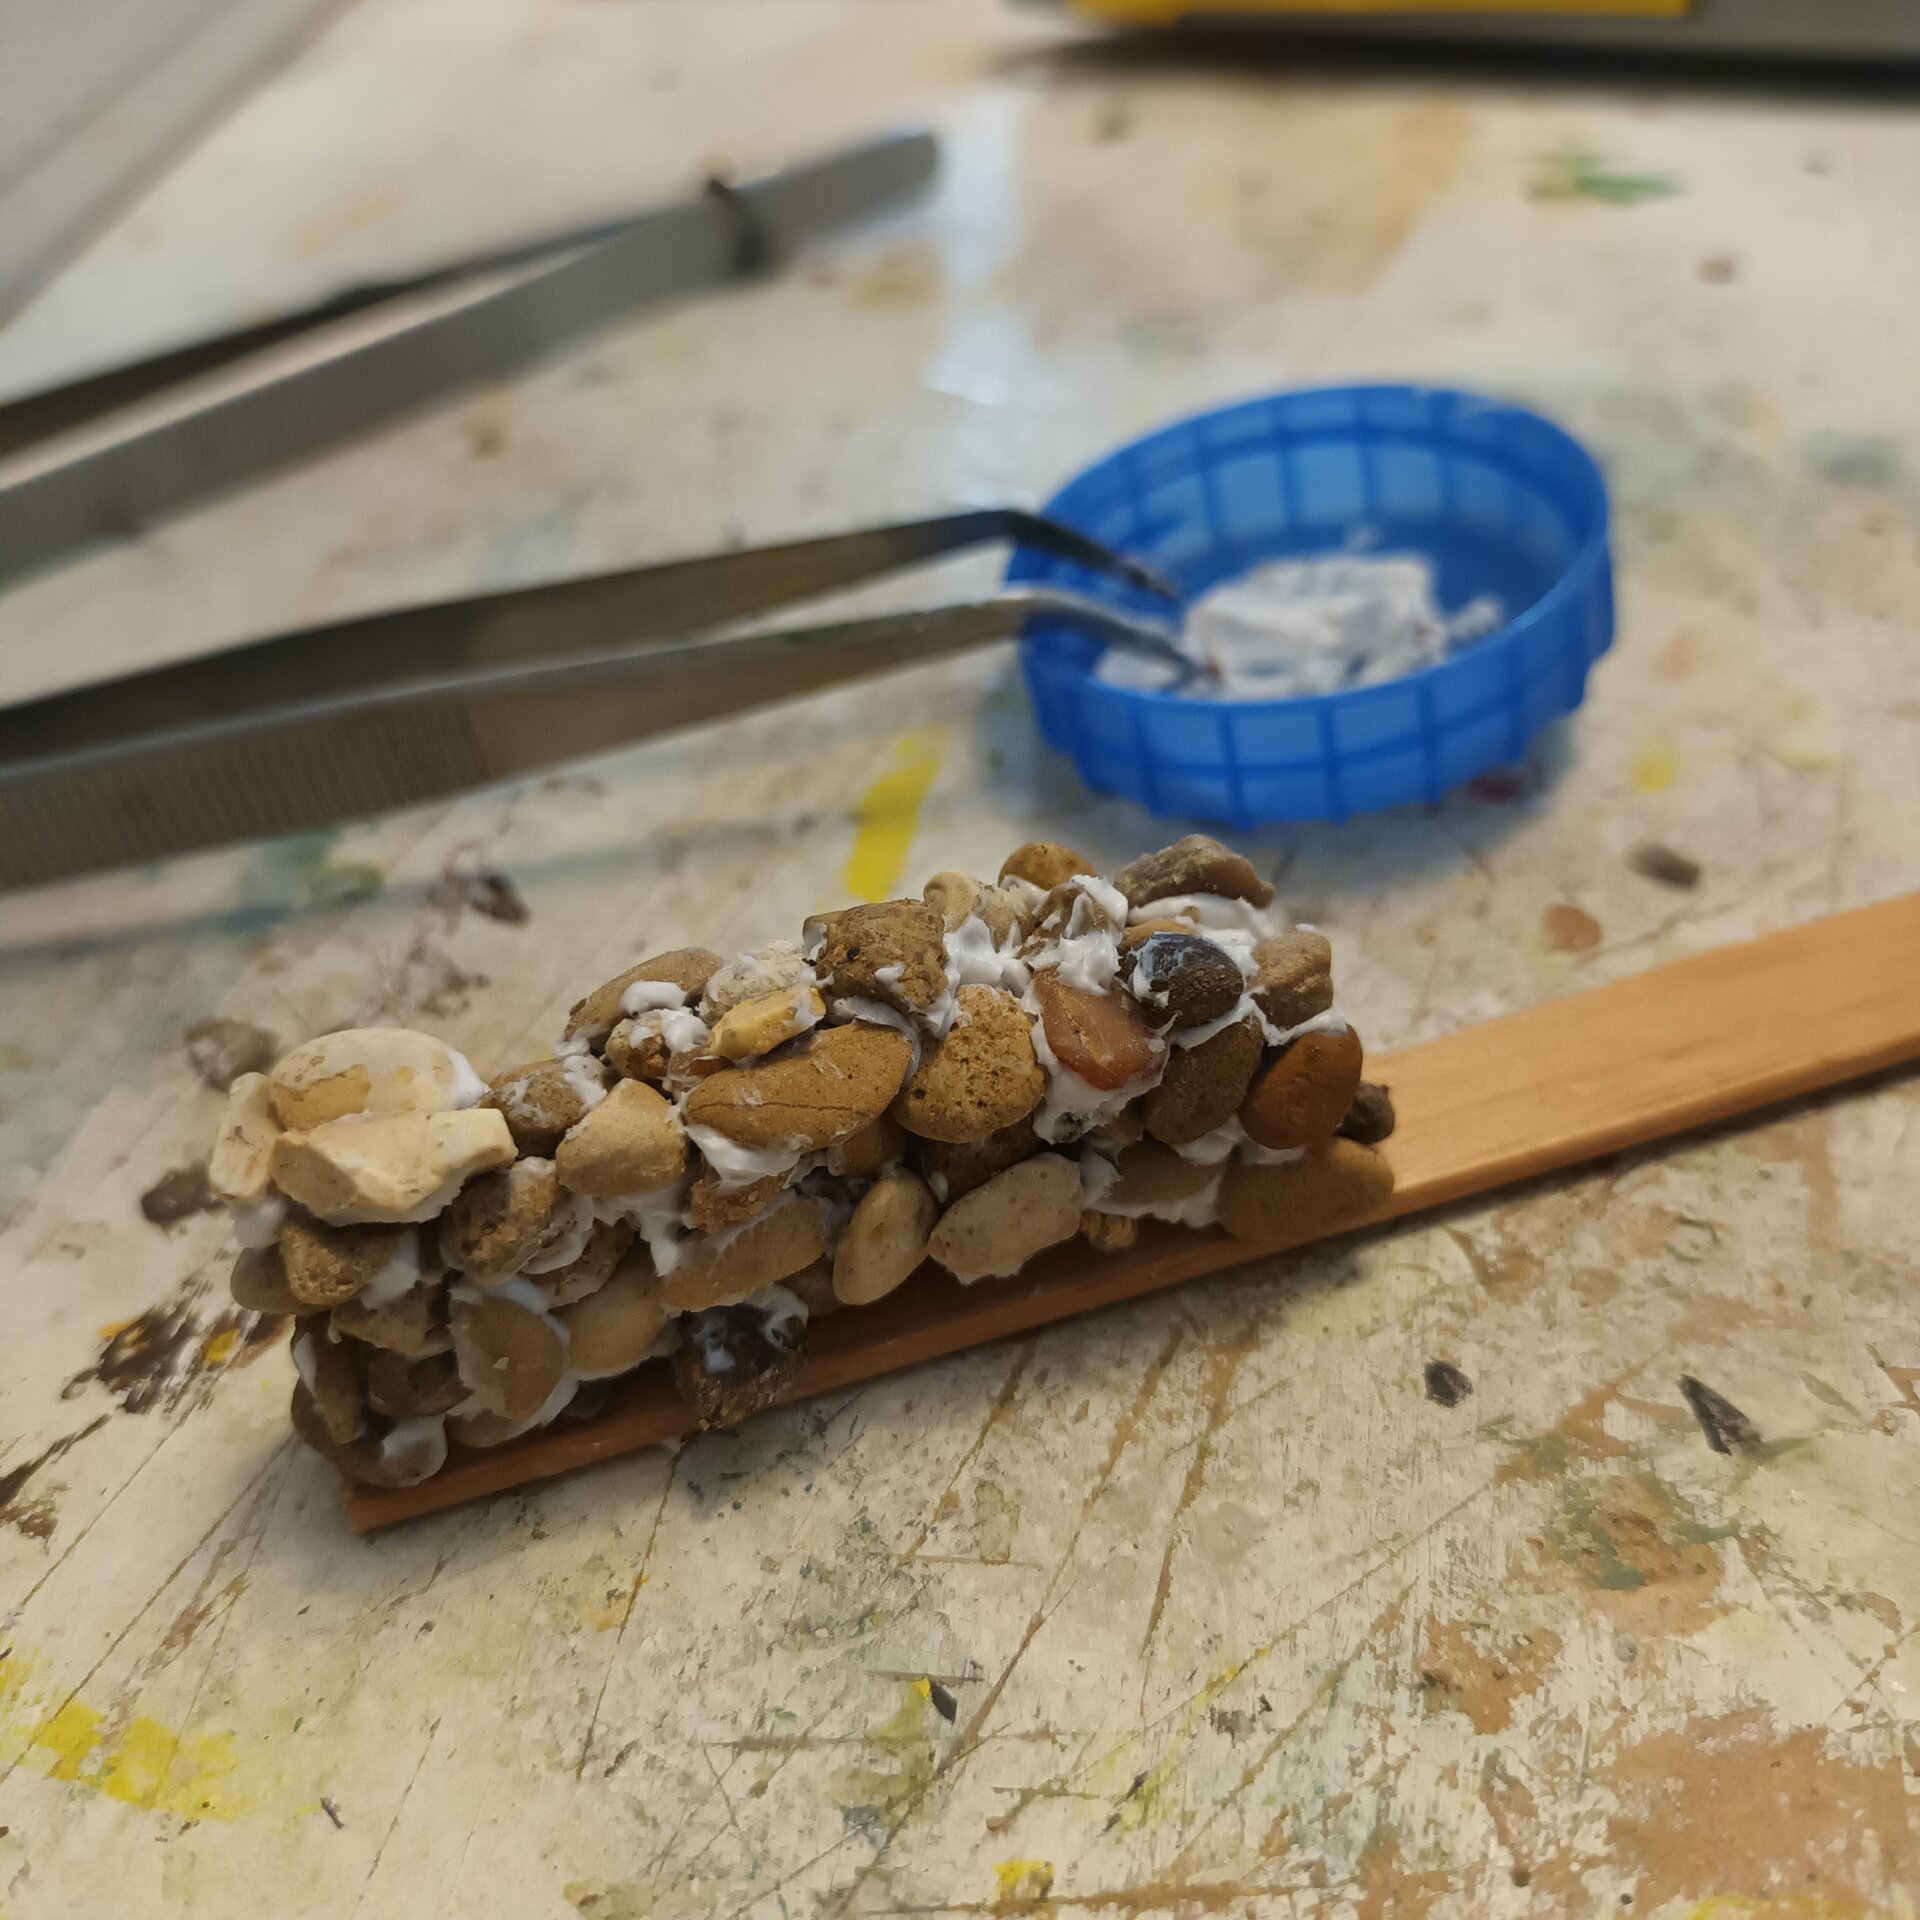
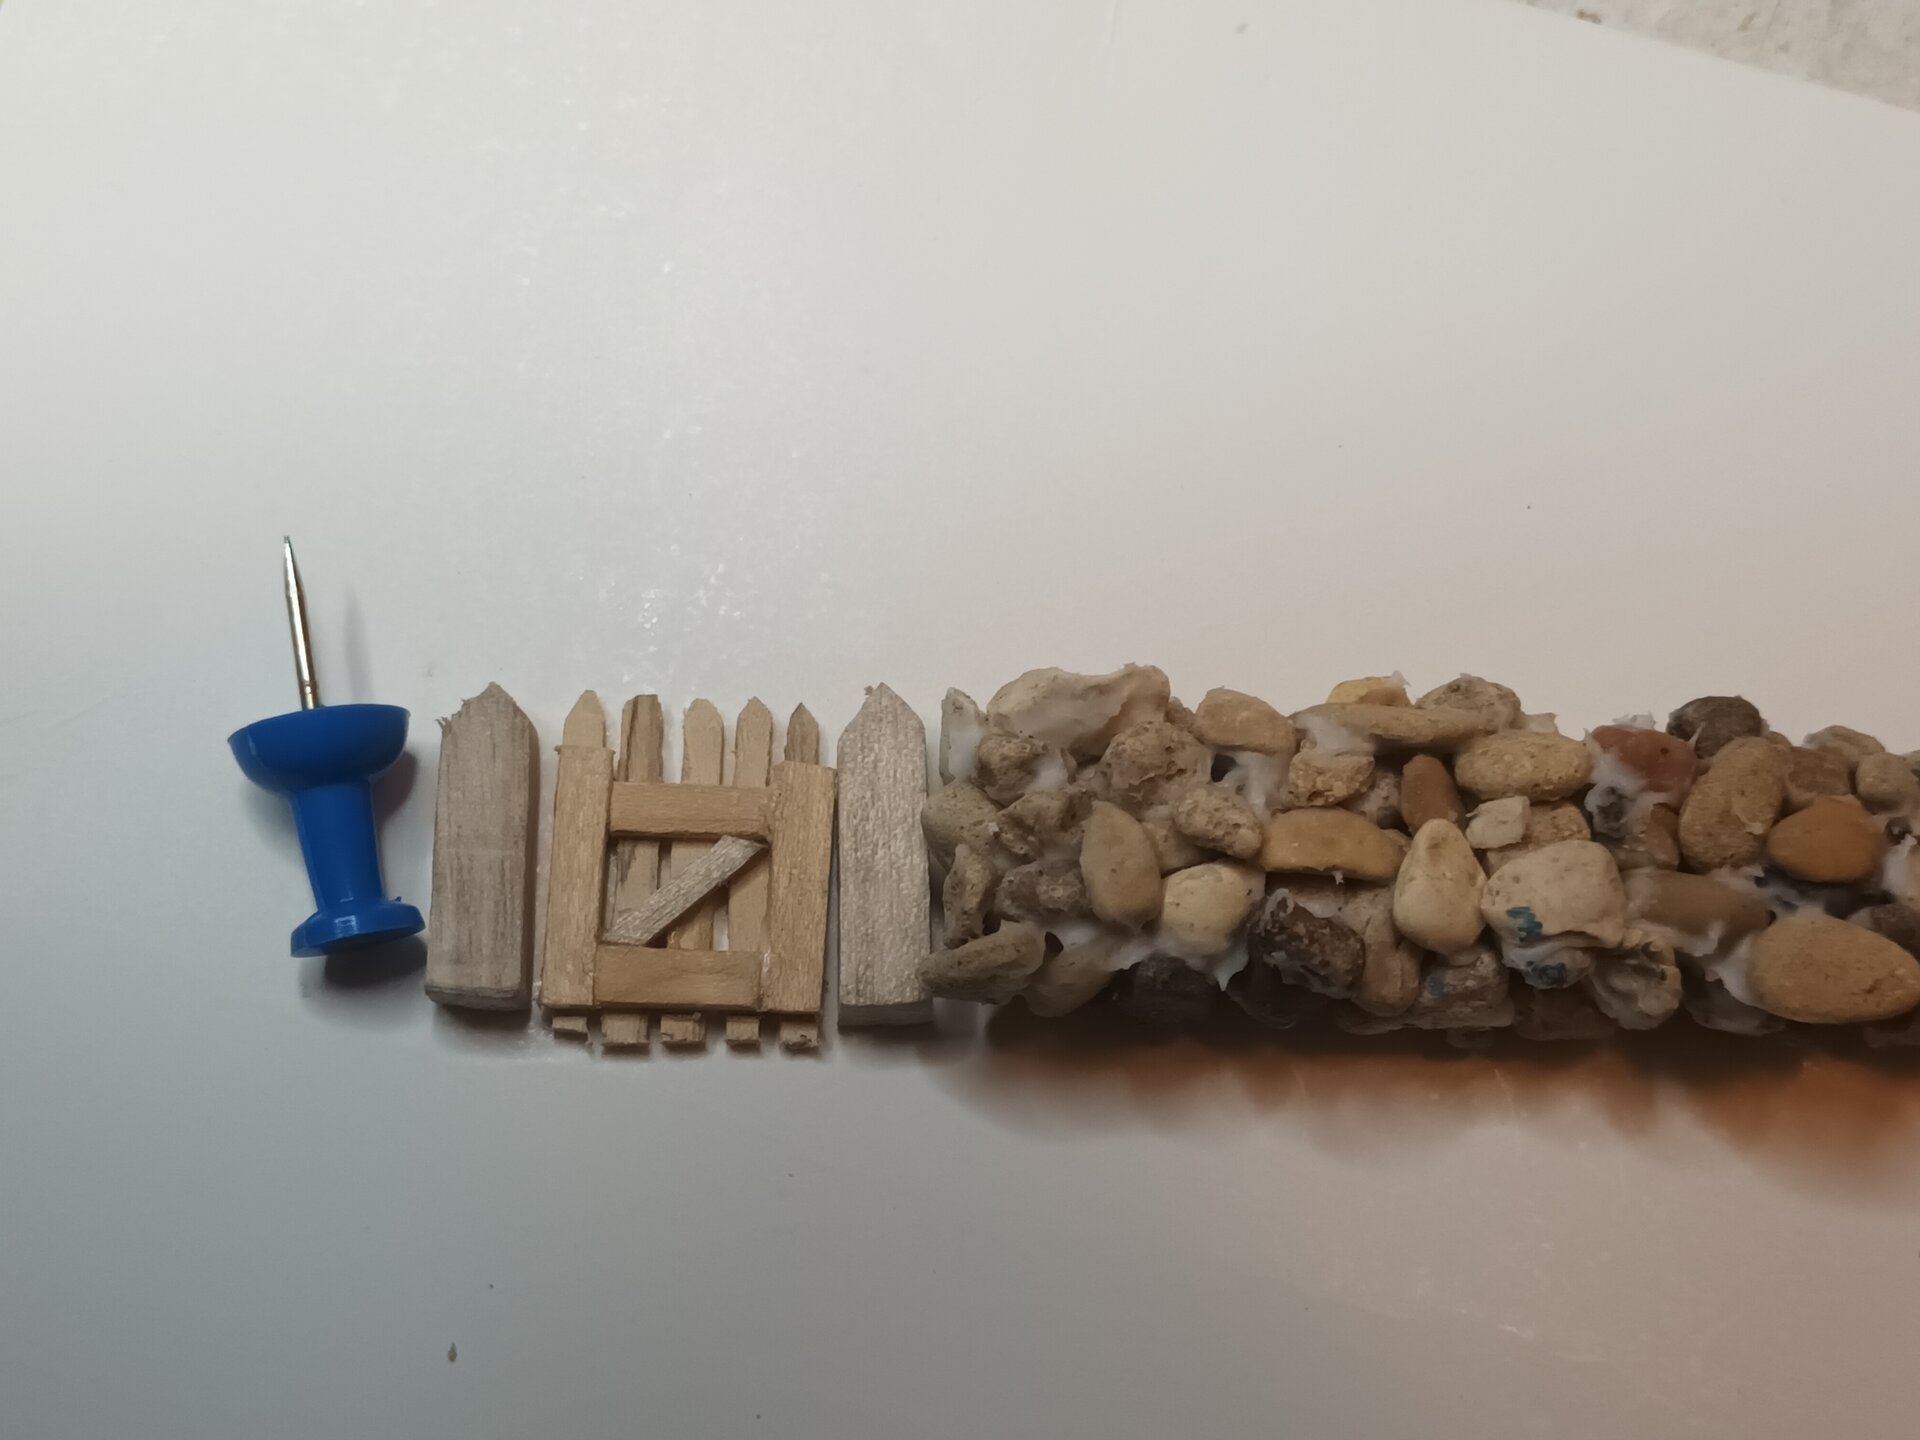
The stone wall was built by individually placing and gluing small stones from horticultural grit. This tedious process created a realistic dry-stone wall effect typical of English cottage gardens.
Garden Pathways
The path was made of real slate, crushed into small pieces and then glued in. Filler was used to fill the gaps and create the edge, giving a natural worn pathway appearance.
The steps were squared up and leveled off with filler, then weathered to create an imitation of cement steps connecting the upper and lower garden levels.
[NOTE: How did you weather the steps to create the cement effect? Paint technique, pigments, or physical texturing?]
Preparing for Garden Layout
The planting areas were carefully planned into zones or “rooms.” The main feature is the walkway straight from the gate to the front door. The steps and arch allow for an upper level and lower level with access to both sides of the garden from the path onto a lawn and gravel paths around the garden.
Layout Principles:
- Taller plants positioned against the dividing wall through the middle of the garden with smaller plants in front
- To the right, at the edge of the garden: bird bath and small trees
- Against the cottage walls: ferns and hostas with climbing roses and clematis climbing up the wall
- The larger trees frame the rear of the cottage and edges of the garden
All the plants were prepared as loose units to allow for the selection of color, size, and effect to fill up the different planting zones or groupings of plants. Plants were mostly glued in with a glue gun, while all the trees and shrubs have a pin in the base to firmly fix them into the surface.
Ready for Major Components
With the majority of the plants and structures created, attention could now turn to the cottage construction:
Base and Structure Challenges
Elevation Design: The decision to add a second level came late in the process but transformed the garden by creating visual interest and better plant display.
Clay Mixture: Achieving the right consistency for the homemade clay required experimentation. Too wet and it wouldn’t set properly; too dry and it cracked excessively.
Stone Wall Patience: Placing individual grit stones one by one was extremely tedious but created an authentic dry-stone wall effect that couldn’t be achieved any other way.
Integration Planning: Ensuring the arch, wall, gate, and paths all worked together spatially required careful measurement and adjustment.
[NOTE: Did you do any tests or mock-ups for the elevation change before committing? Any regrets about structural decisions?]
Skills Developed
- Homemade modeling clay formulation
- Terrain building with elevation changes
- Scratch-building garden structures at scale
- Stone wall construction with loose materials
- Crushed slate pathway technique
- Filler work for steps and edging
- Spatial planning for multi-level garden
- Integration of structures with planting zones
Foundation Complete
The base and garden structures now provided the framework for the entire project. The elevation changes, the arch focal point, the pathway system, and the stone wall boundaries all worked together to create the authentic English cottage garden setting.
With these structures in place and the cottage construction underway, the stage was set for the final planting phase that would bring the garden to life.
Next Build Log: #004 - Cottage Construction - Building the Victorian cottage with authentic thatched roof
Project Status: Base, terrain, and garden structures complete; ready for cottage assembly and final planting
The framework that would support and showcase over 100 handcrafted plants was now in place.
Have questions or feedback about this project? I'd love to hear from you.