English Country Garden - Flowers & Plant Creation
The Core Challenge
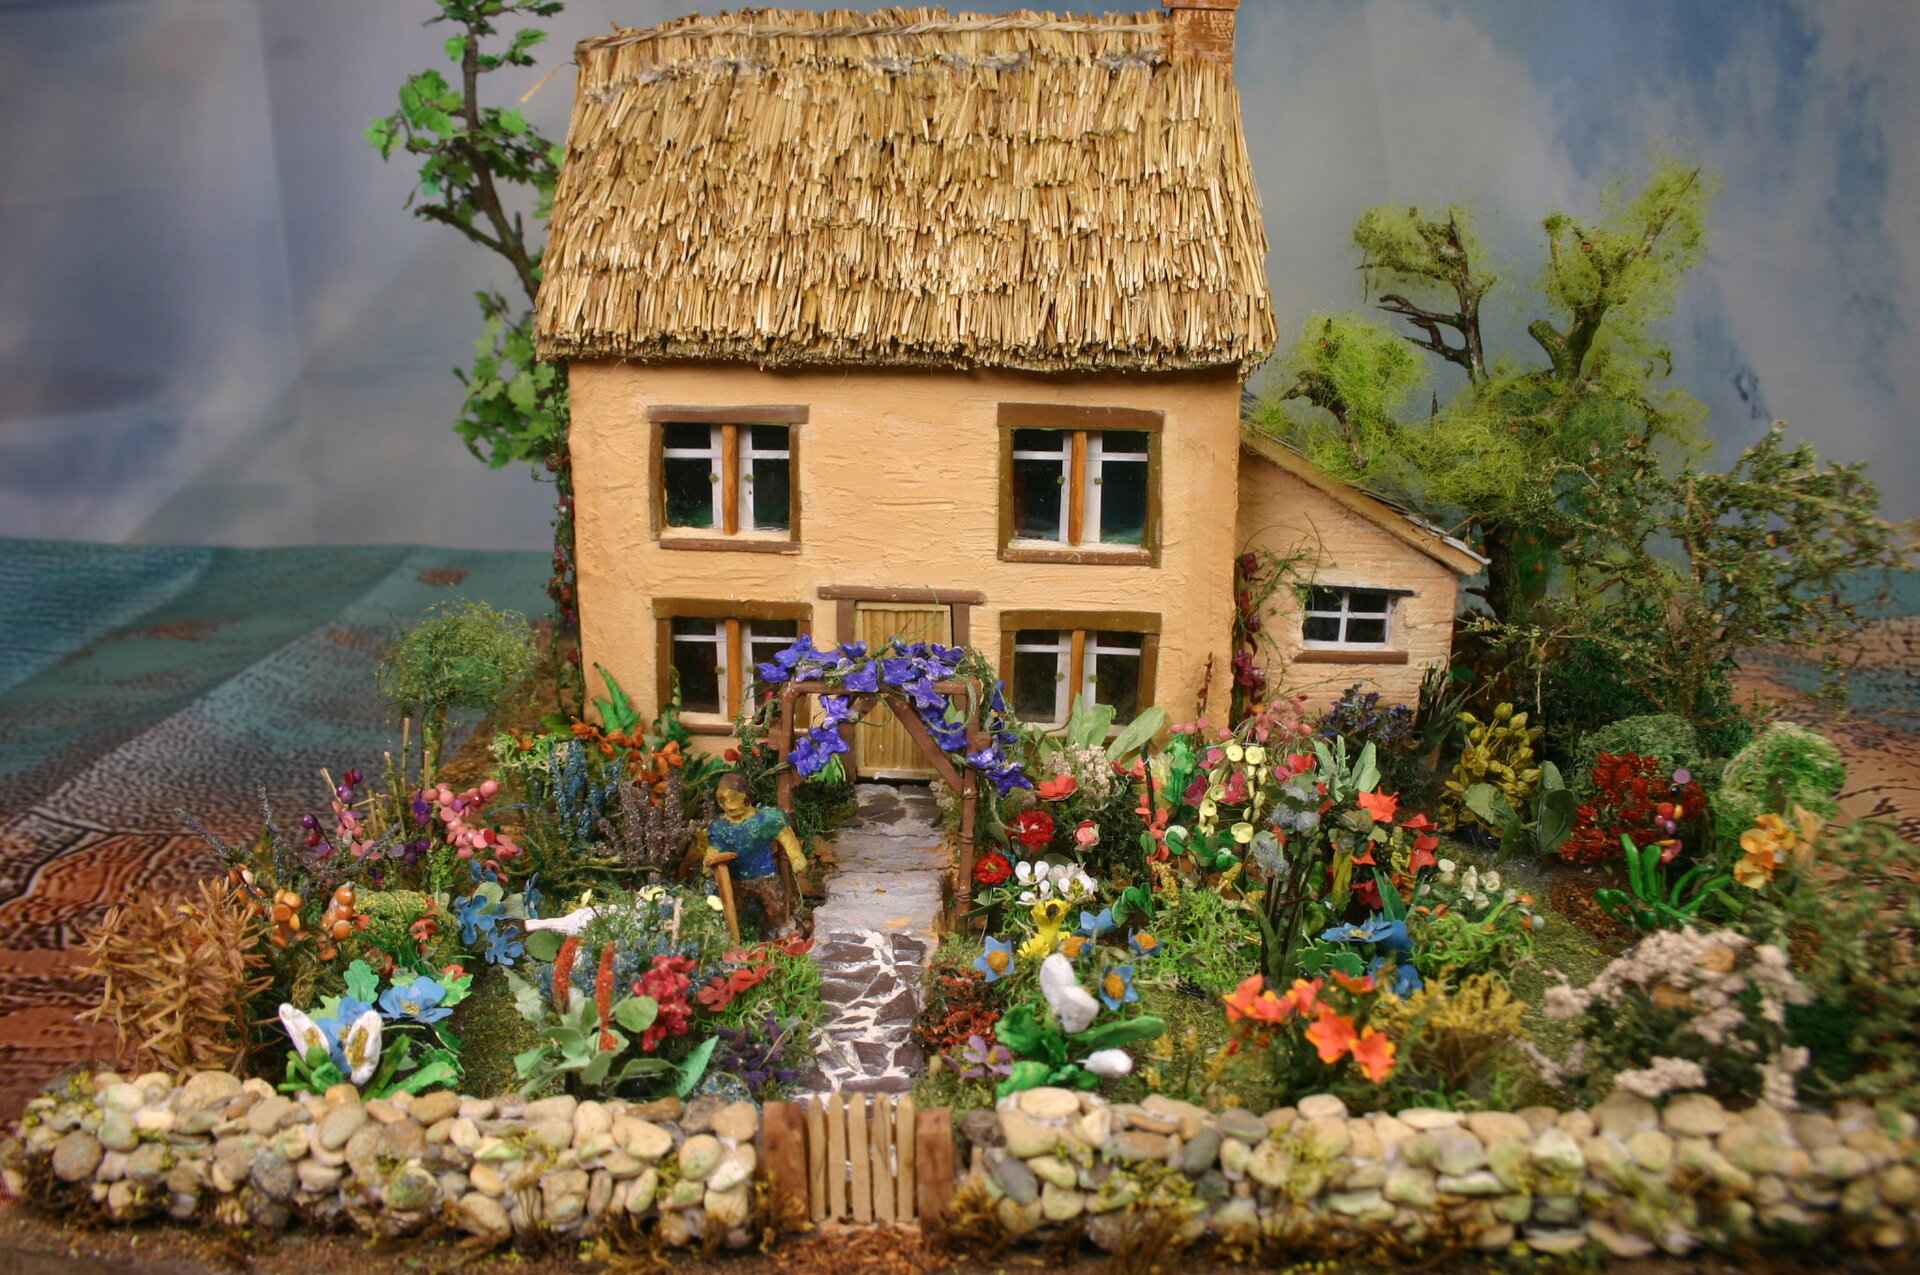
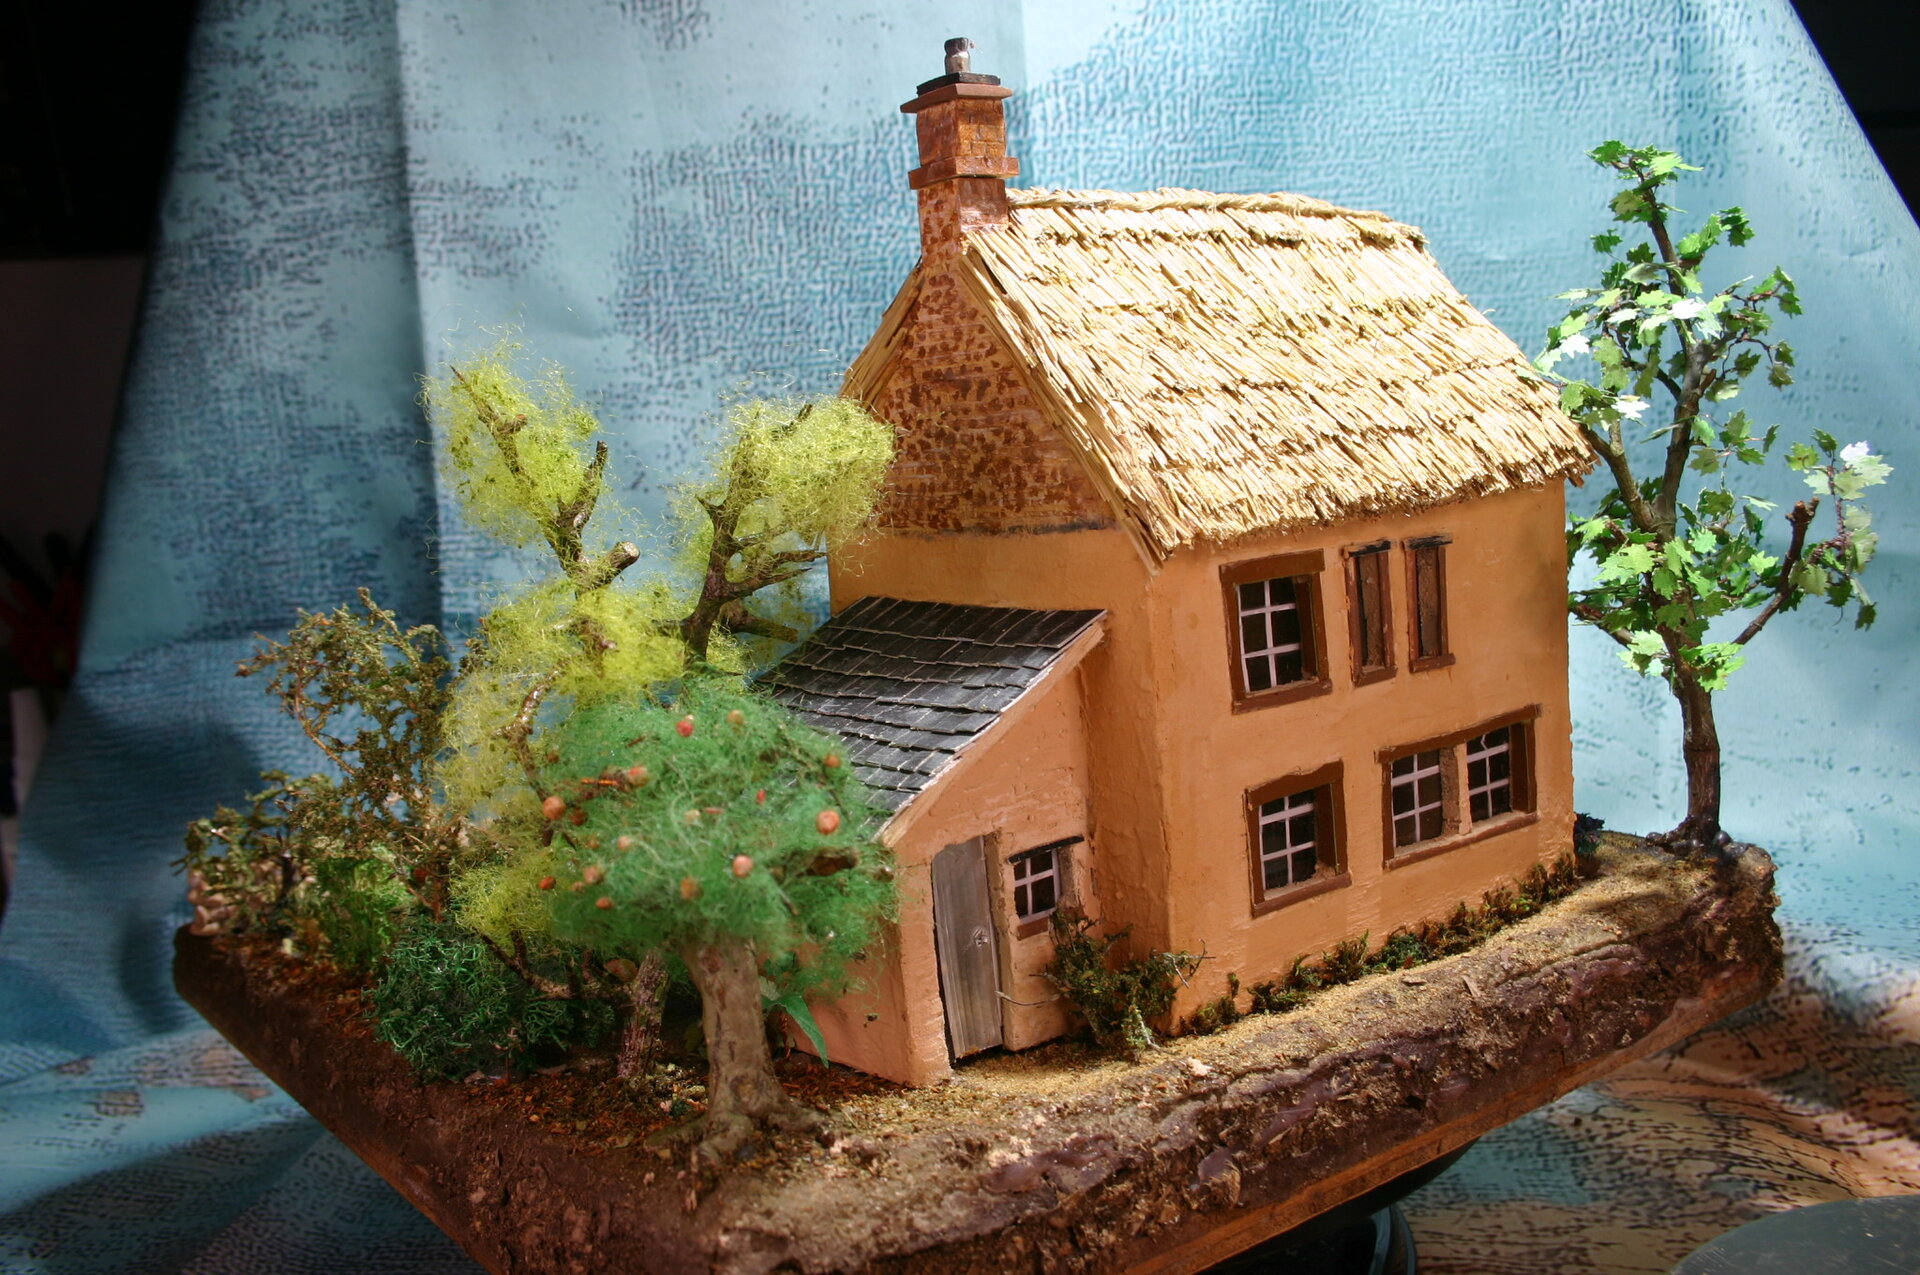
This chapter documents the heart of the English Country Garden project - the creation of over 100 individual flowers, shrubs, and trees. Each plant was individually made, and for this, materials had to be collated and prepared. This work continued throughout the project, with techniques refined and new methods developed as understanding grew.
If I could not manage to get the flowers done, there was no use continuing with the other main parts such as the cabin. This was the make-or-break element of the entire build.
Material Preparation
Copper Wire Recovery and Preparation
I recovered quite a bit of copper wire from wire stripping, capacitor leads, and coil windings. The grades of copper vary across several categories:
- Ultra-fine wire: Almost hair-thin, typically around 0.1mm or less in diameter
- Fine wire: Around 0.3-0.5mm diameter, good for delicate work like flower stems or small details
- Medium wire: About 0.8-1.2mm diameter, often used for structural parts or thicker stems
- Heavy wire: Up to 2mm diameter, suitable for strong frameworks or bases
I discovered how handy copper wire is in this project, and it is now indispensable in my dioramas.
Wire Pre-Treatment
To prepare, the wire is pre-coated with acrylic paint or left-over water-based paint in various darker colors to hide the copper gloss of the wires. These are then cut into different sizes and bundled together, ready for use.

Paper Stock Preparation
I collected a range of different types of paper for different parts of the flowers:
- Standard 80 gsm printer paper: For petals and templates
- Packing tissue (17-35 gsm): For soft, delicate layers
- Cardstock (160-220 gsm): For stems, leaves, and structural parts
Sheets of the different types of paper were colored with acrylic in a range of colors to suit the different flowers. The sheets were all dried and then filed in a folder for easy access. This pre-colored paper stock became an essential resource, allowing quick access to the right color and weight for each flower component.
Natural Materials
Sawdust: Sifted into different grades, and then colored in greens, whites, pinks, and reds in small quantities. This was very useful for some of the fine cluster types of flowers.
Other Natural Materials:
- Seed heads
- Sphagnum moss
- Dried twigs with leaves
- Tea leaves
Natural materials were strengthened and preserved by dipping them in watery clear varnish, and then painted to enhance the colors.
[NOTE: Which garden plants provided the best twigs/seed heads? Any particular sources that worked especially well?]
Making Flowers
Understanding Flower Construction
Selecting the methods for making flowers were largely centered around shapes, illustrated by the guide developed during research:

Different flower forms required different techniques:
- Strap shaped (daisy)
- Bell or funnel shaped (bluebell, arum lily)
- Cluster (lavender)
- Spike (foxgloves, hollyhocks)
- Flat top (ammi majus)
- Distinct petals (rose, dahlia, geum, phlox, lily)
- Star (clematis, marigold)
- Saucer (buttercup, cosmos)
- Pompom (poppy, thistle)
- Trailing (rose, clematis, wisteria)
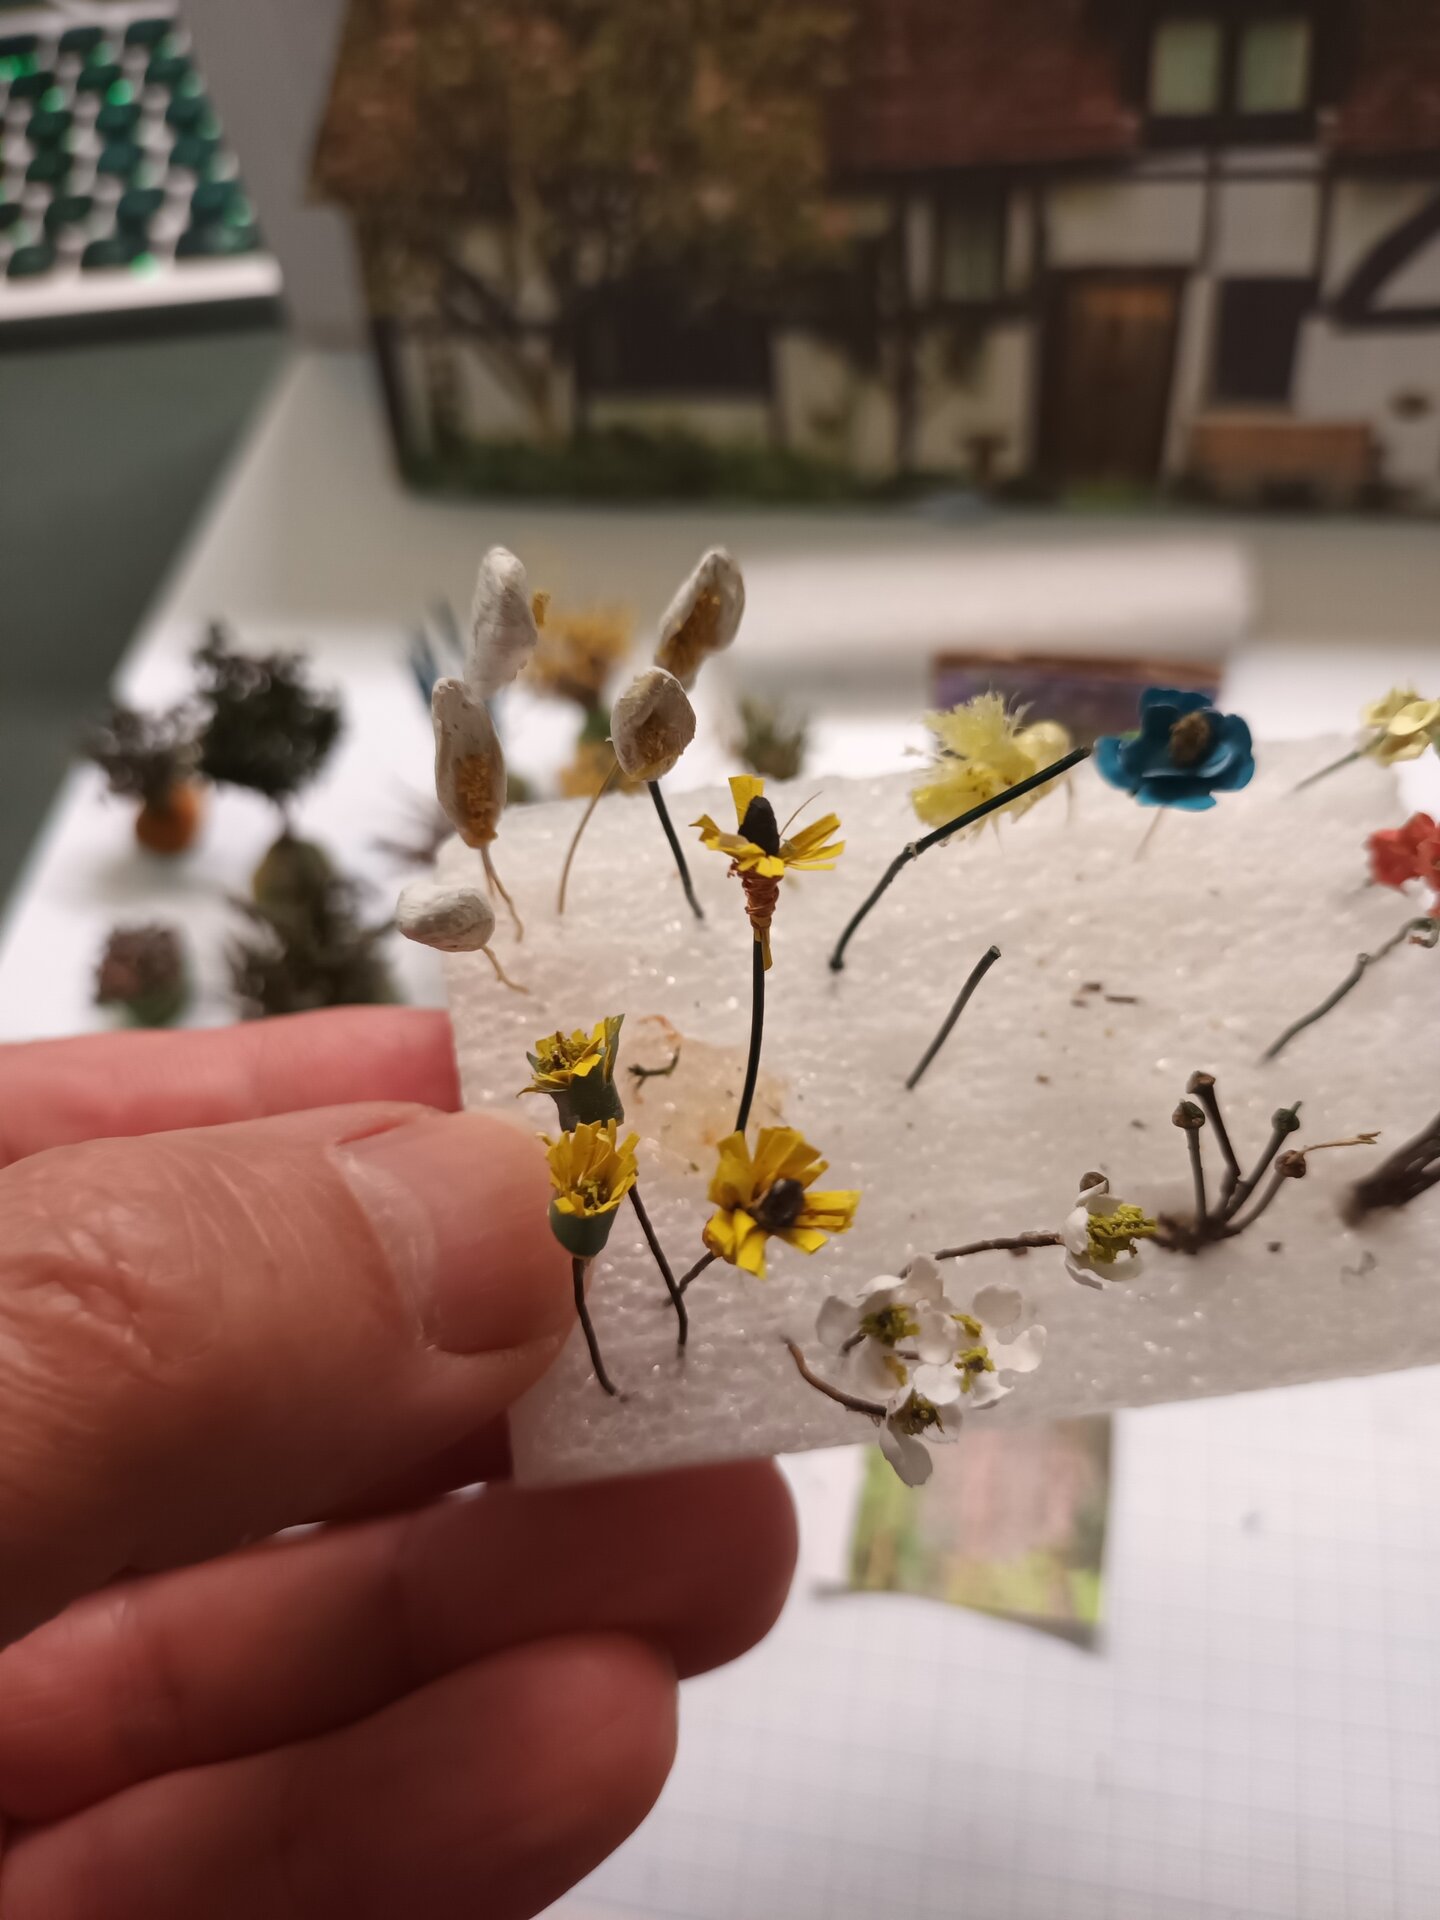
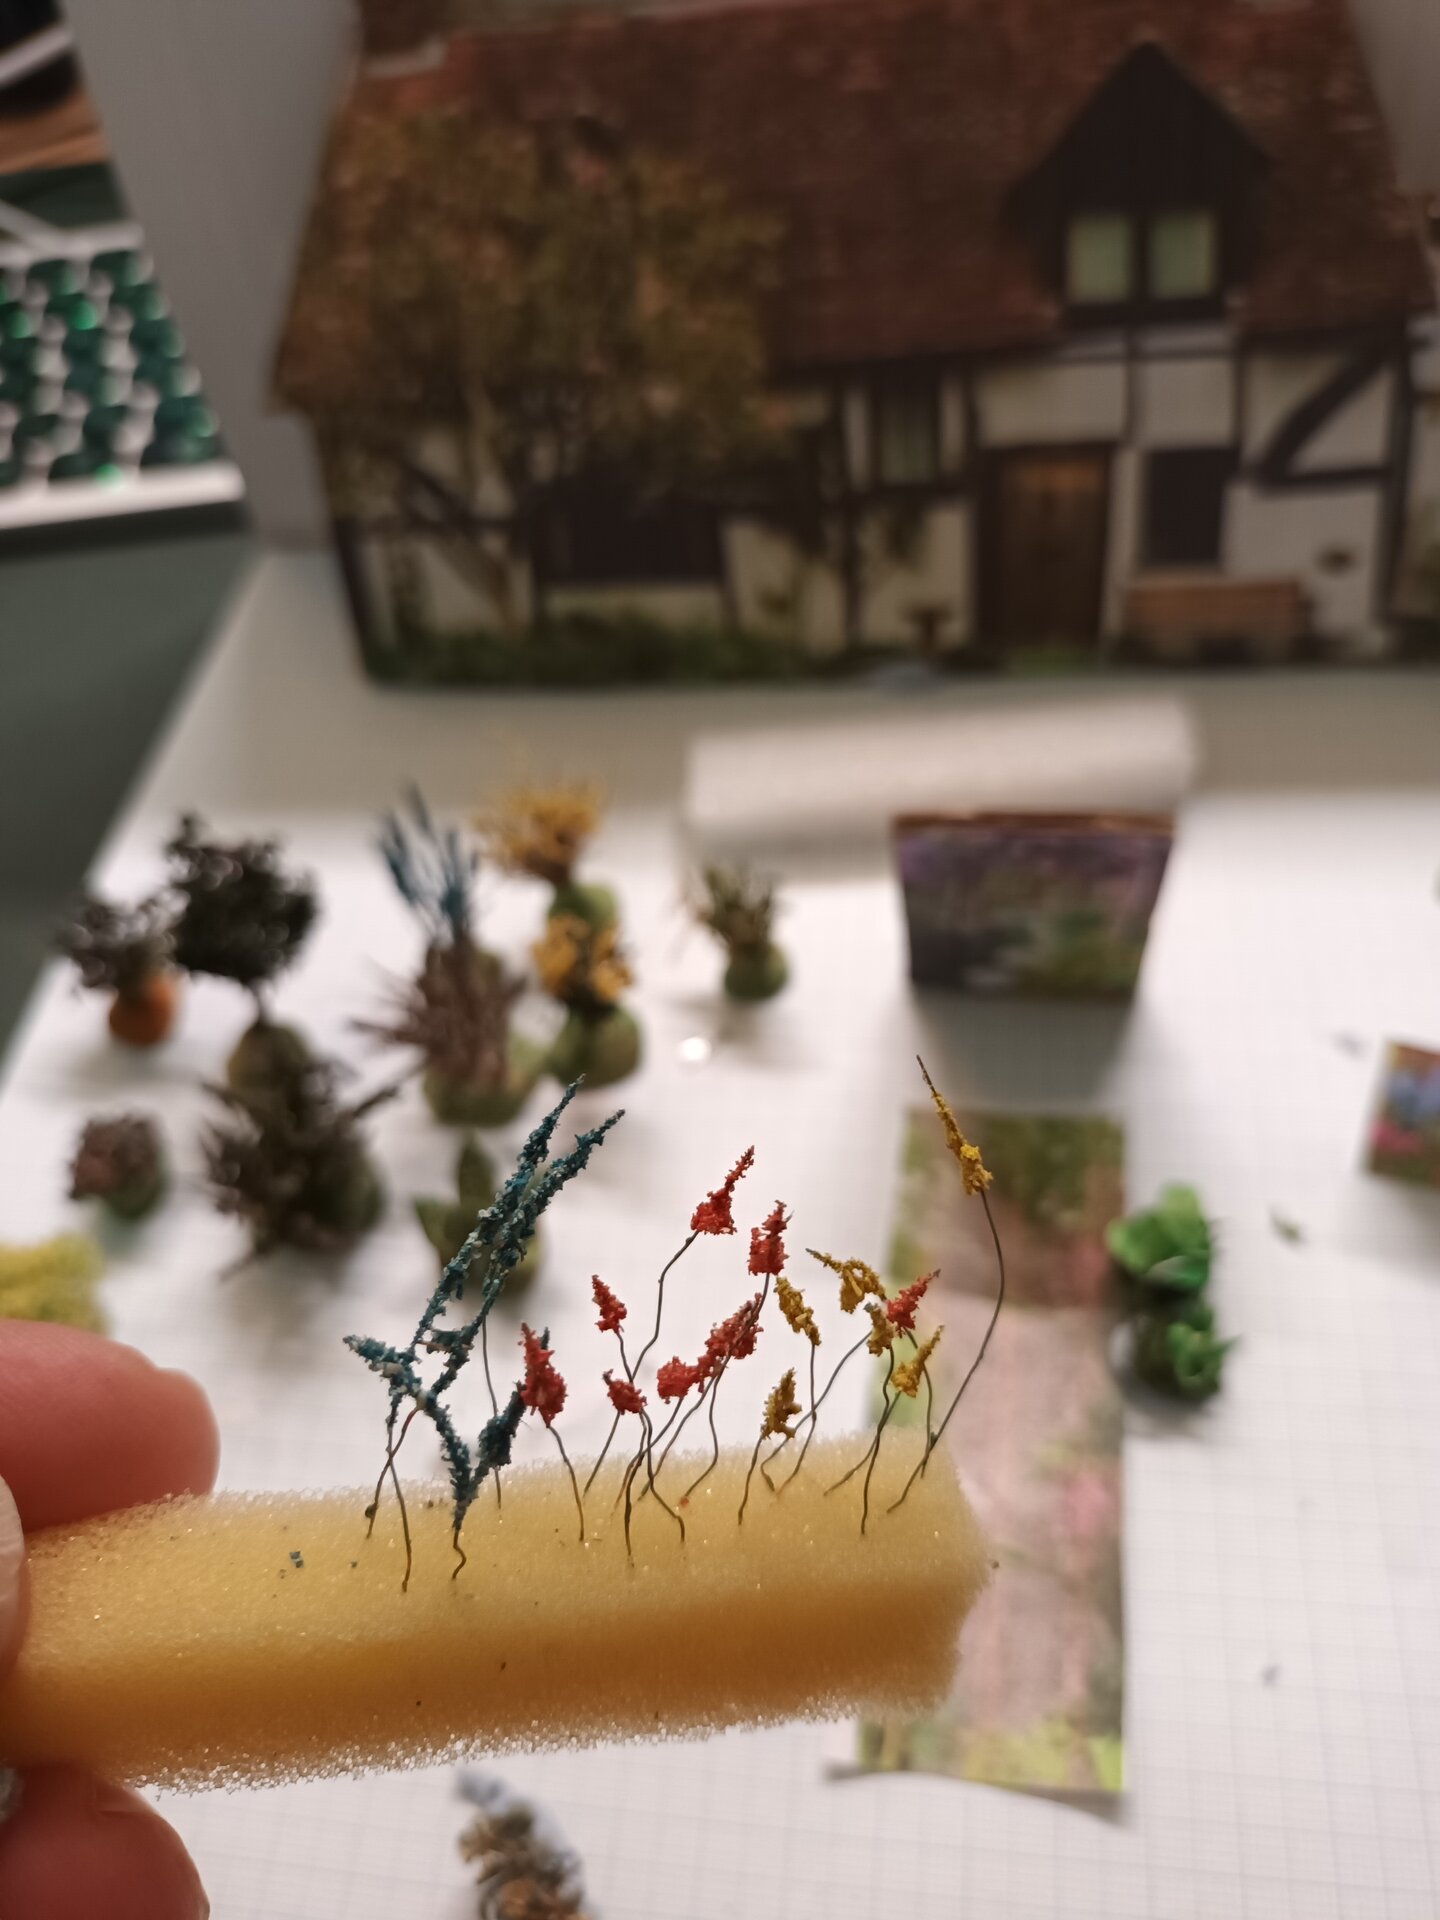
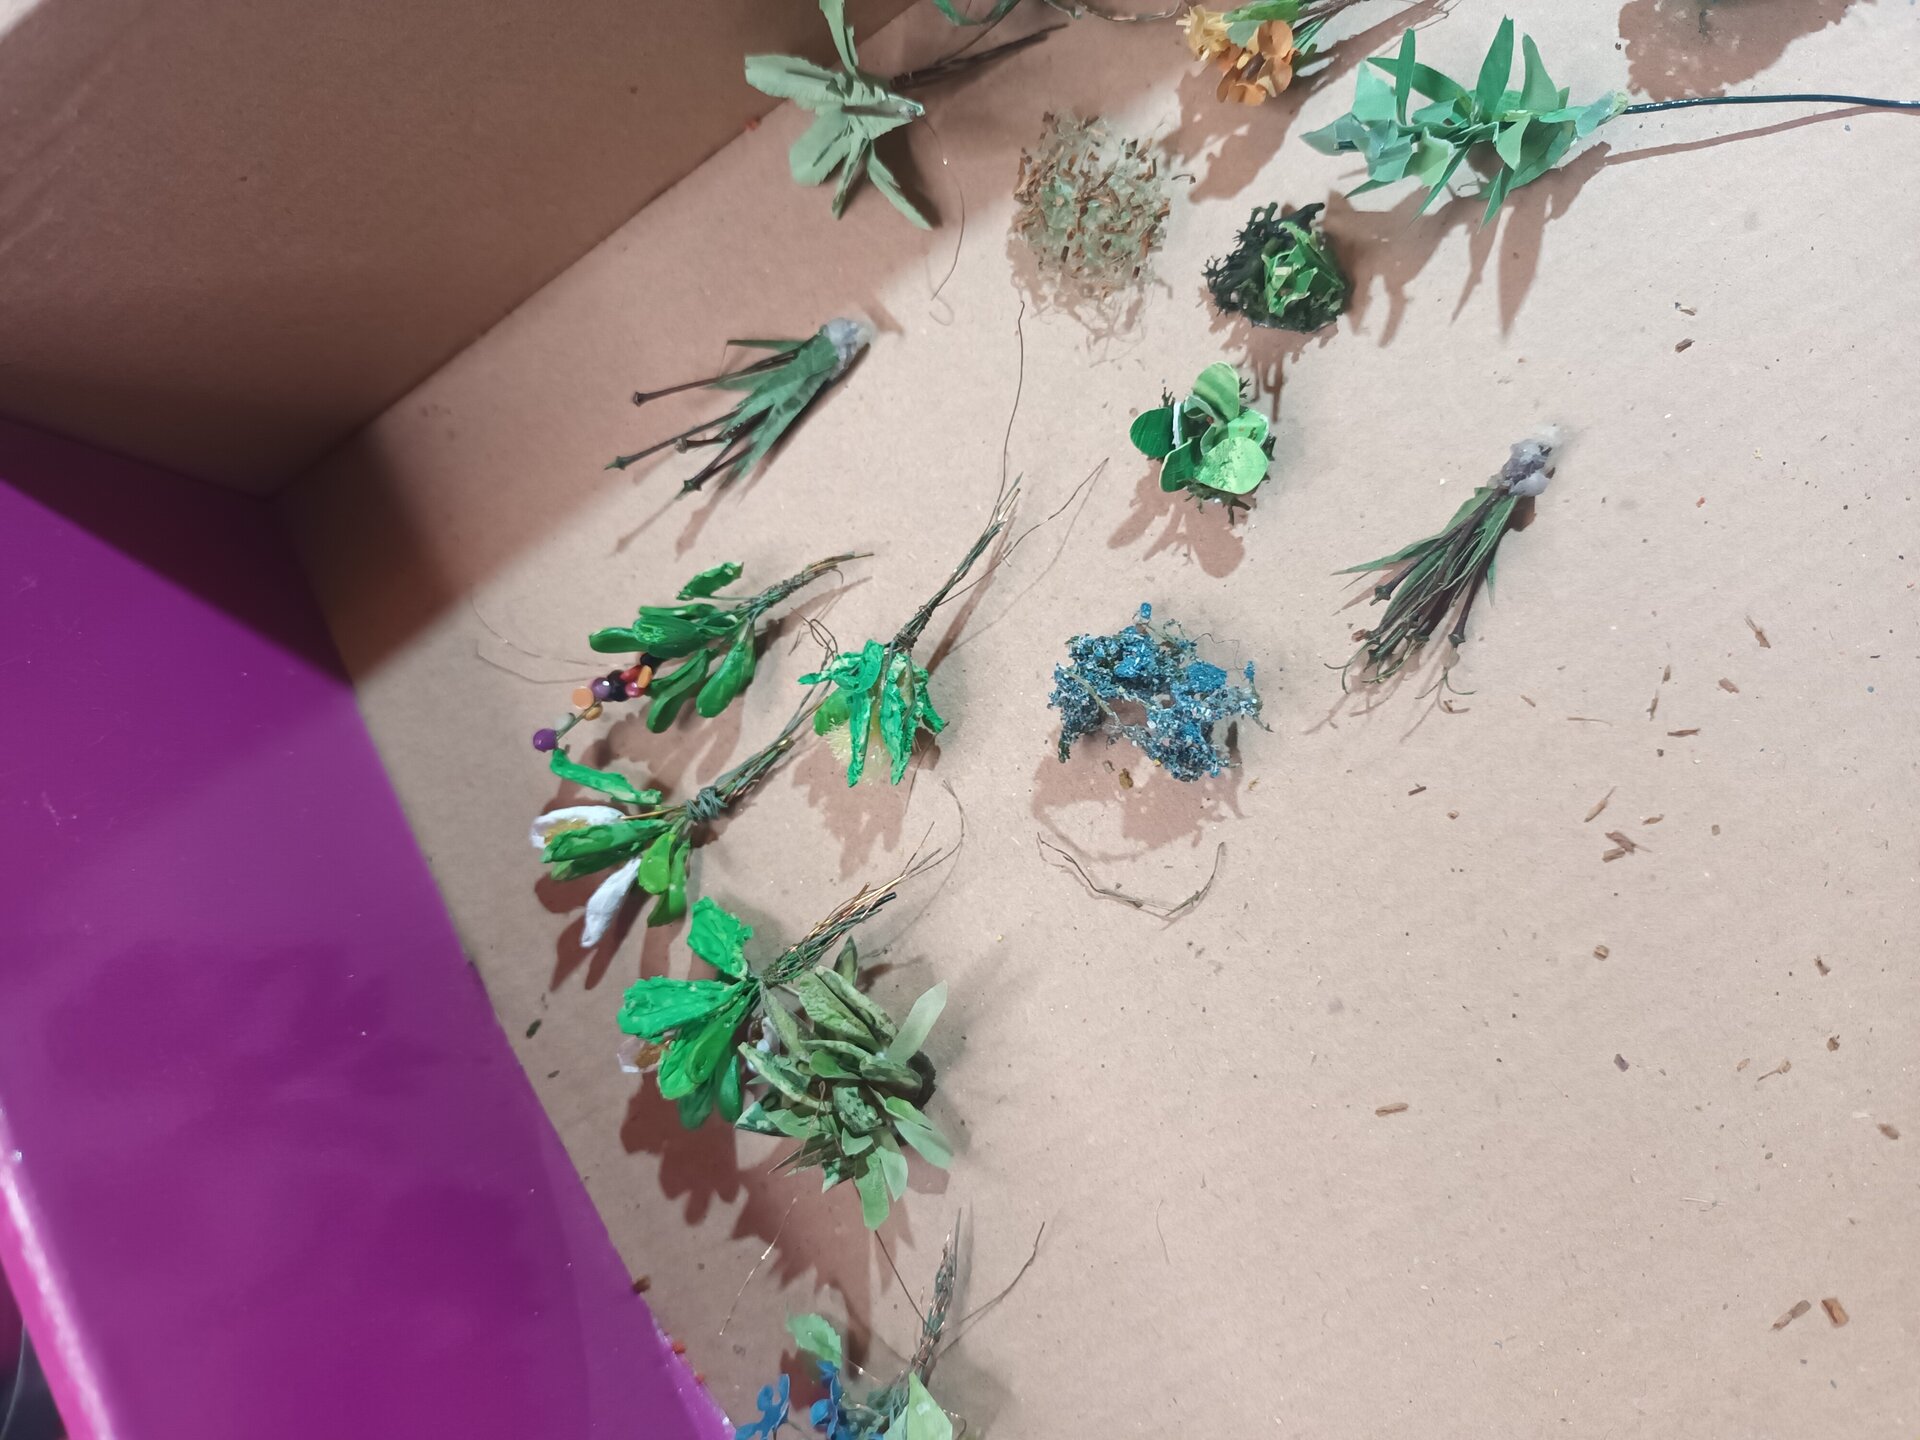
Technique Demonstrations
The following pictures illustrate different techniques. Note that some of these example experimentations never made it to the garden as I discovered new tools and techniques for making similar flowers.
Specific Flower Techniques
Micro Cup Flowers: A leather hole cutting tool was used to cut the micro cups. These were made into a cup shape with a small-sized ball sculpting tool, then glued individually to a green wire stem.
Arum Lilies: The funnel of the arum lilies were made out of clay, and folded around a wire stem dipped in yellow sawdust for the stigma.
Clematis: The clematis on the arch was cut out of clay using a homemade punch from tin with 4 lobes. This created the distinctive star-shaped flower.
Natural Material Flowers: Dried twigs, leaves, and seed heads were strengthened and preserved by dipping them in watery clear varnish, and then painted to enhance the colors.
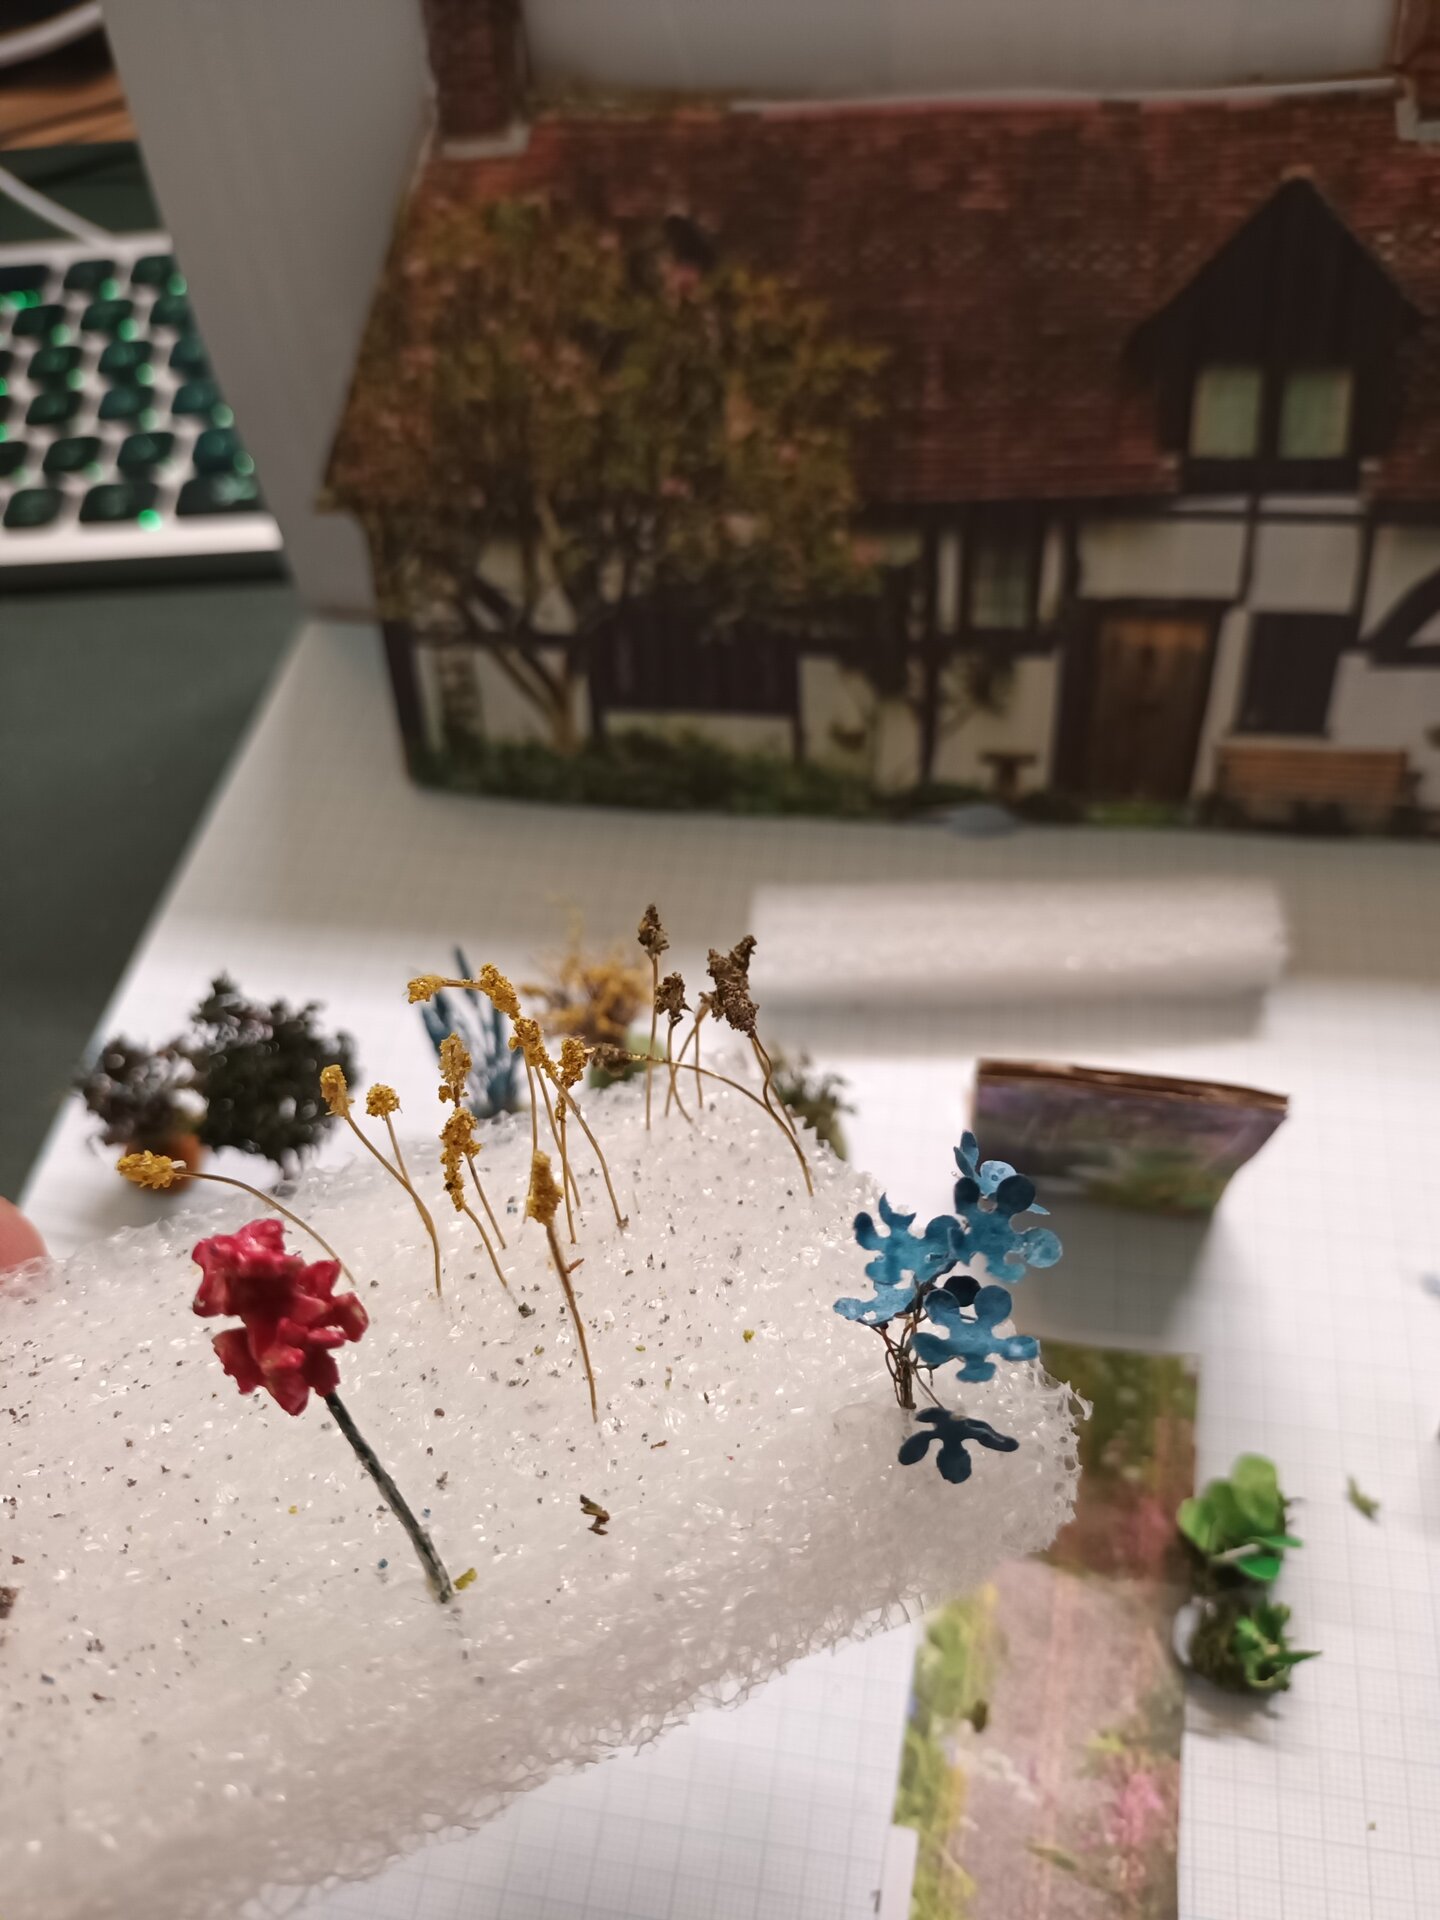
Diamond Dots: Diamond painting dots became some brightly colored spiky plants - an innovative repurposing of craft materials.
Paper Cut Flowers: Plant leaves and flowers were cut out of paper, using modified stencils to compensate for the scale or paper punches. The flower petals were stacked for flowers such as roses.
Daisies: Daisies were cut from 1.5cm strips of colored paper, then cut into very fine slices along the long end, and then rolled onto a wire tipped in yellow sawdust to form the center.
[NOTE: Can you recall which flower types were most successful? Which gave the most trouble? Did you develop any favorite techniques?]
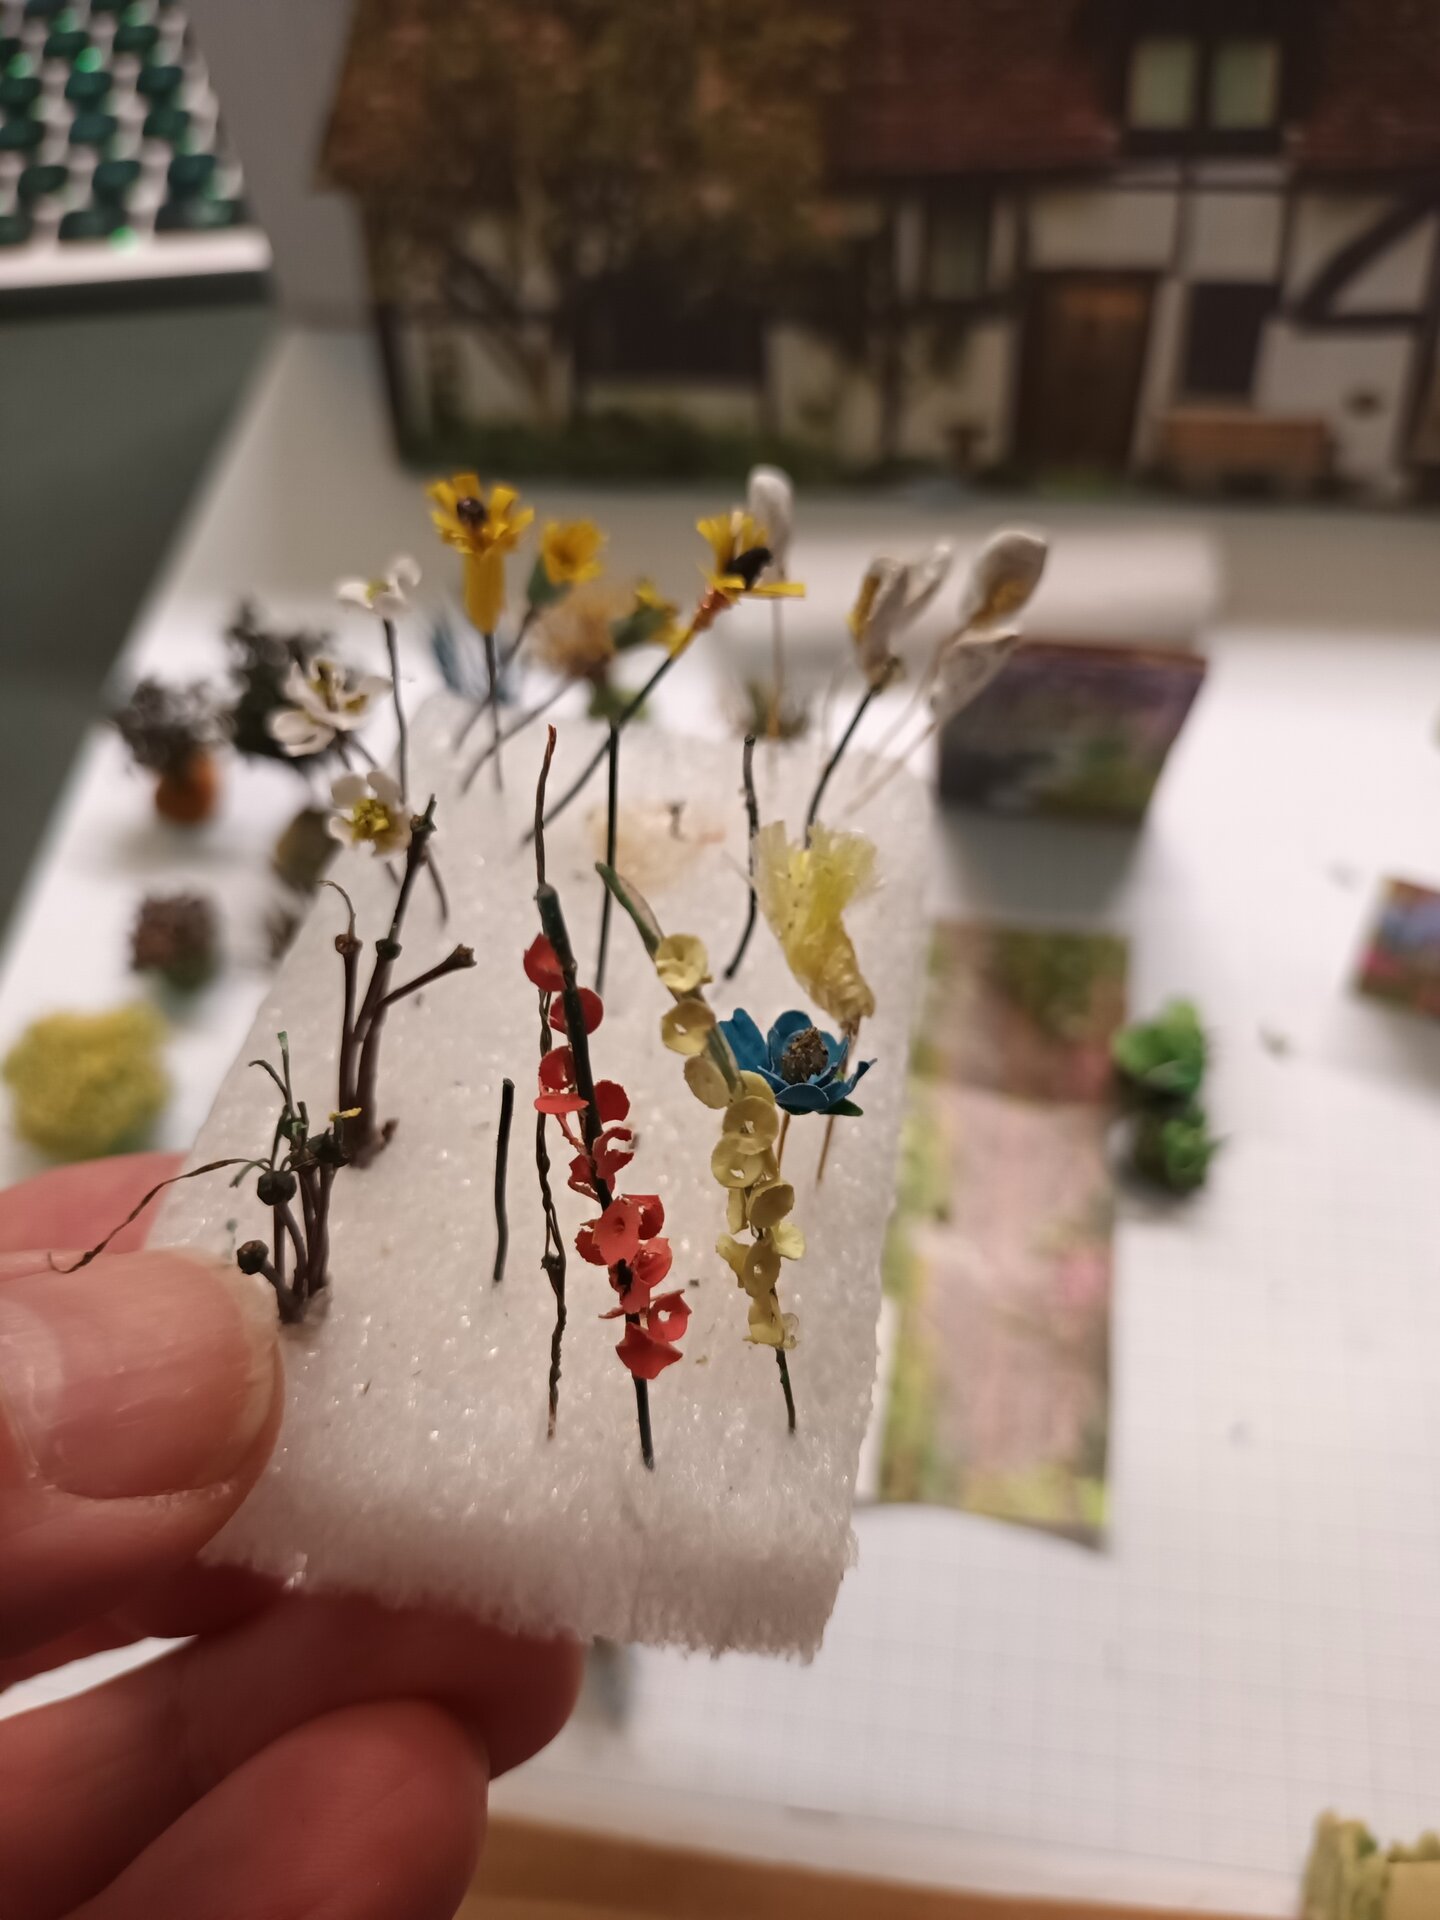
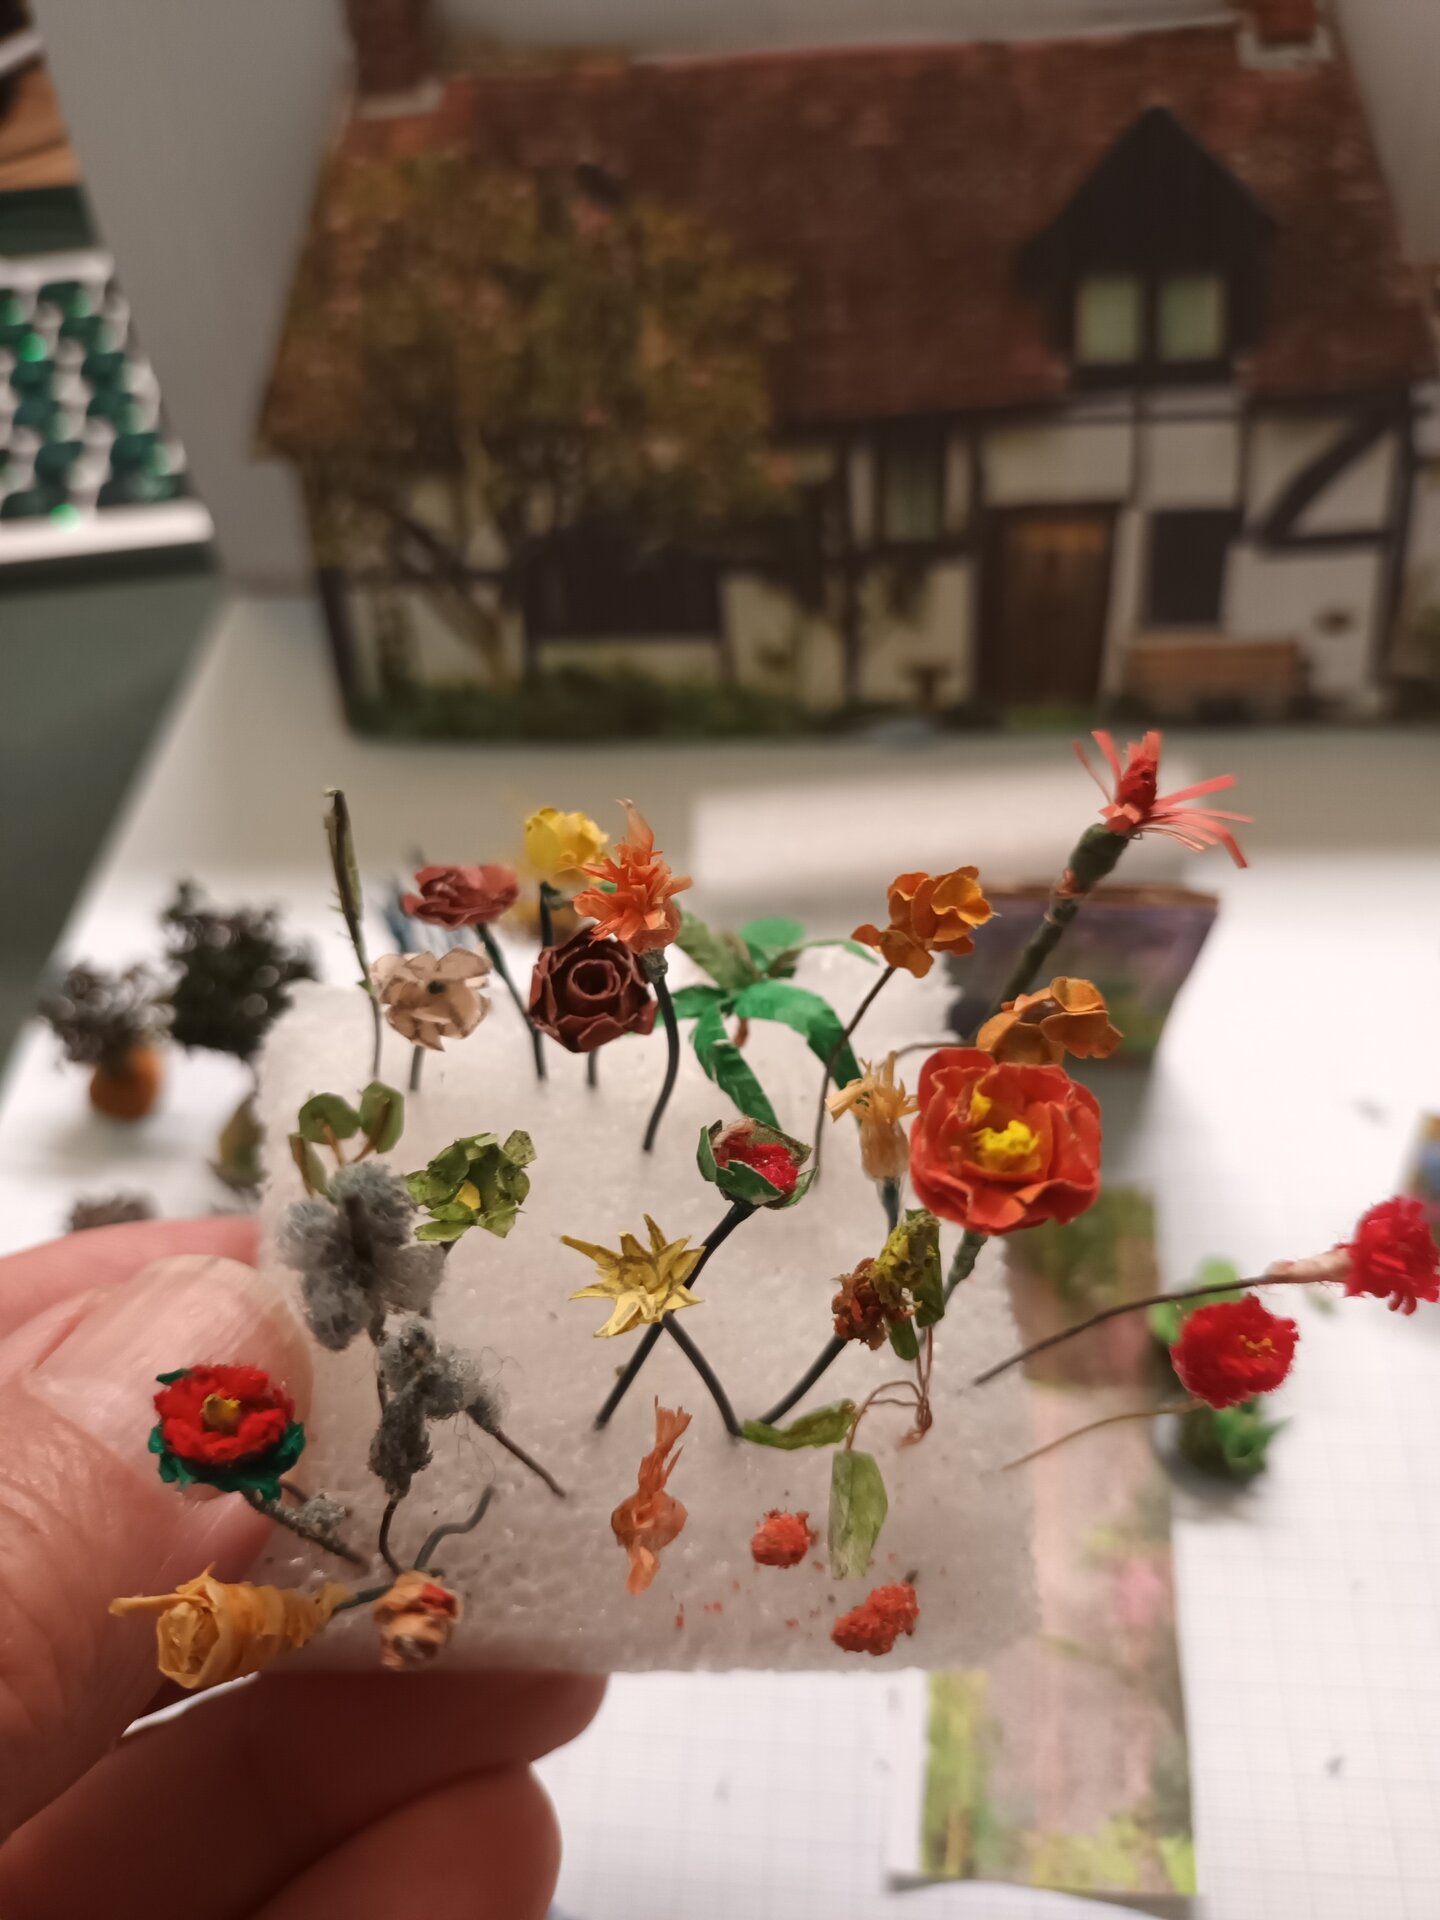
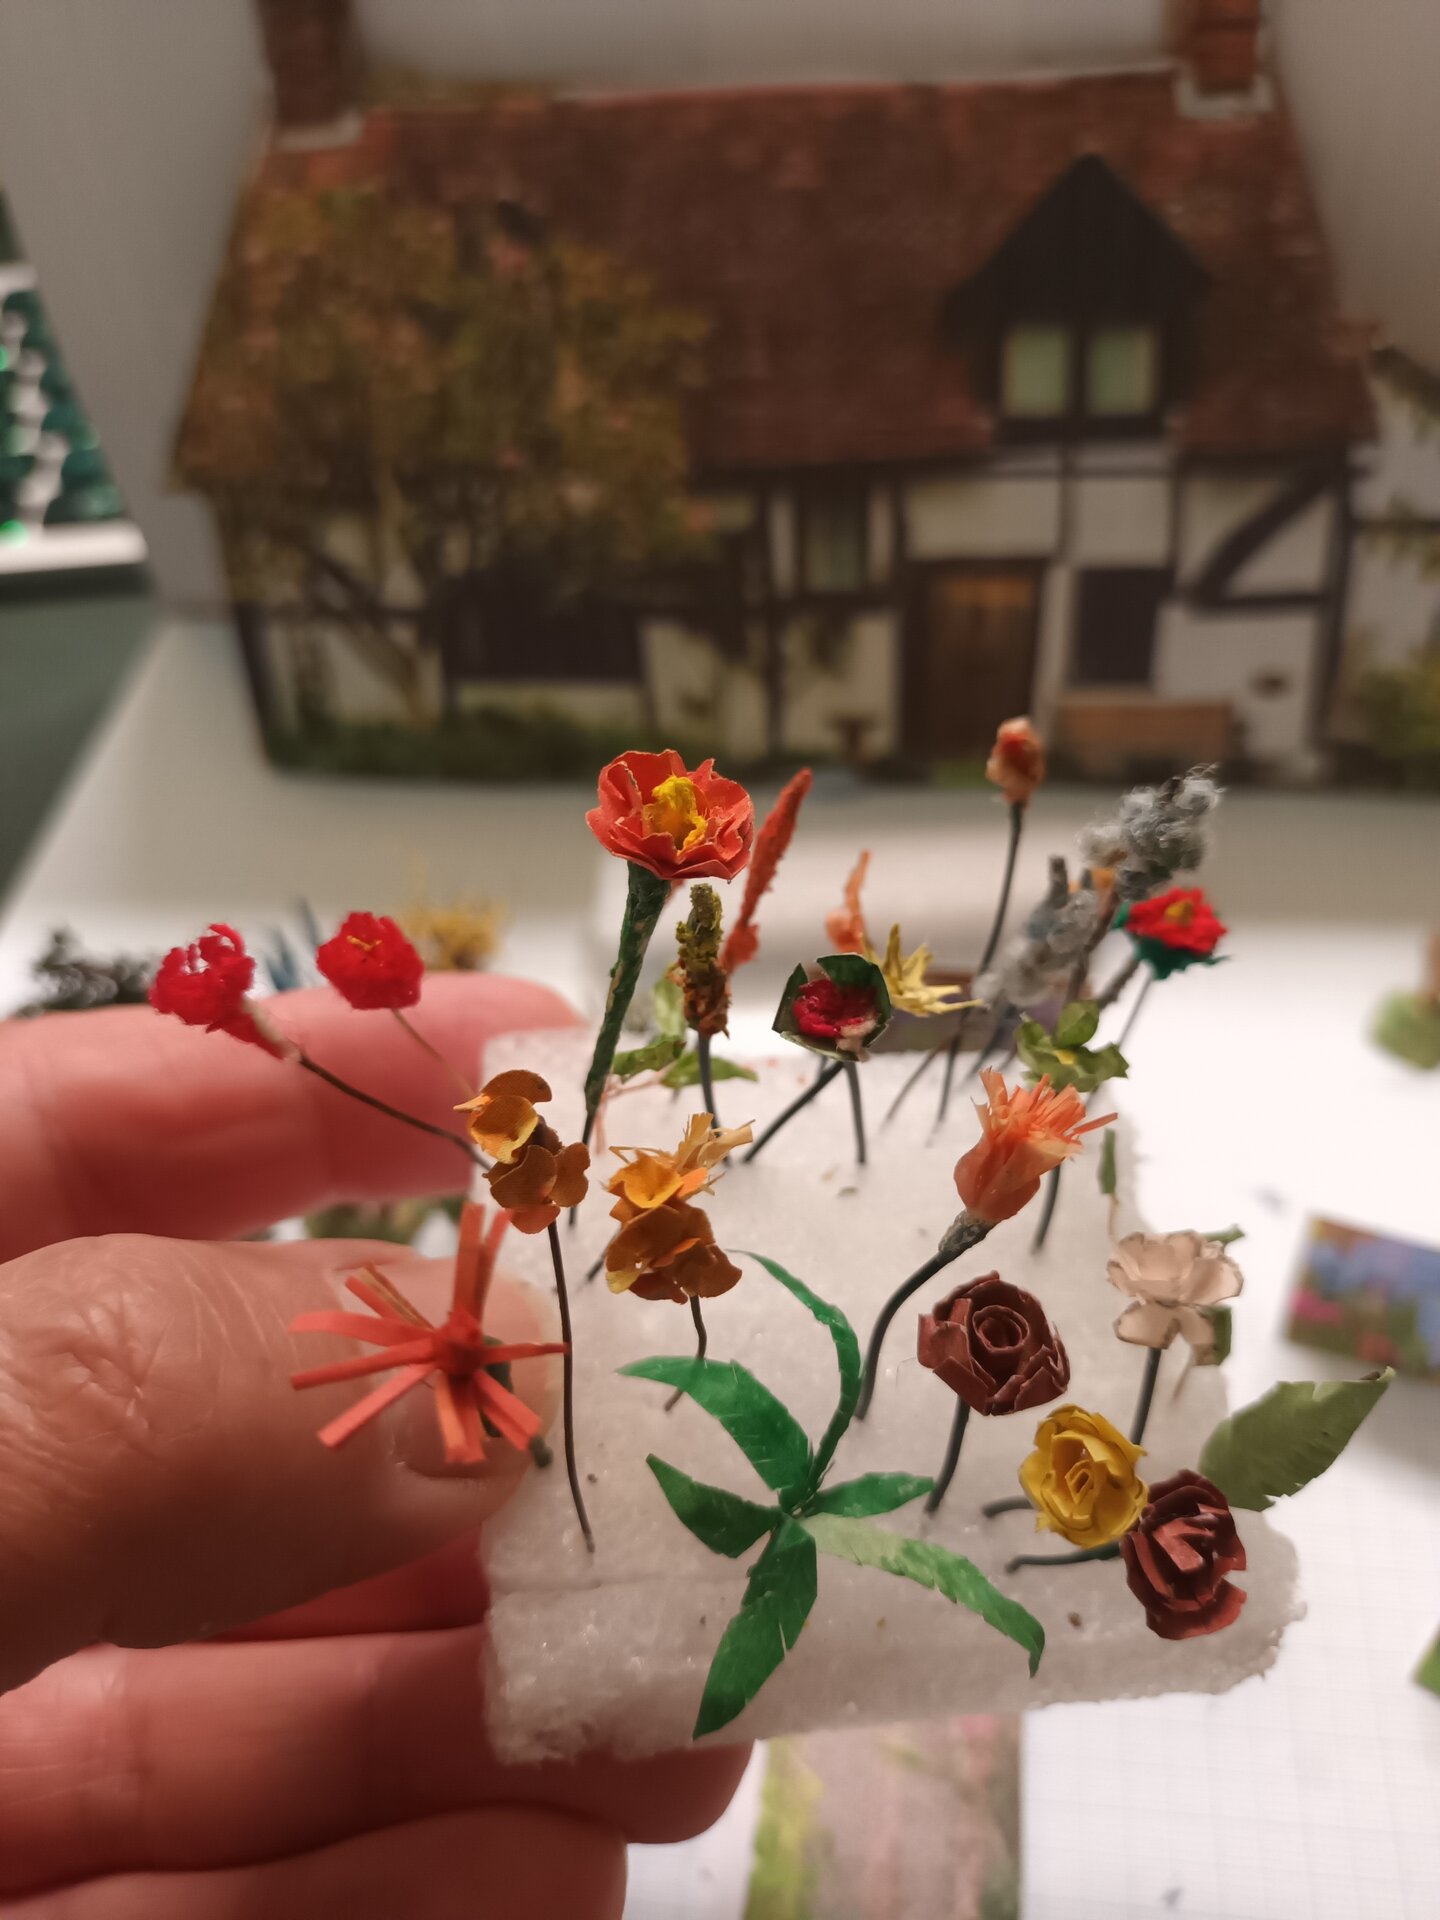
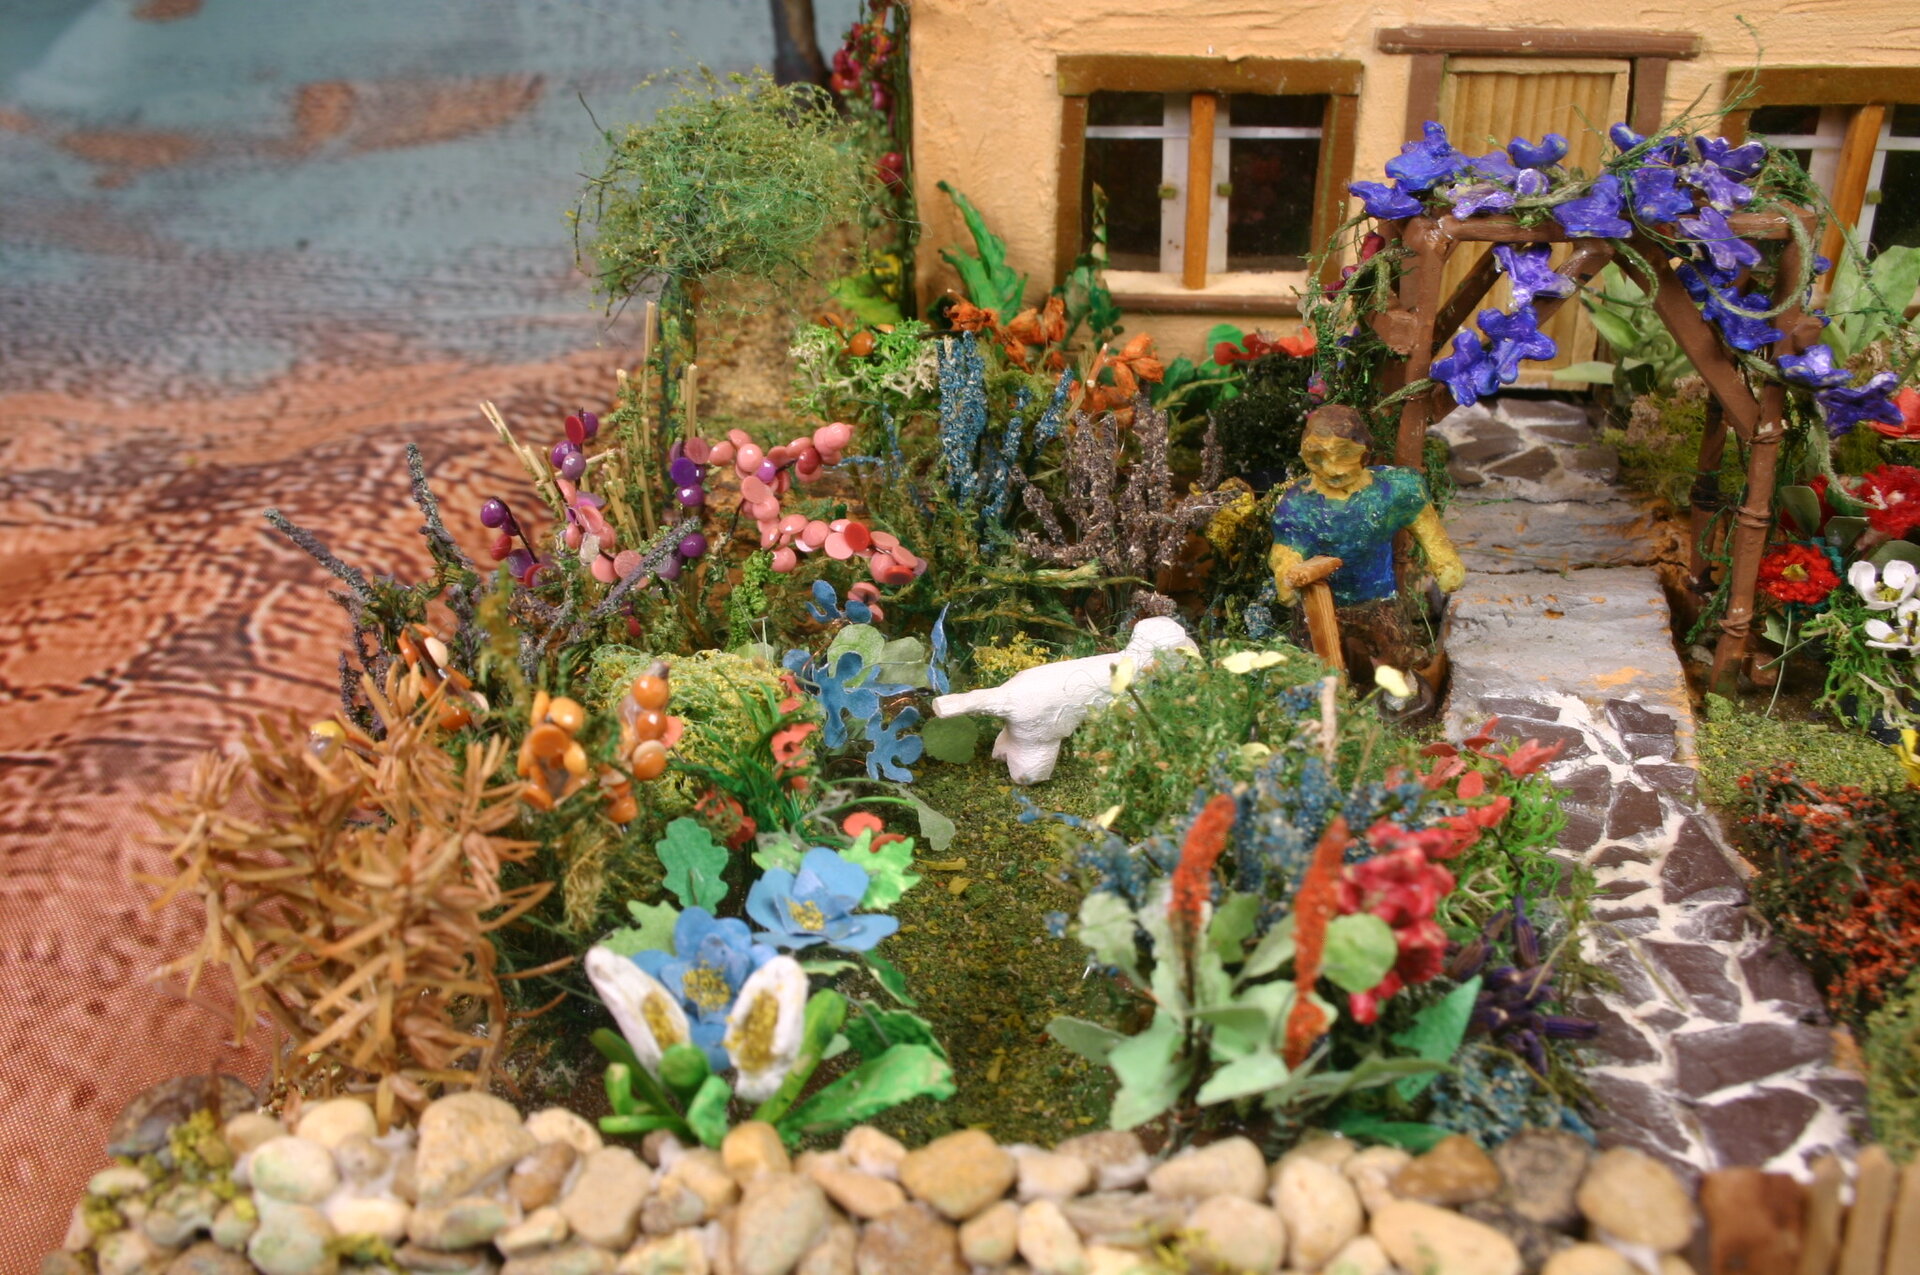
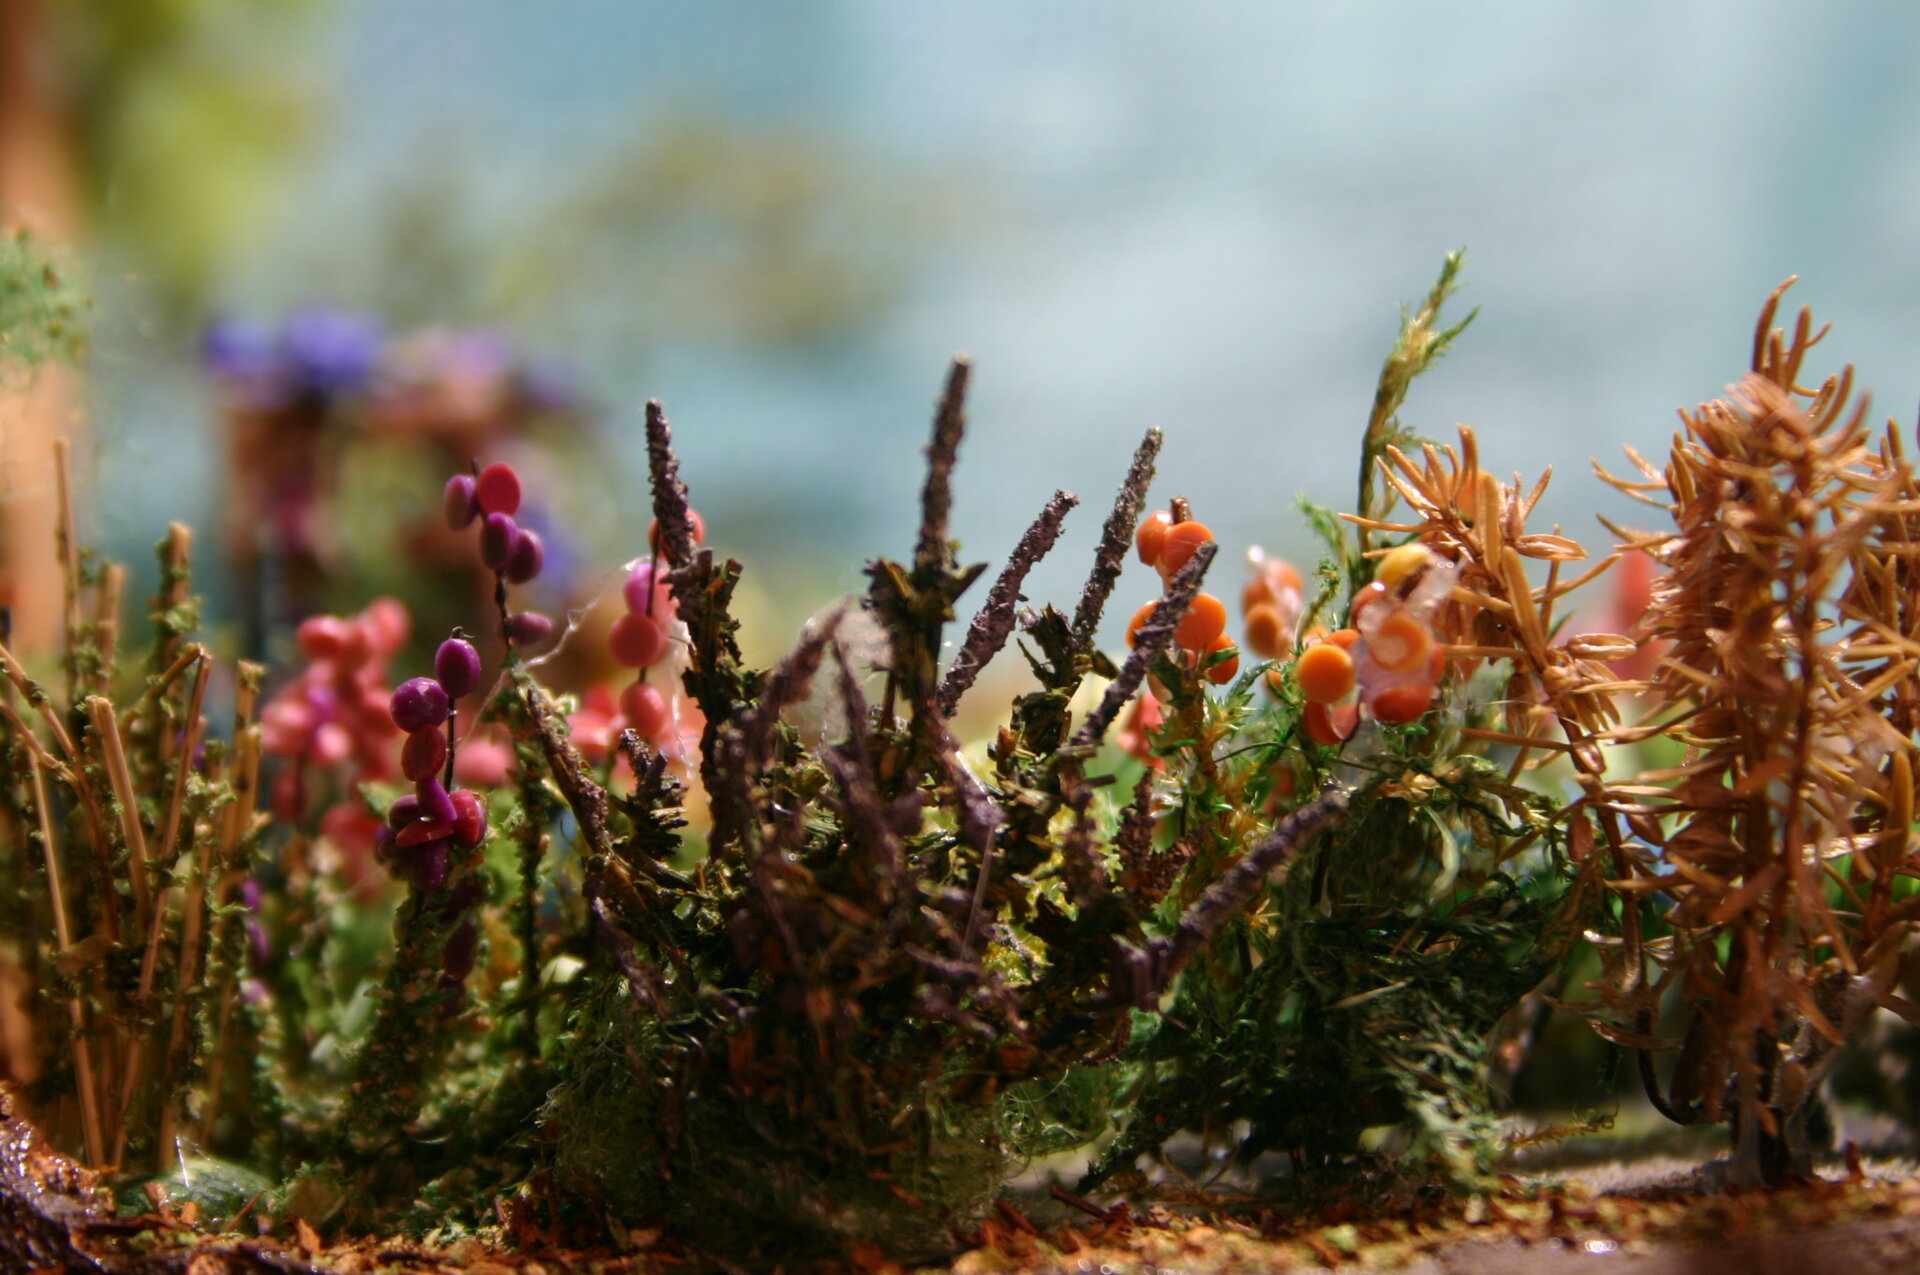
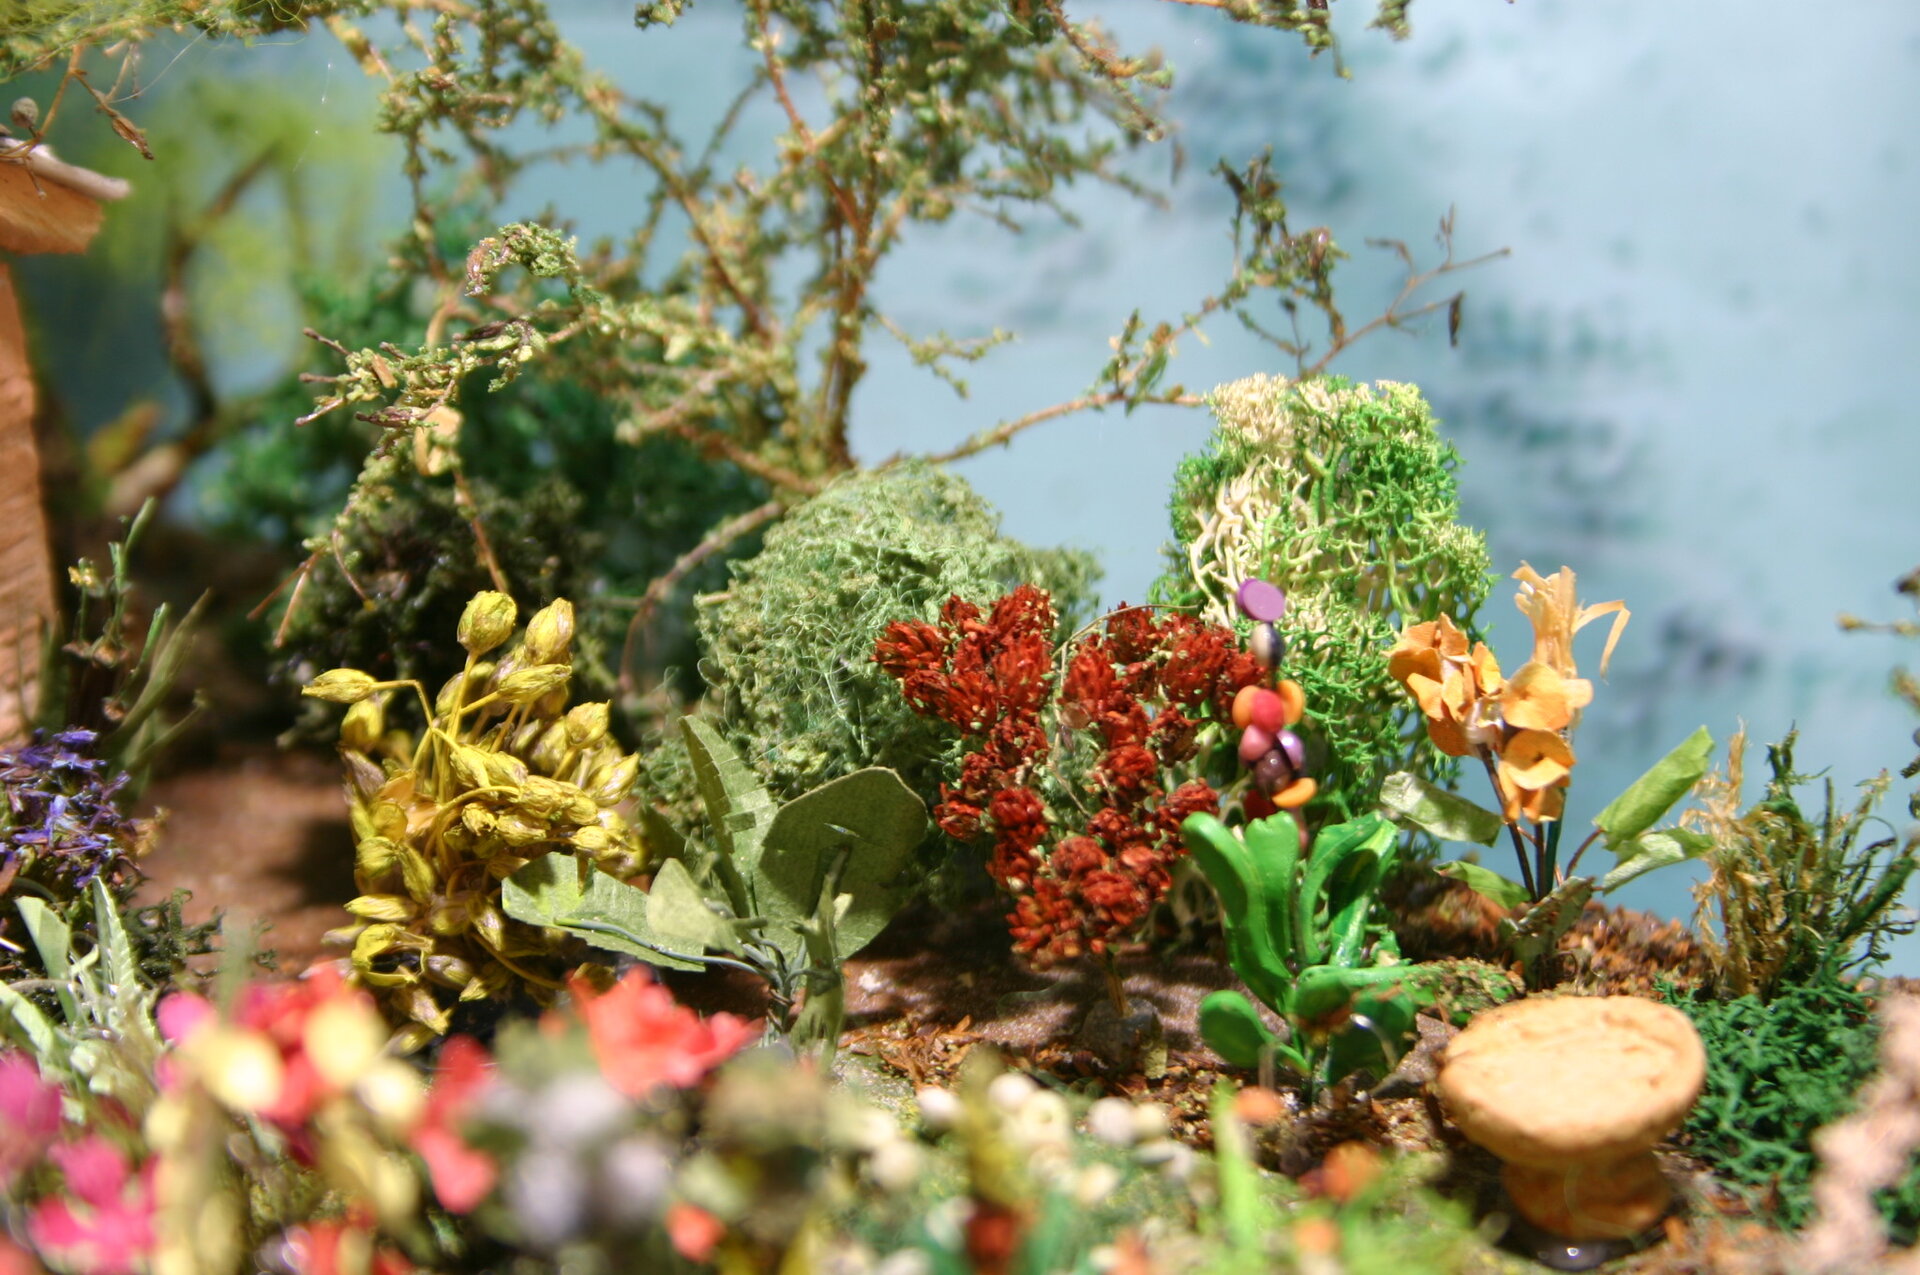
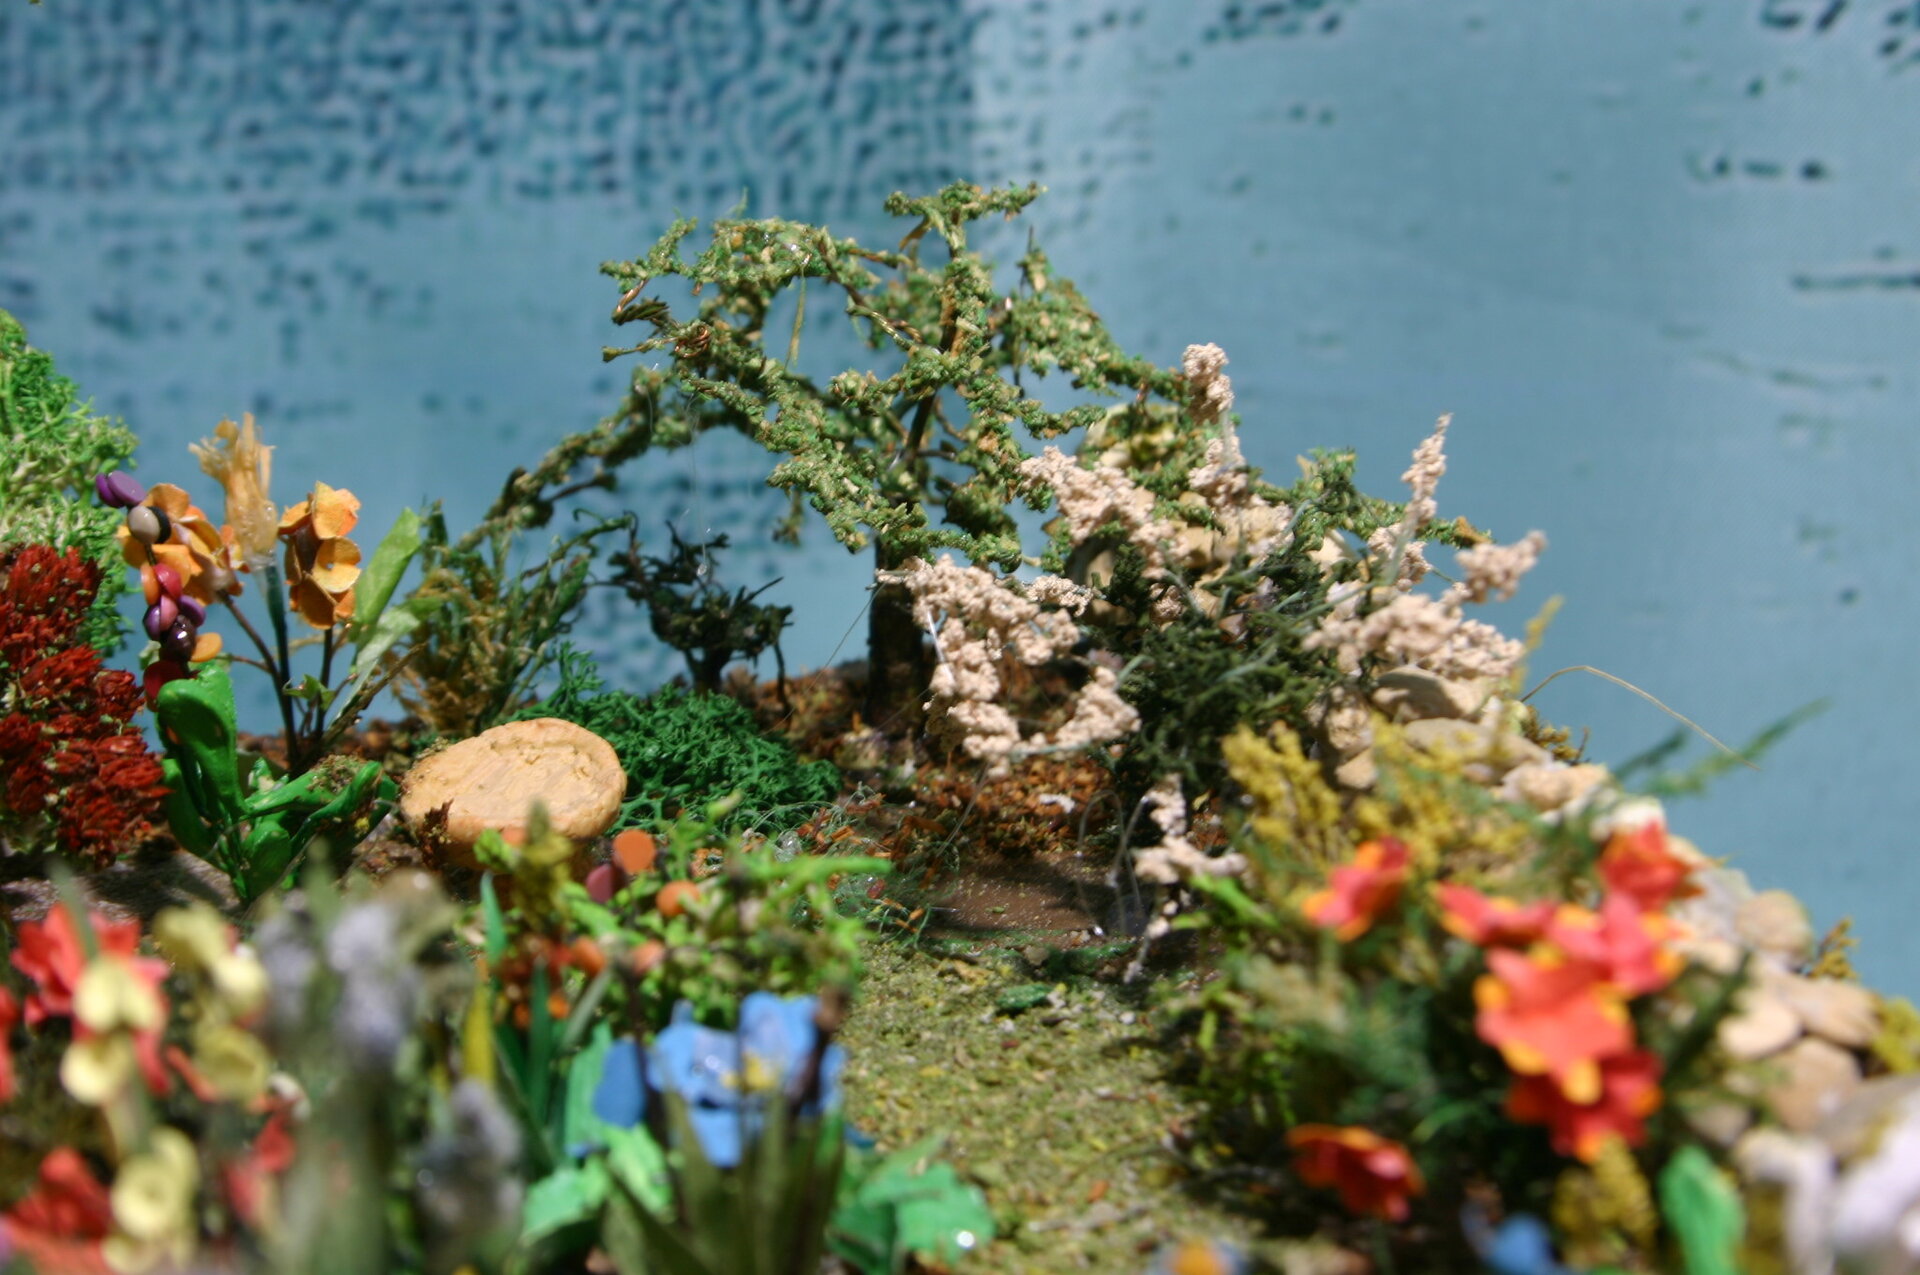
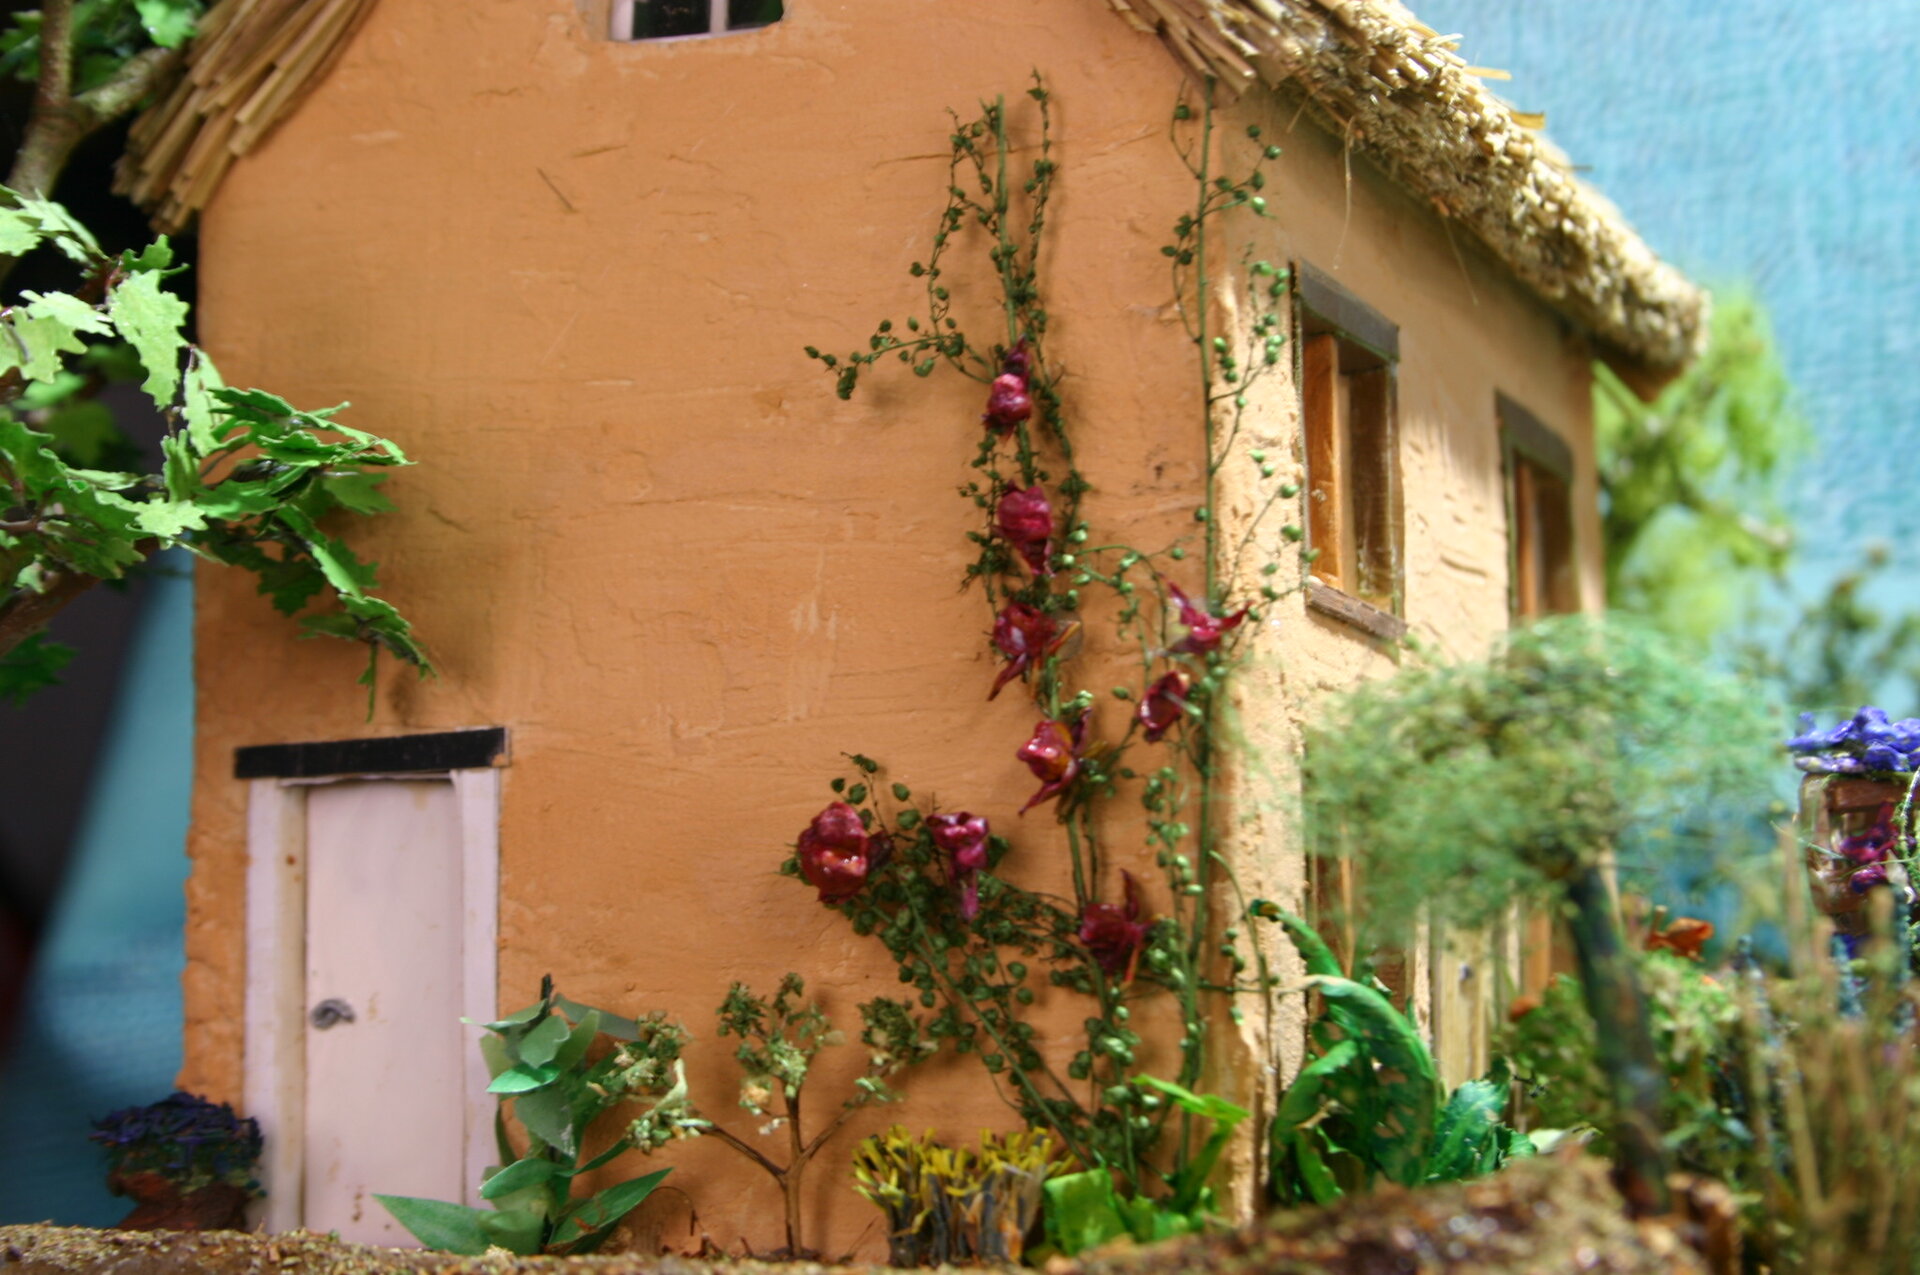
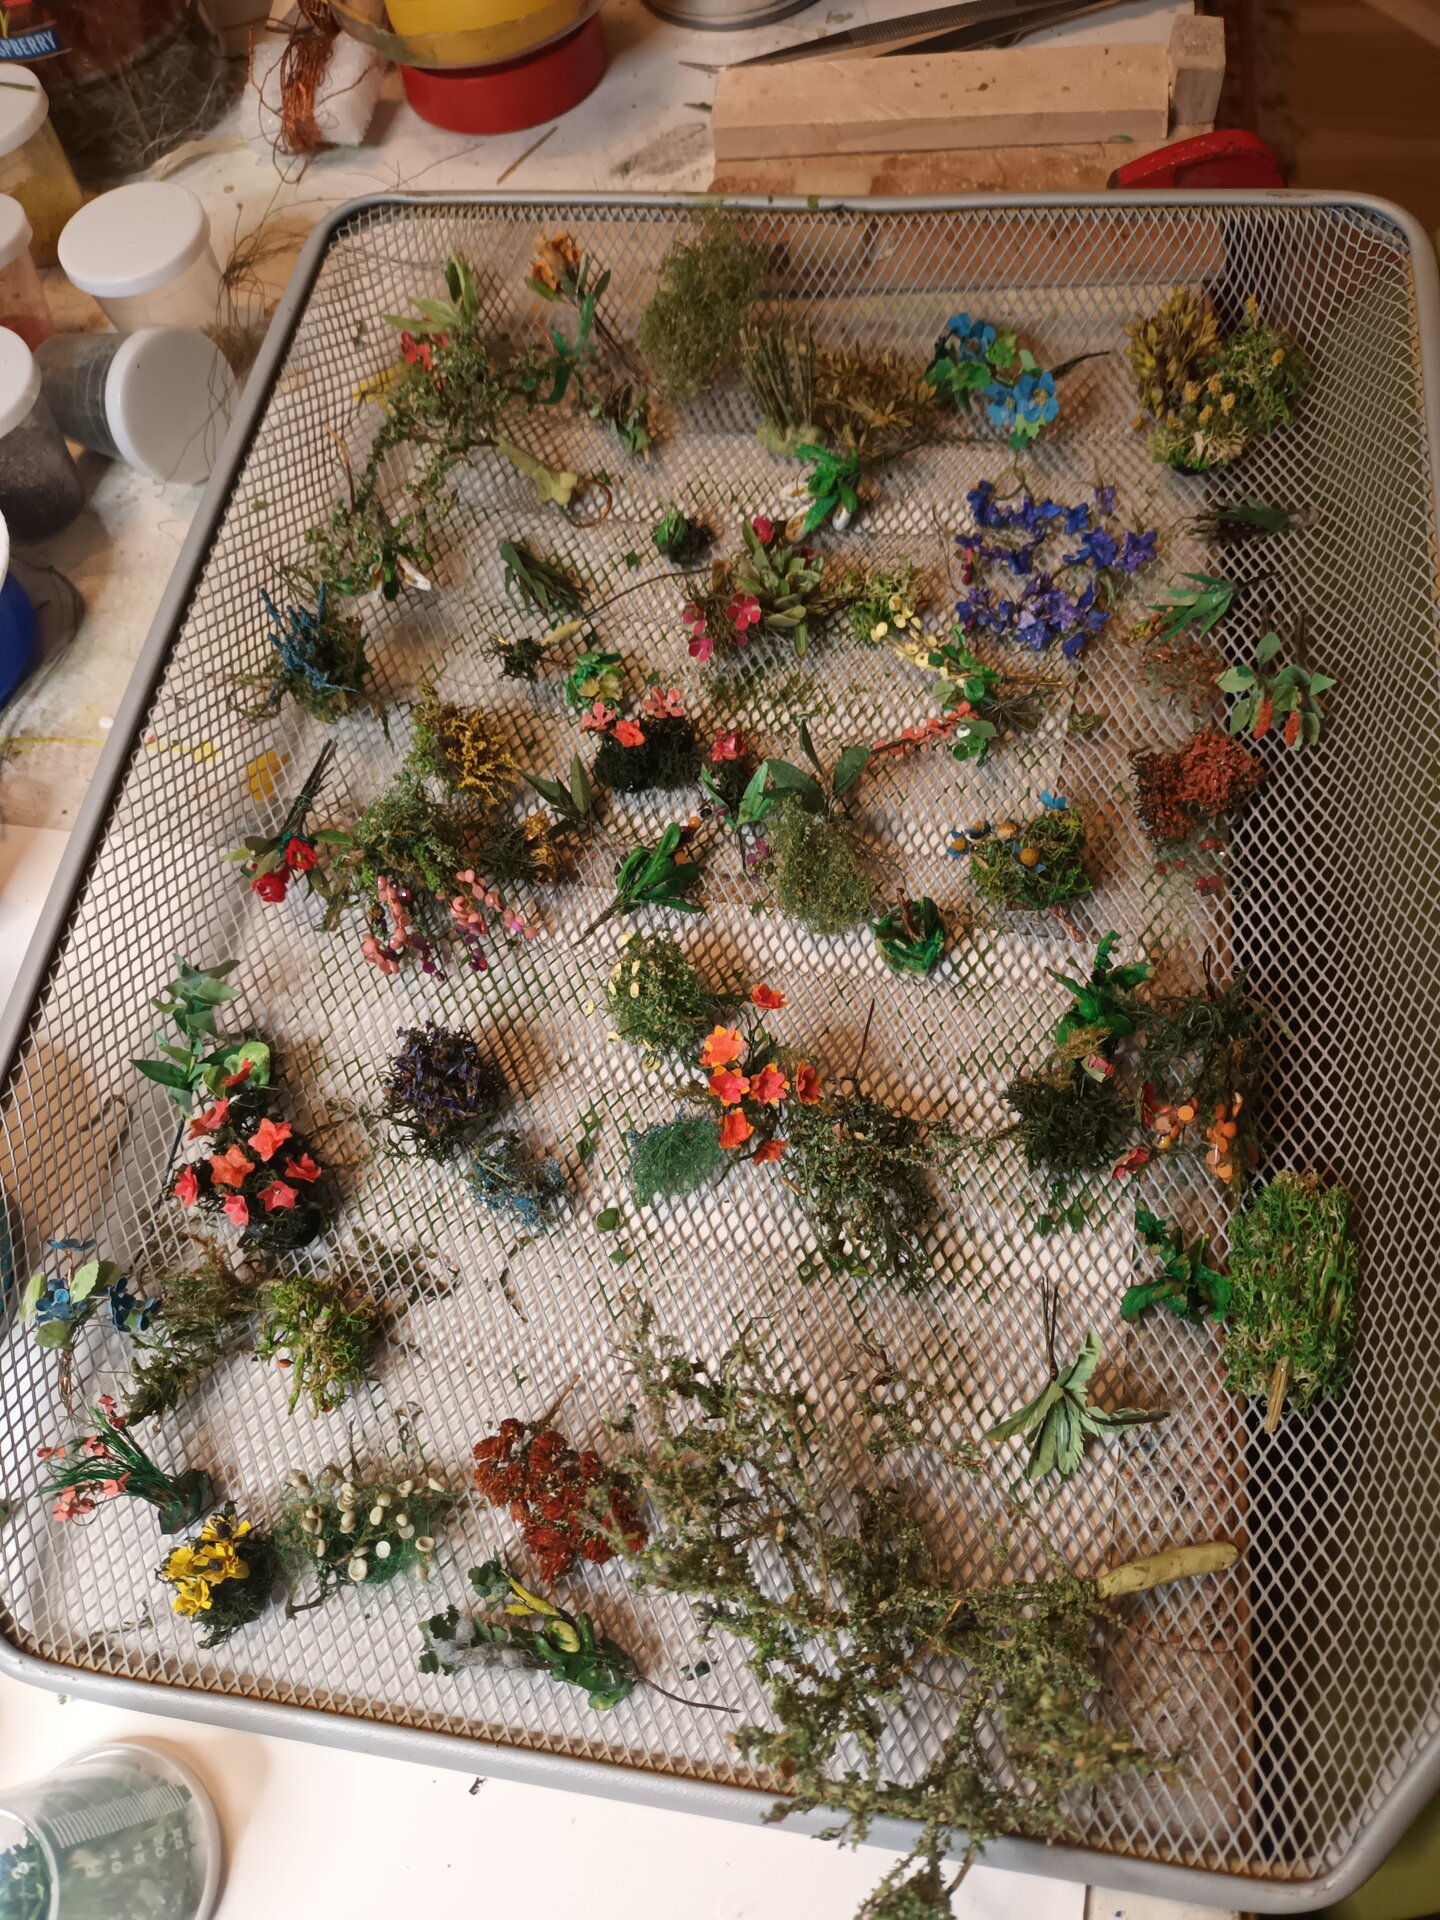
Completed Flower Displays
Some of the completed flowers can be seen in these displays, showing the variety and scale achieved:


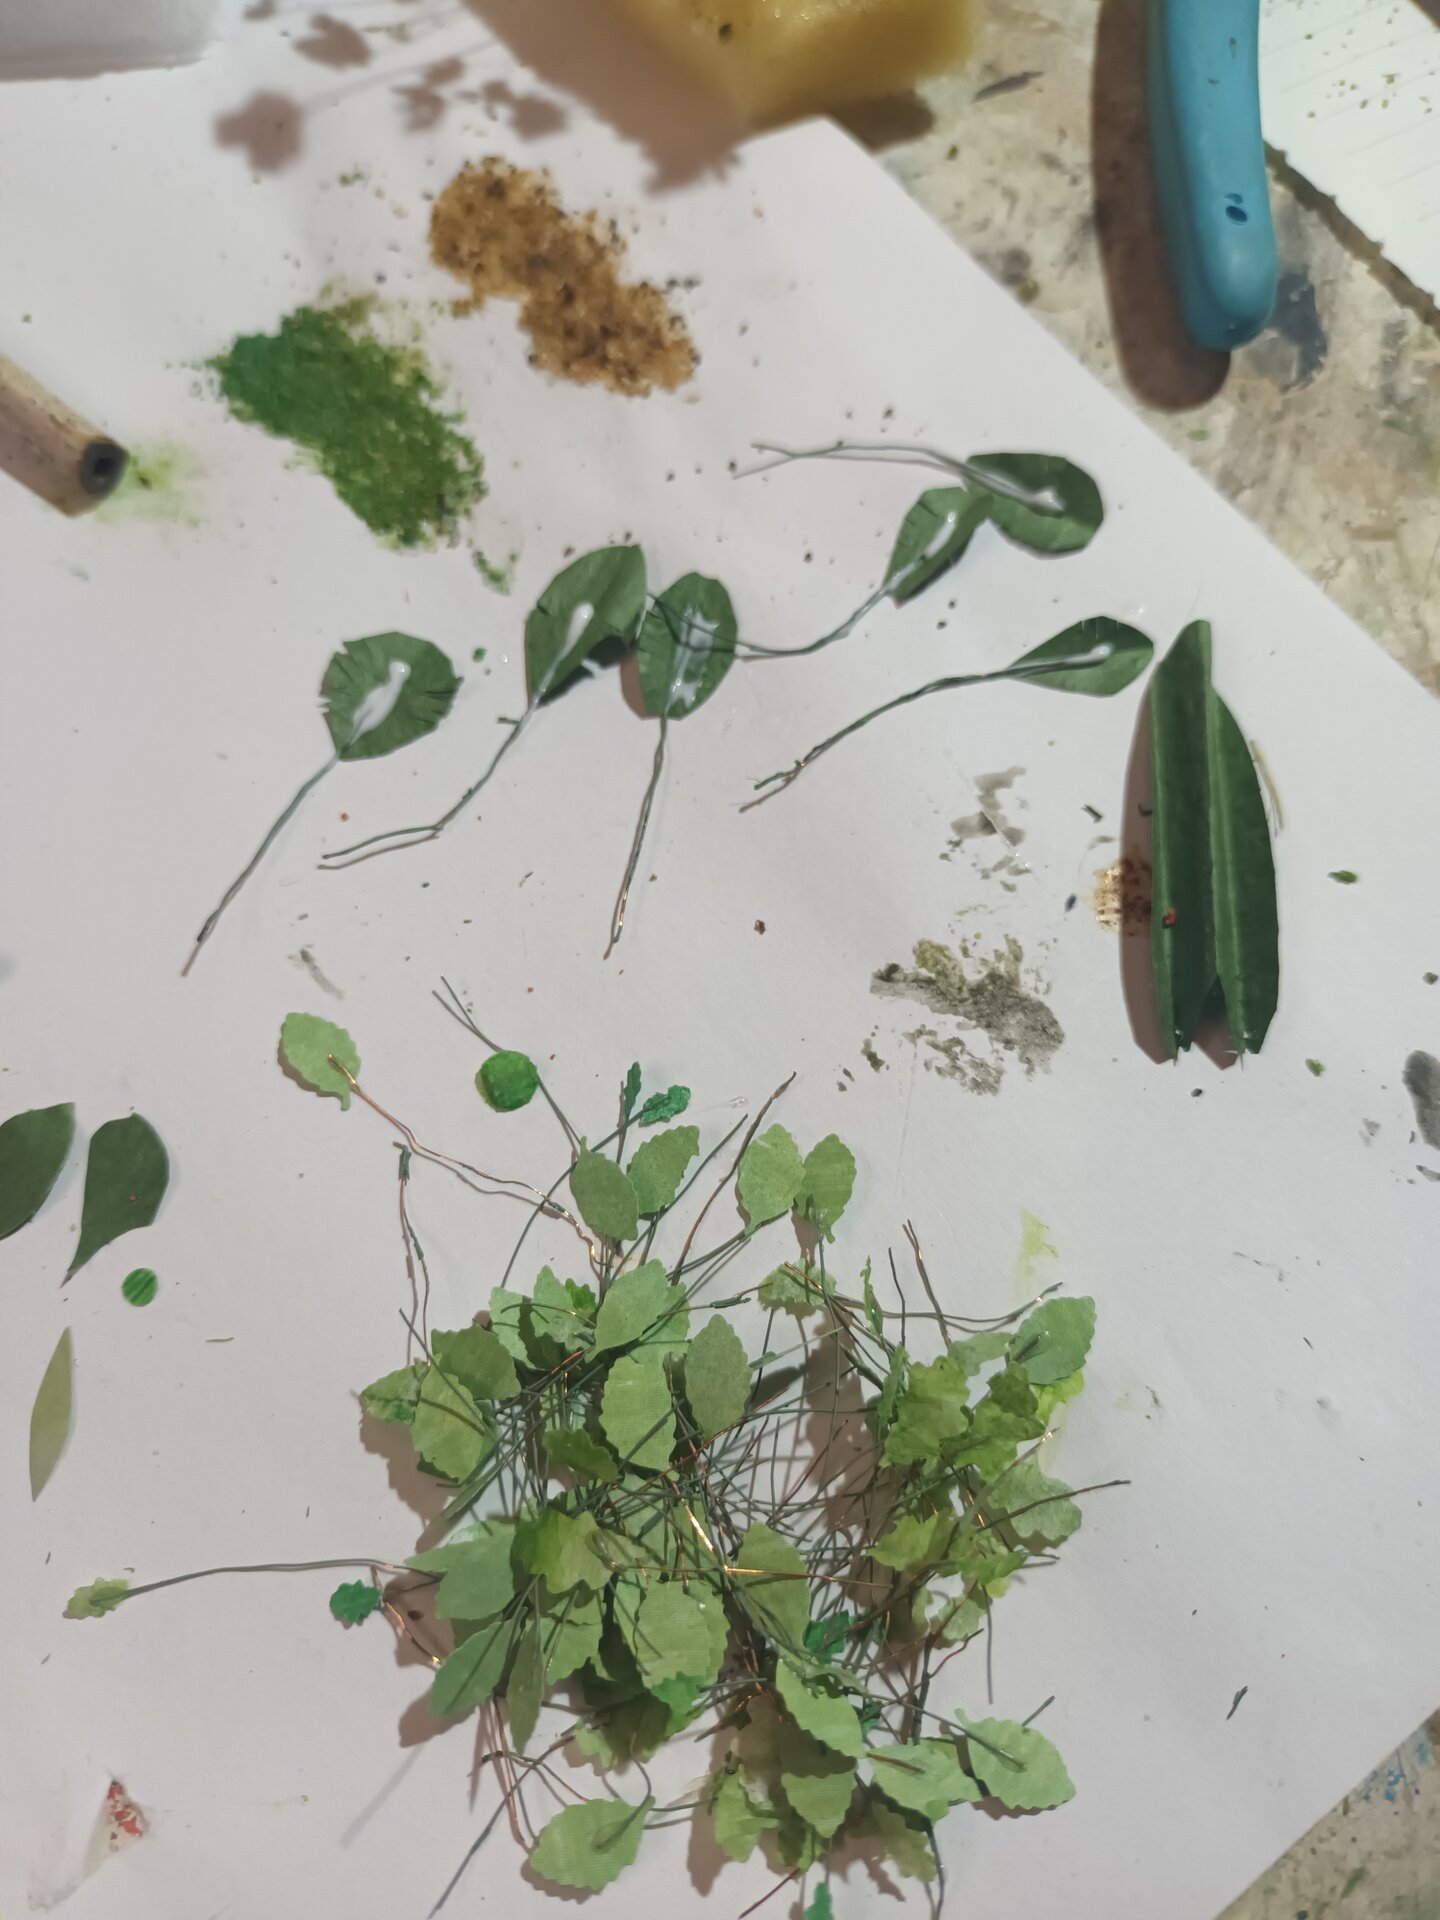
Making Leafy Plants
Making the leaves, especially when distinct, for both leafy plants and the base for the flowering plants all centered on leaf size and shape. Ferns were by far the most challenging, especially at the miniaturization I am working towards.
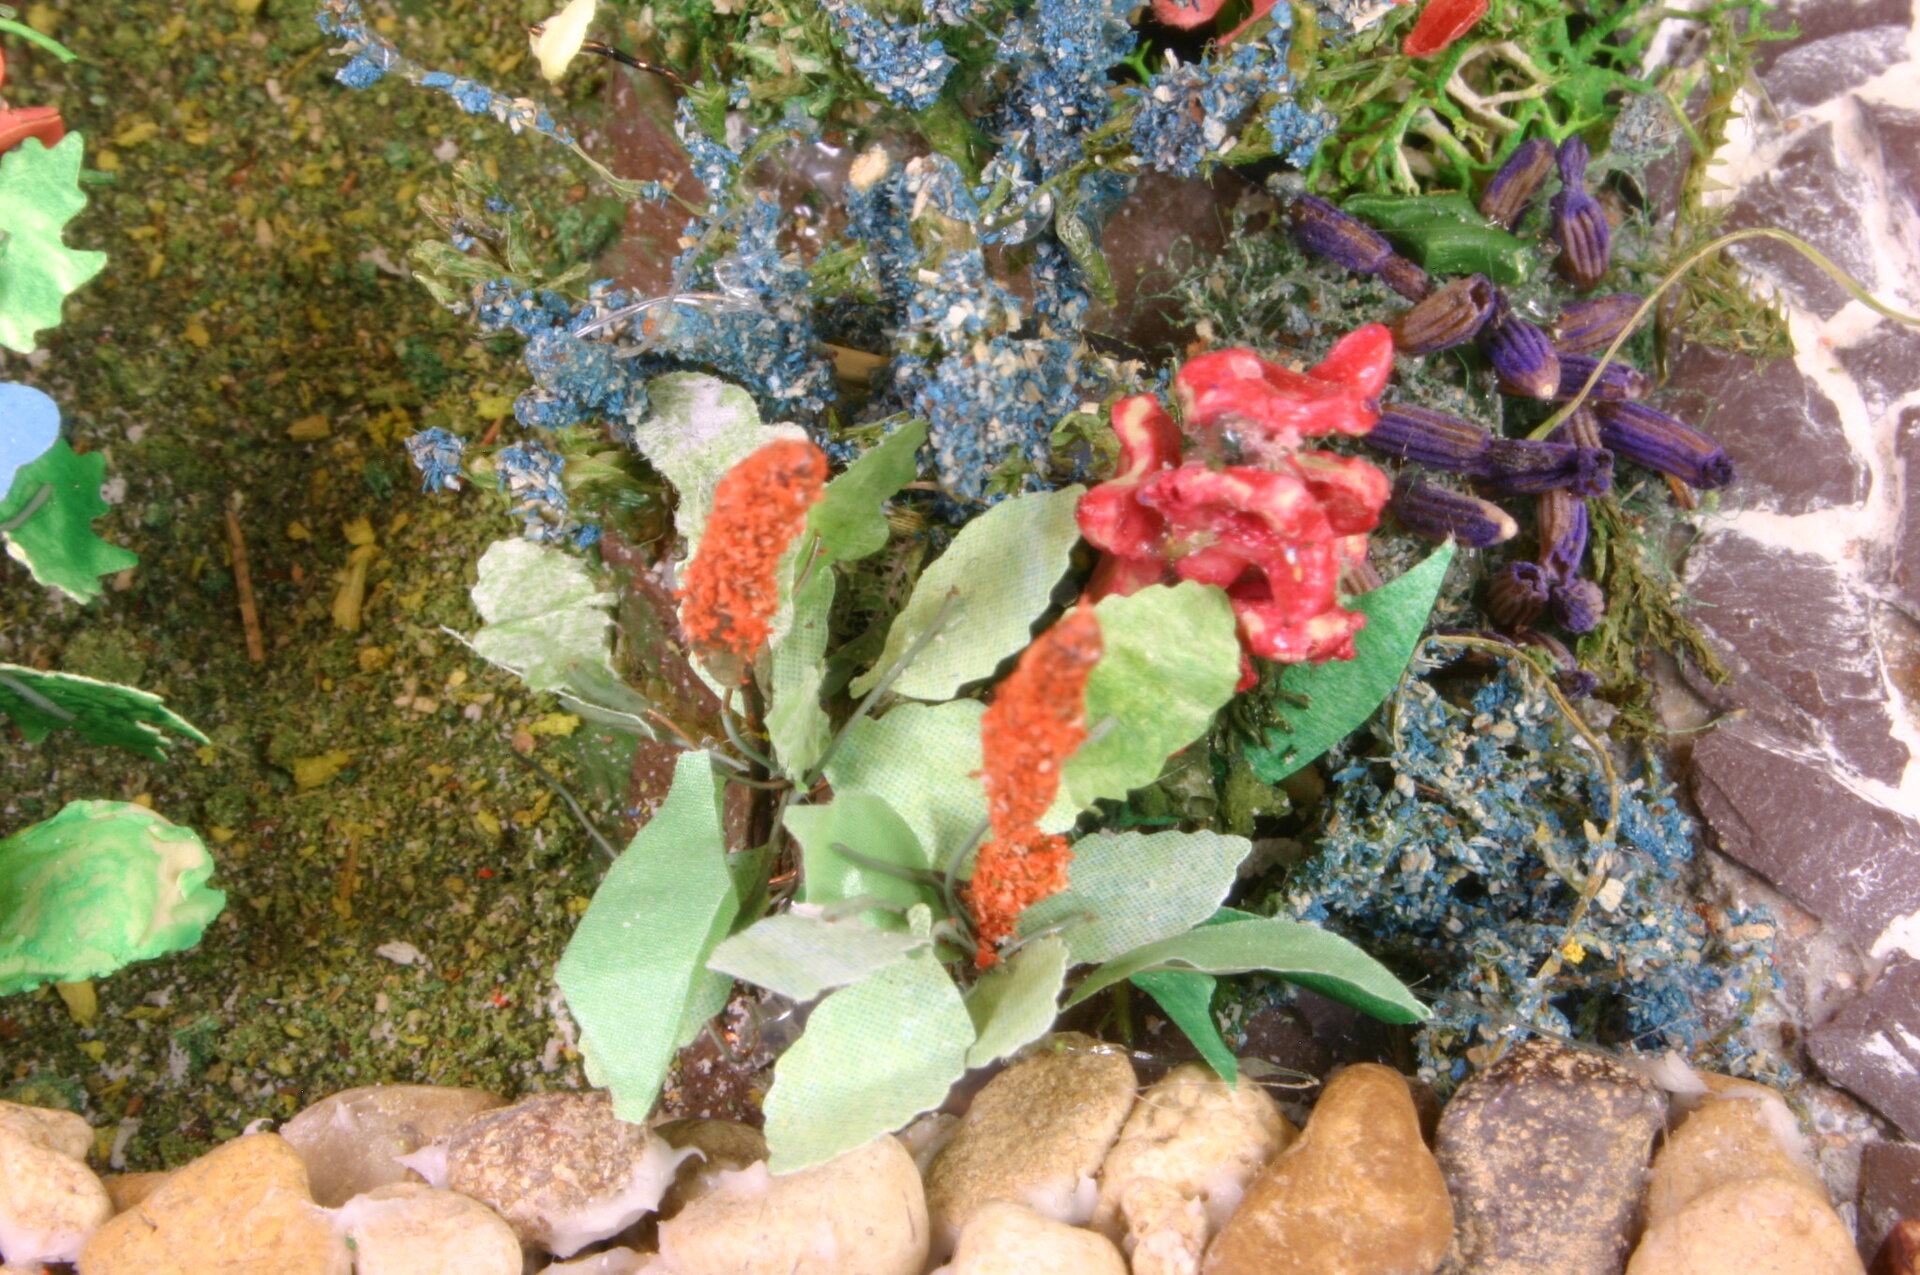
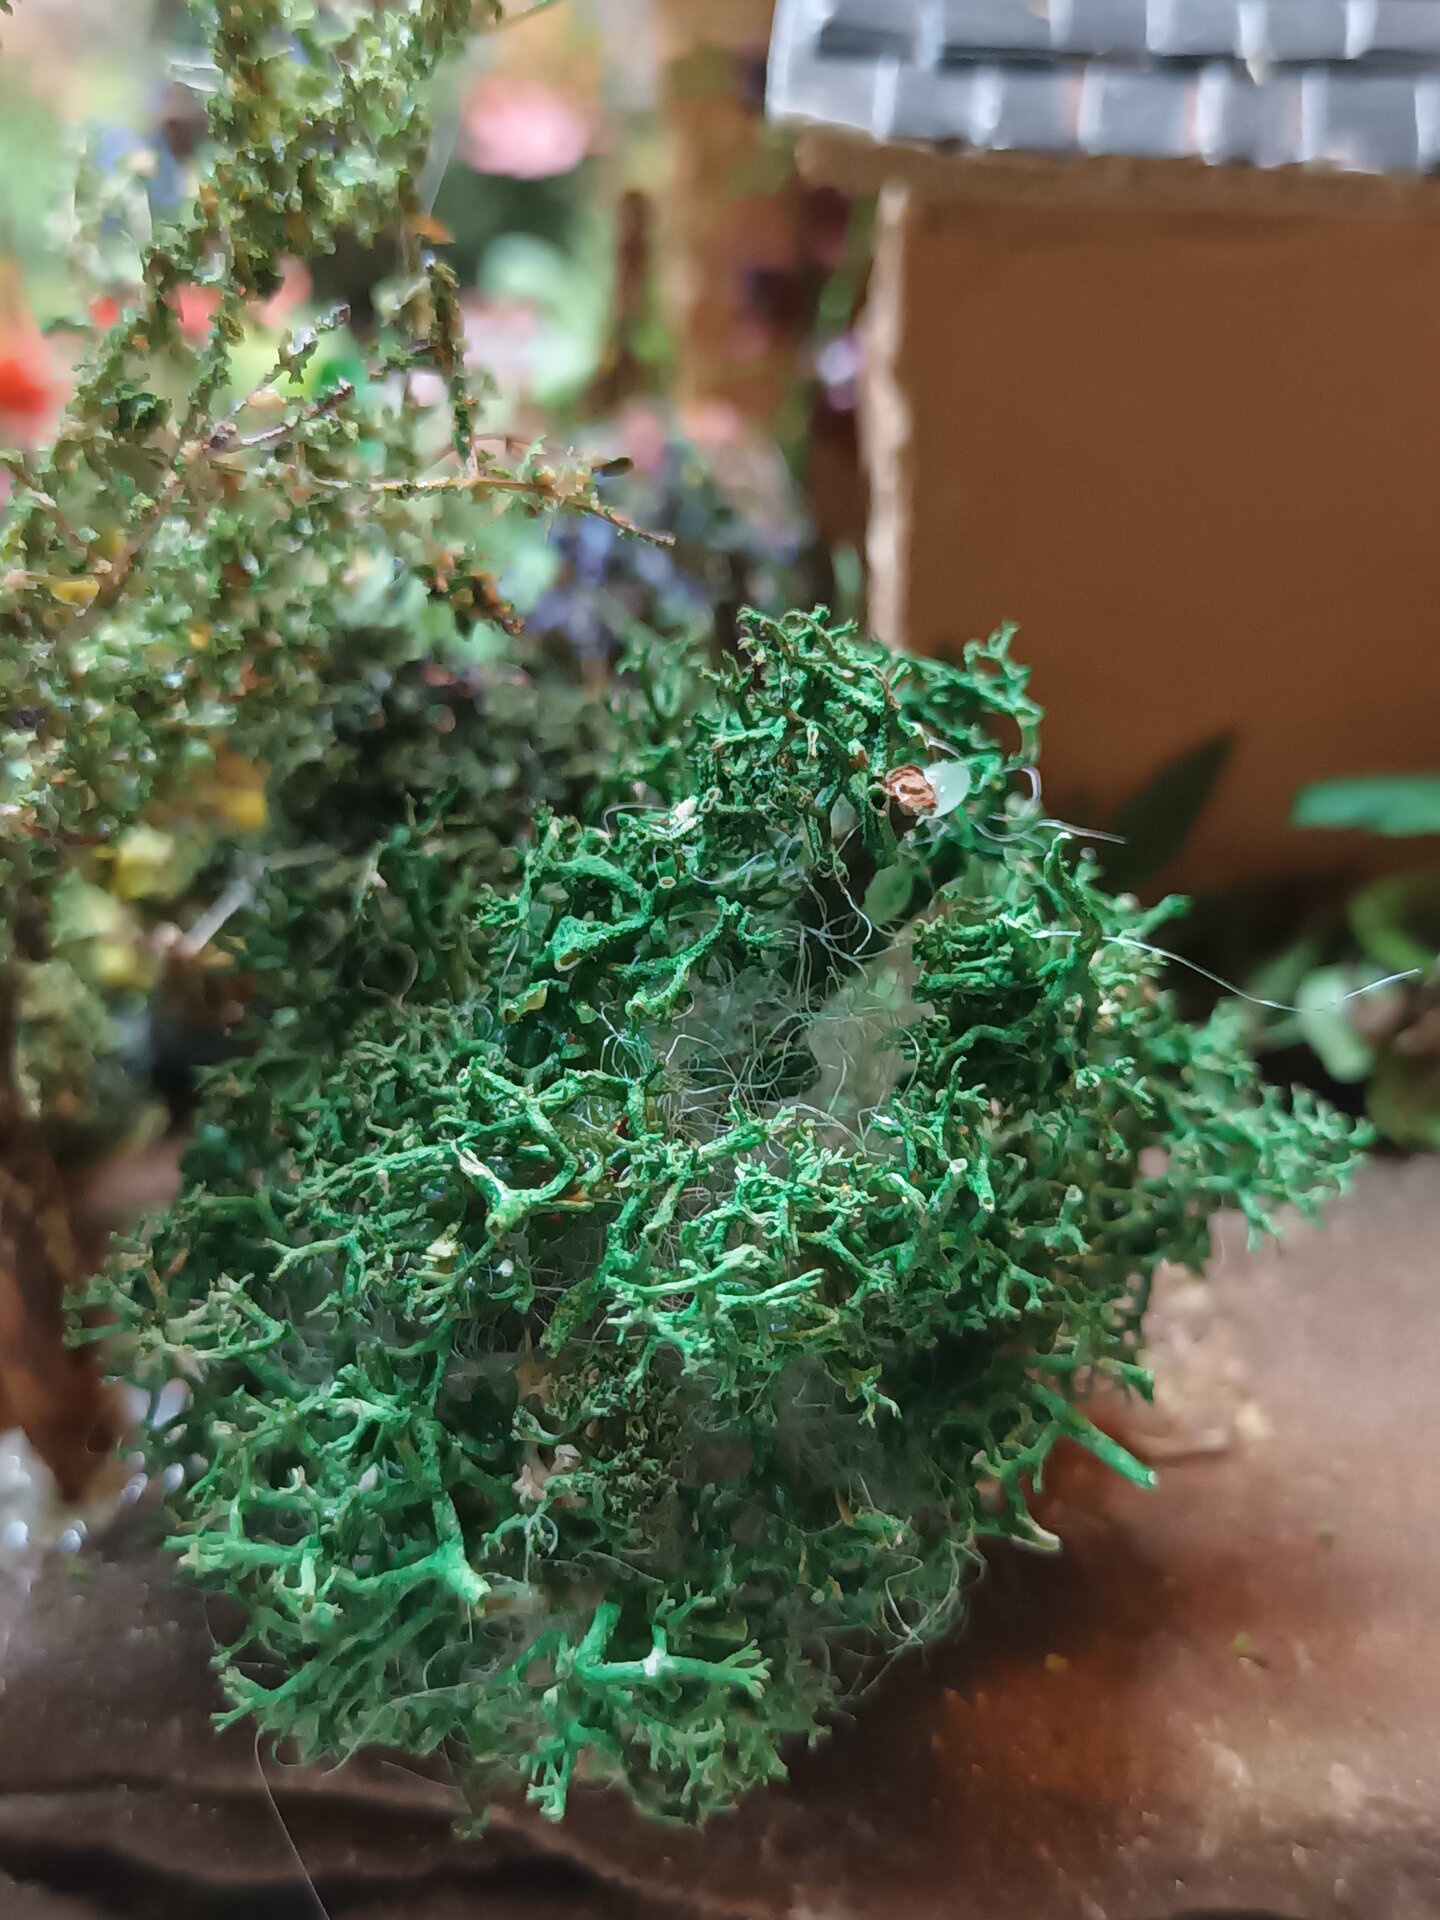
Shrub and Bush Experimentation
Some of the experimentation with different types of shrubs:

Large-Leaved Plants: Hostas and Ferns
Plants with large leaves were all cut from different green paper sheets, individually glued to a fine wire stem, and then bundled either by twisting the wire stems together, or setting the wire stem in hot glue to create a wider base. Hostas and ferns in particular were formed in this way.
Trailing and Climbing Plants
Trailing plants were also added. The stems were left over from a previous model, and the flowers were then added to complete the image.
[NOTE: Which specific trailing plants did you create? Roses, clematis, wisteria? Any particular challenges with creating the climbing effect?]
Tree Construction
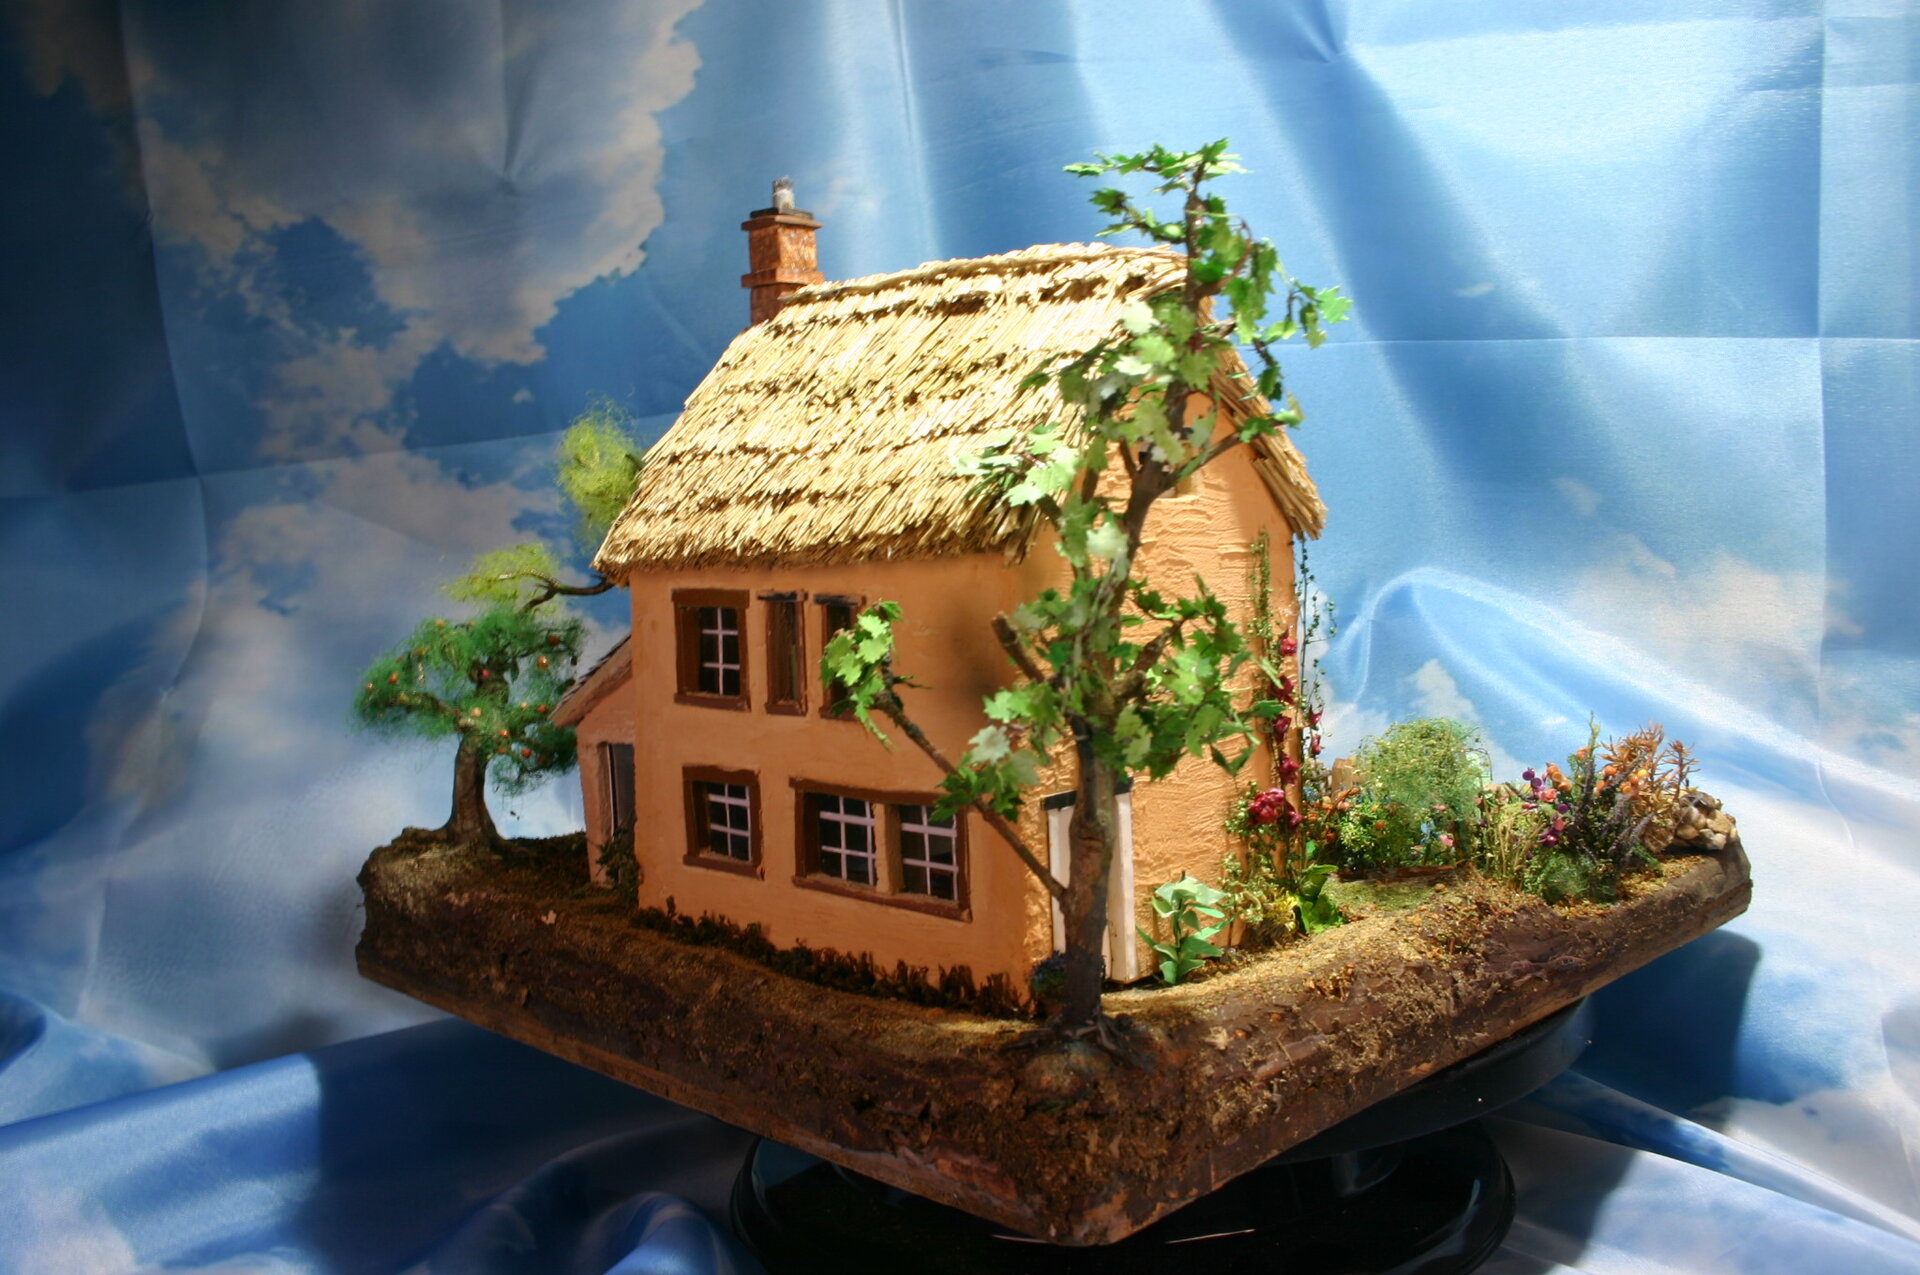
A variety of different trees were made using multiple techniques, each suited to different tree types and scales.
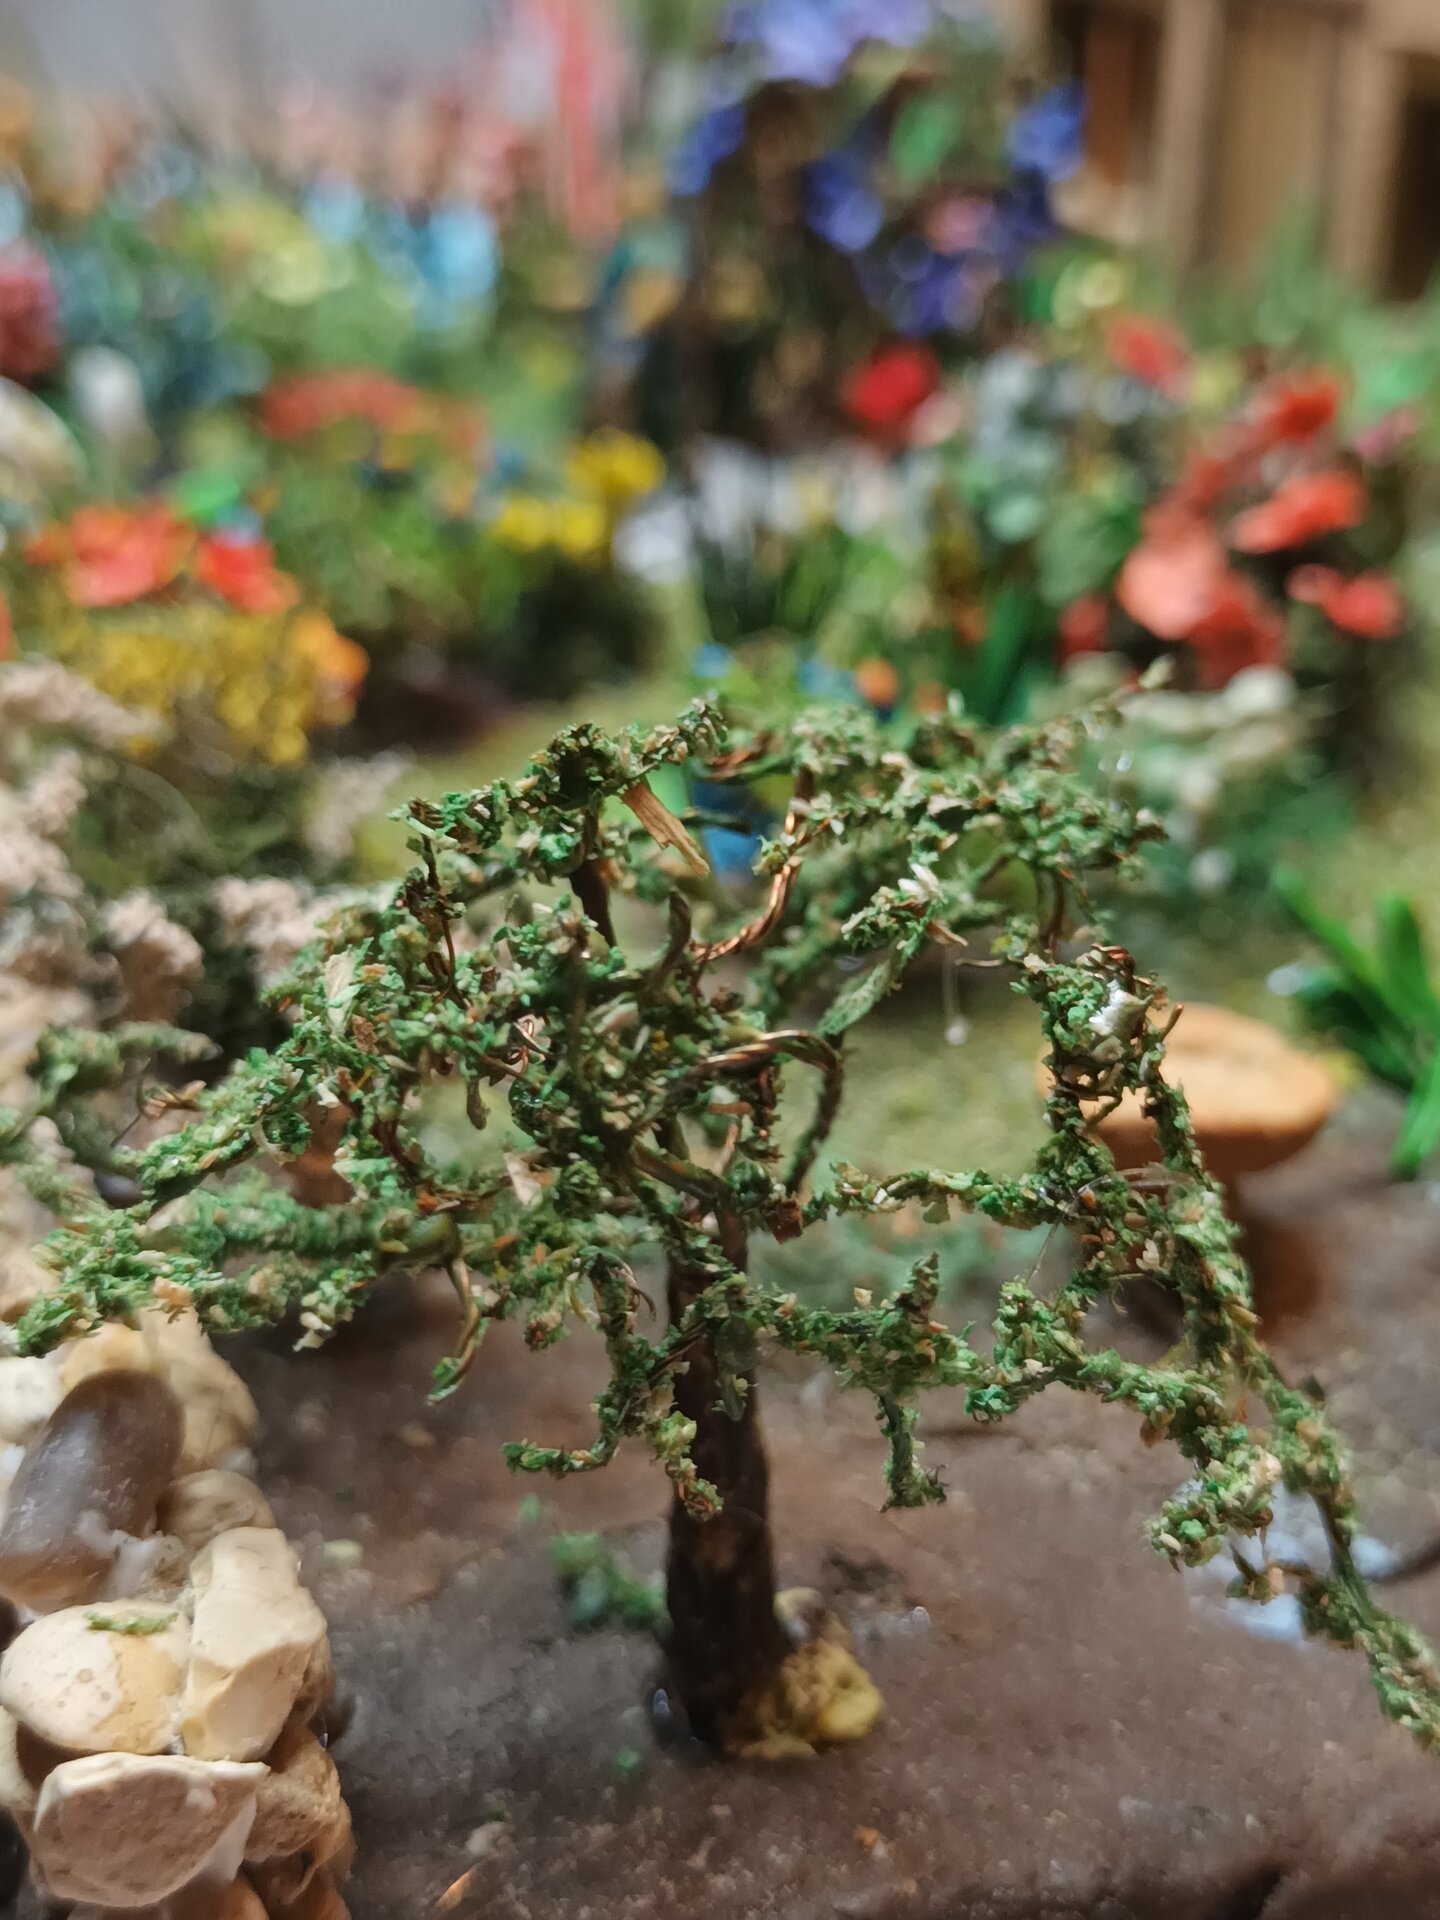
Wire Frame Trees
The first trees used wire frames for branches, building out the thicker branches with clay and then painting it. The branches were covered in a layer of pillow filling and then covered in colored sawdust of different grades.
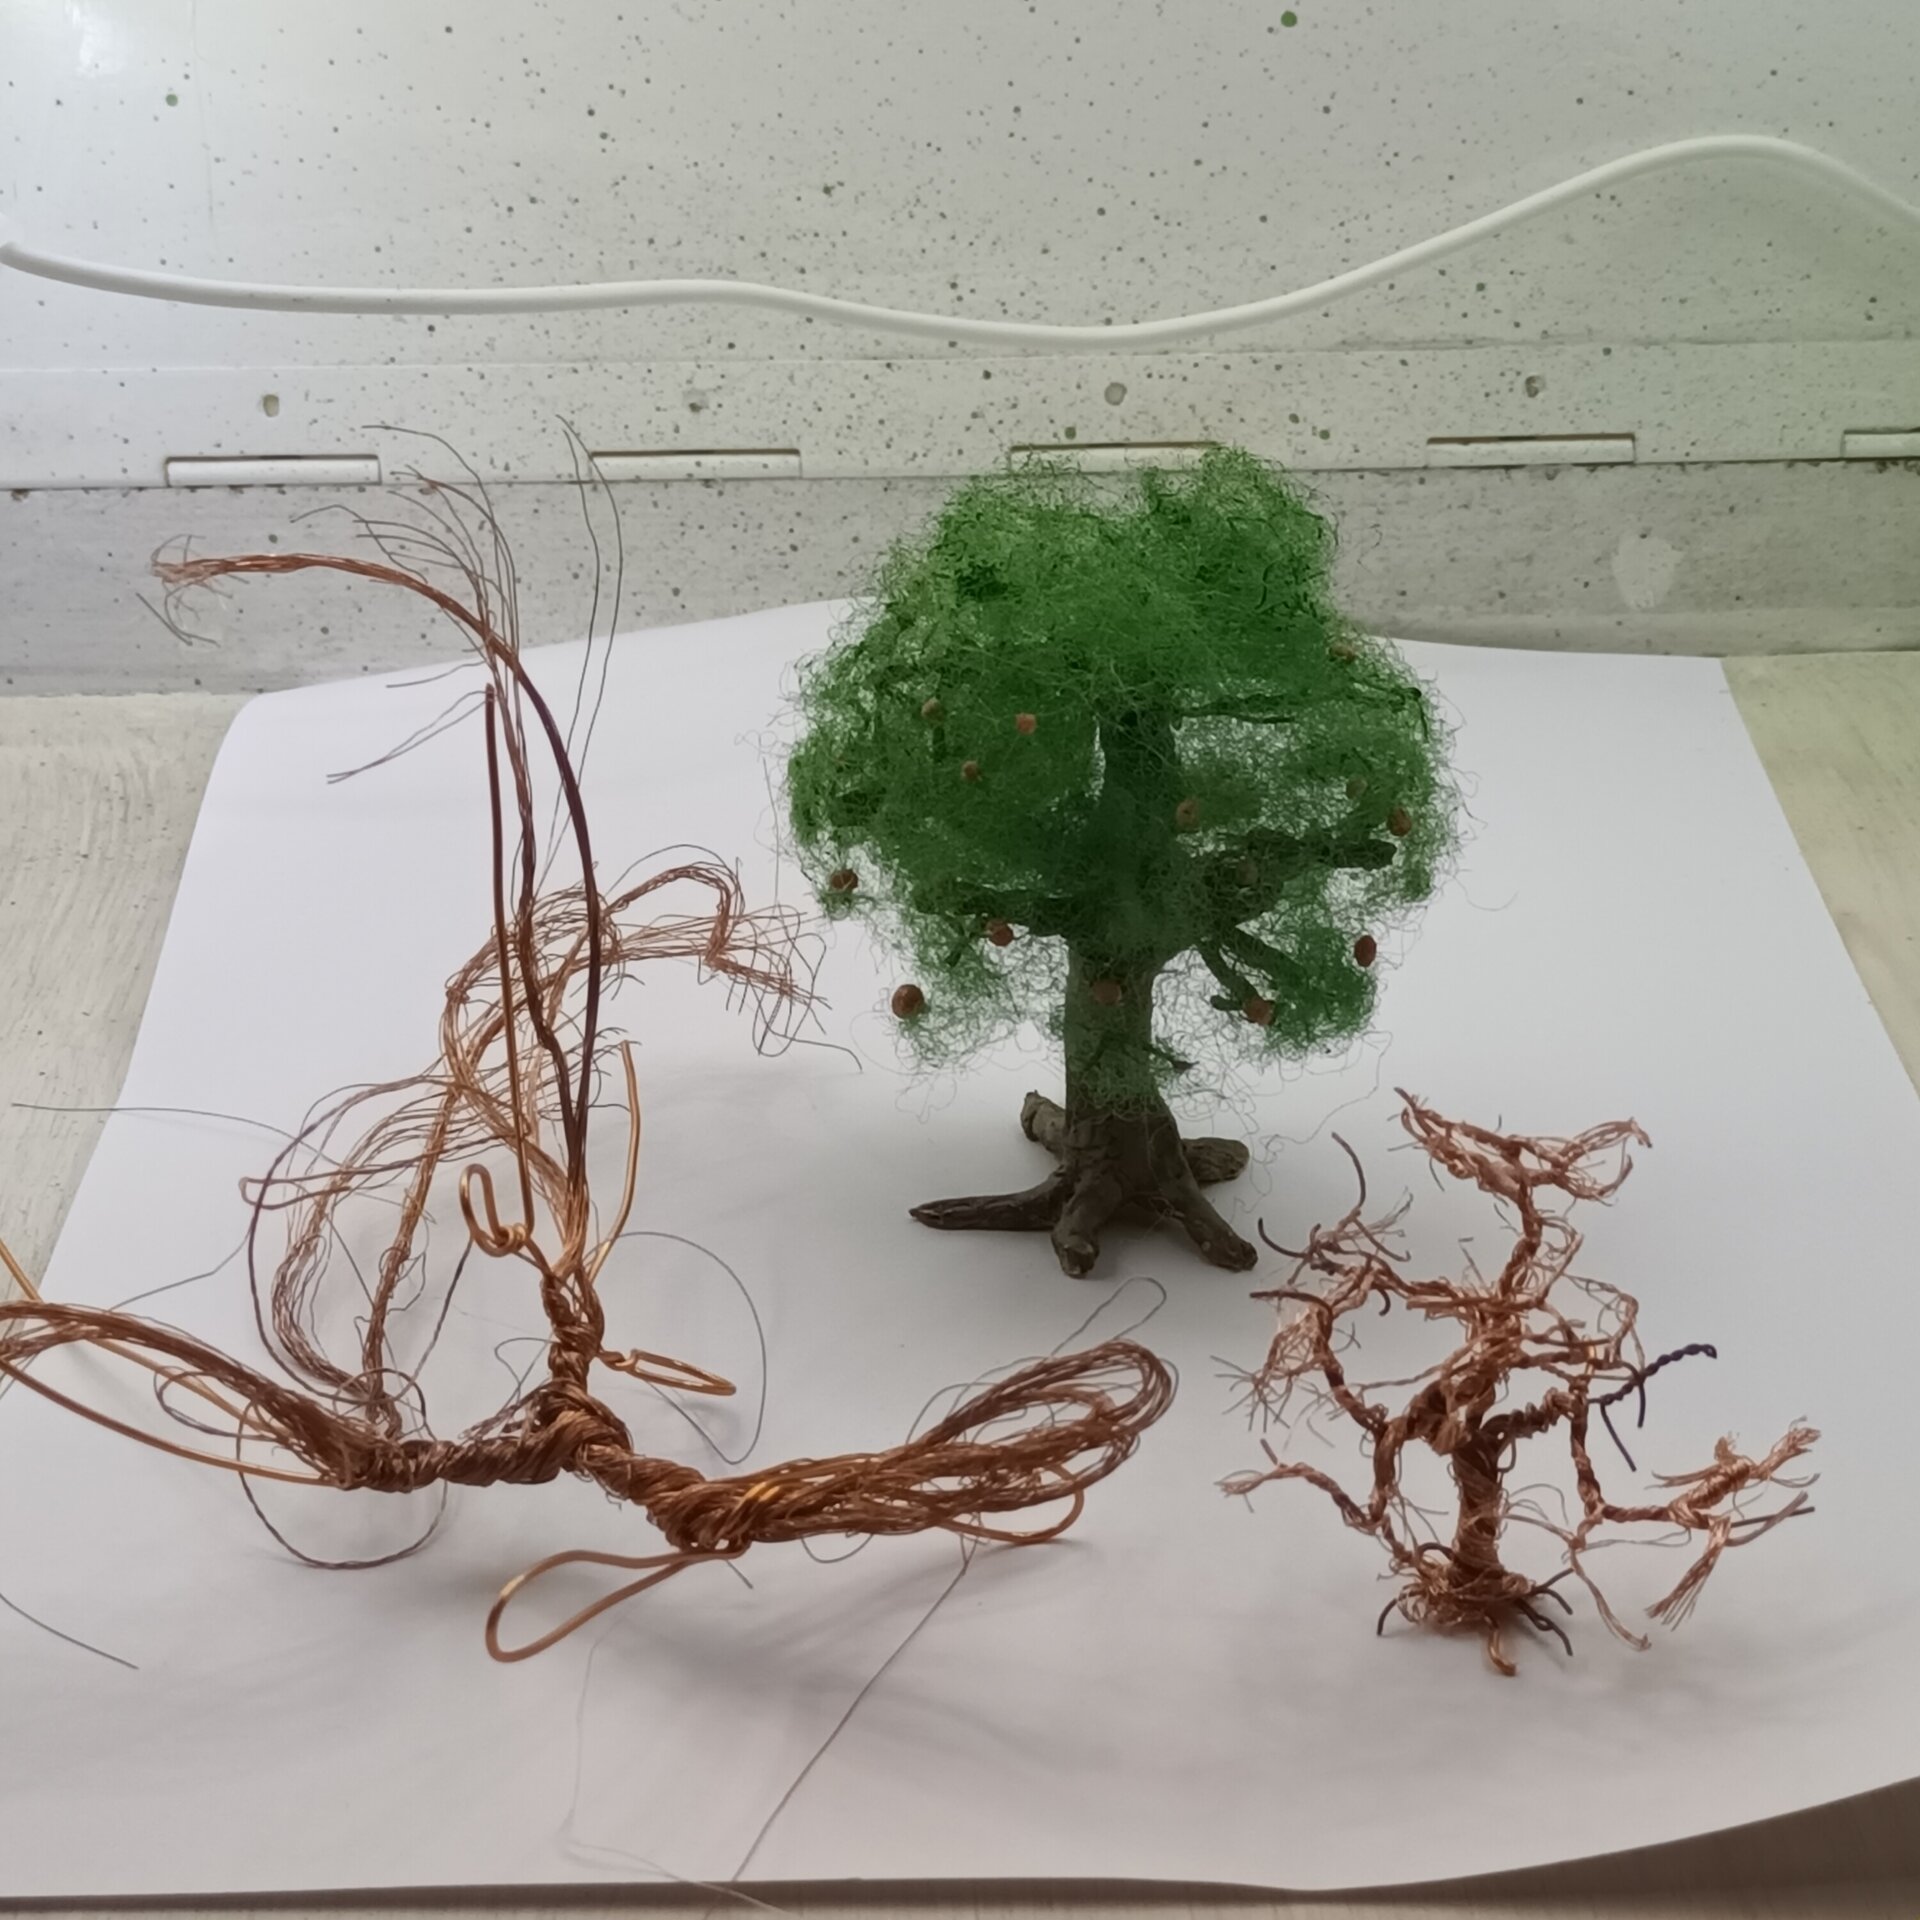
I even made some apples with small clay balls, painted and added to the apple tree - a delightful detail that added character to the garden.
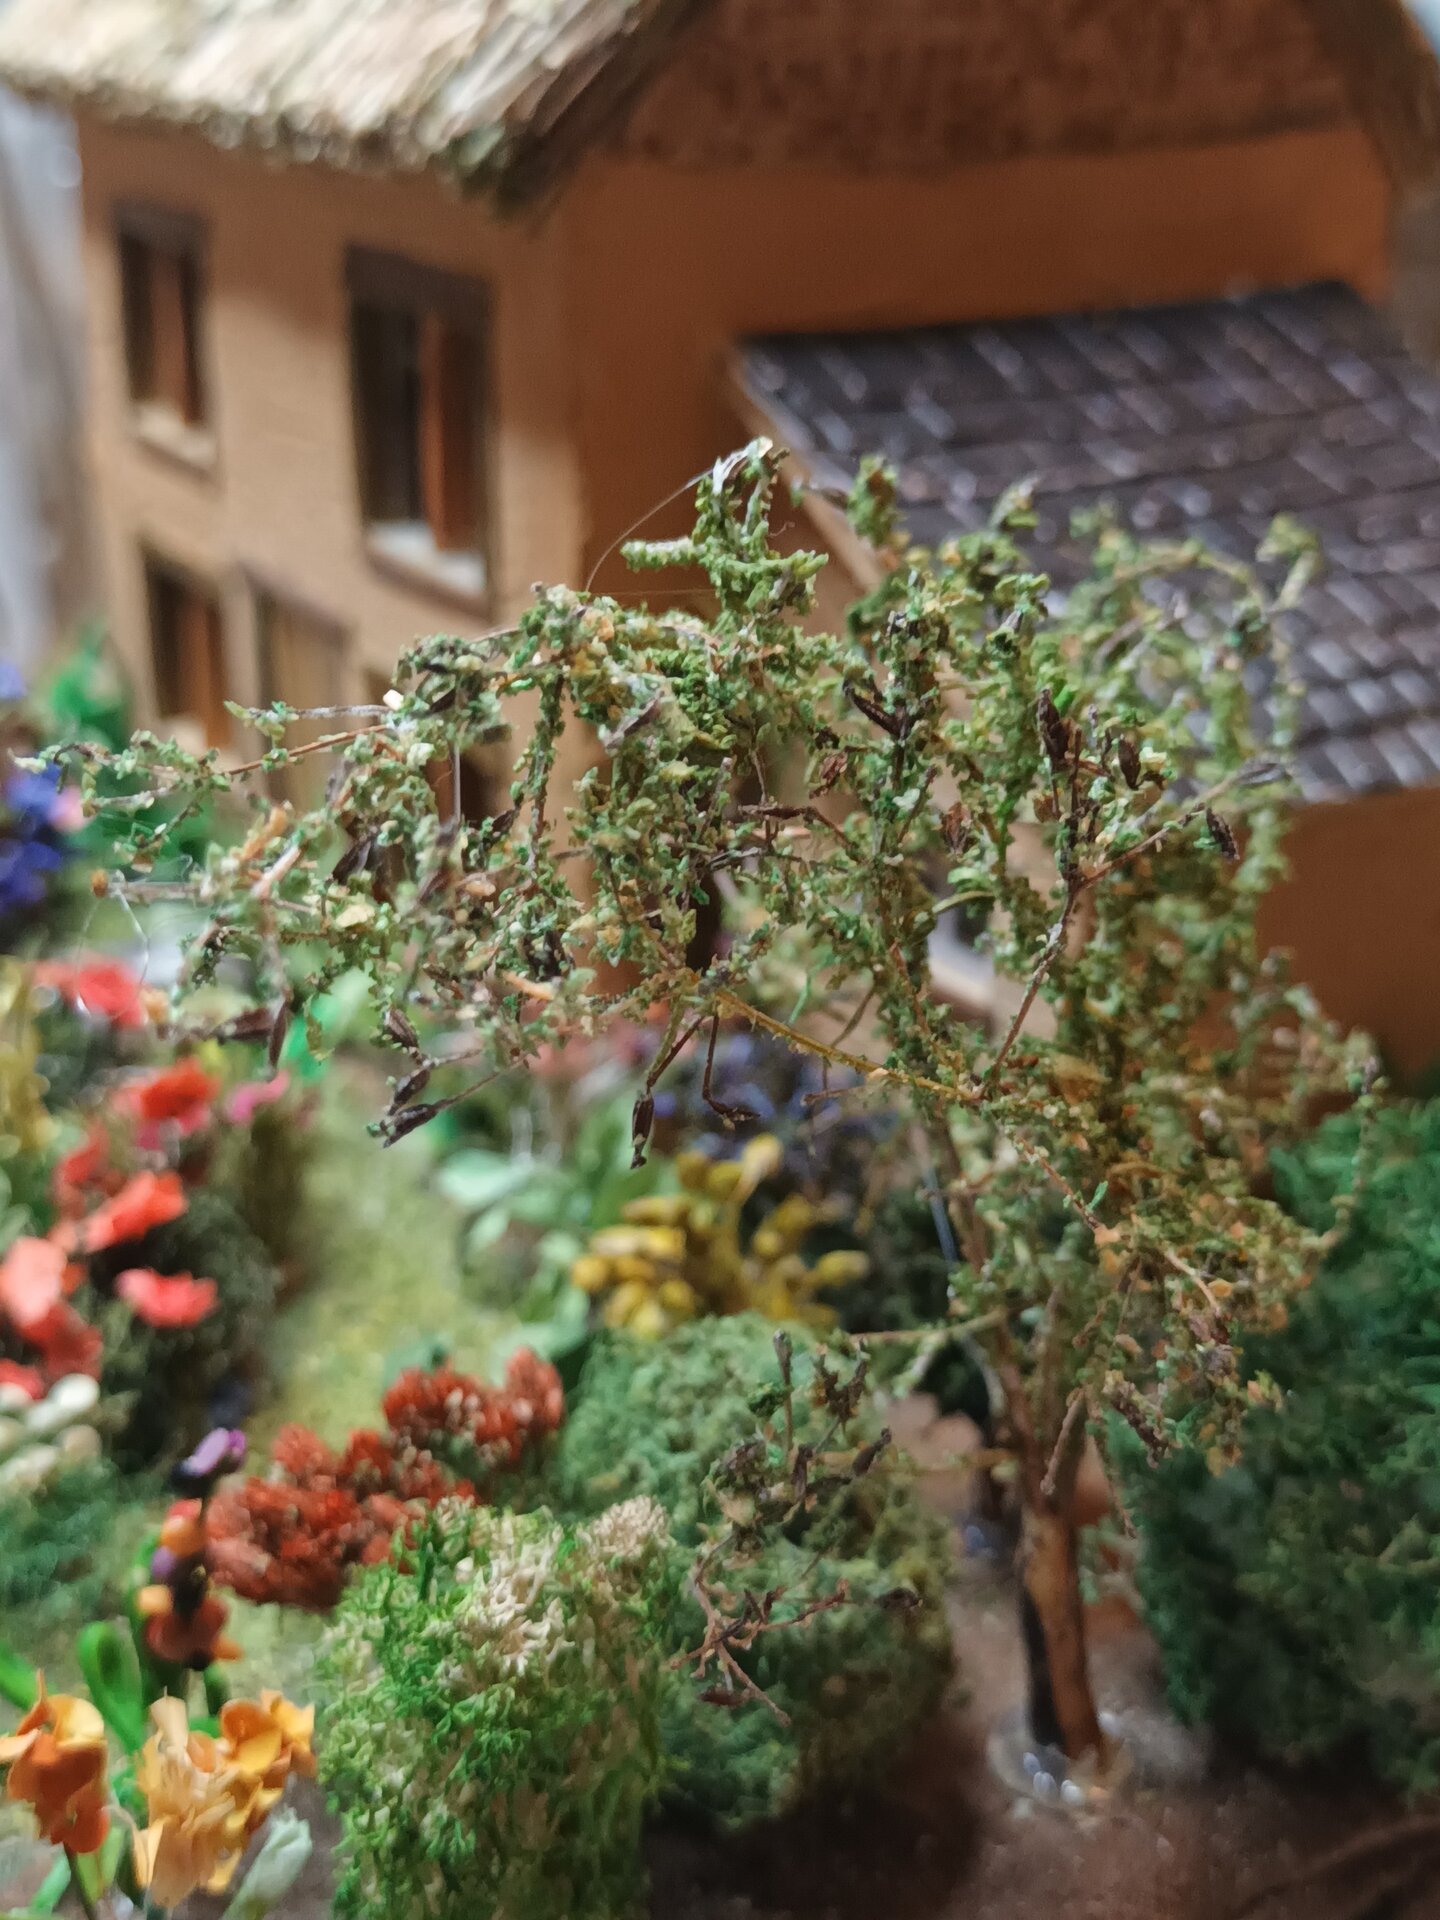
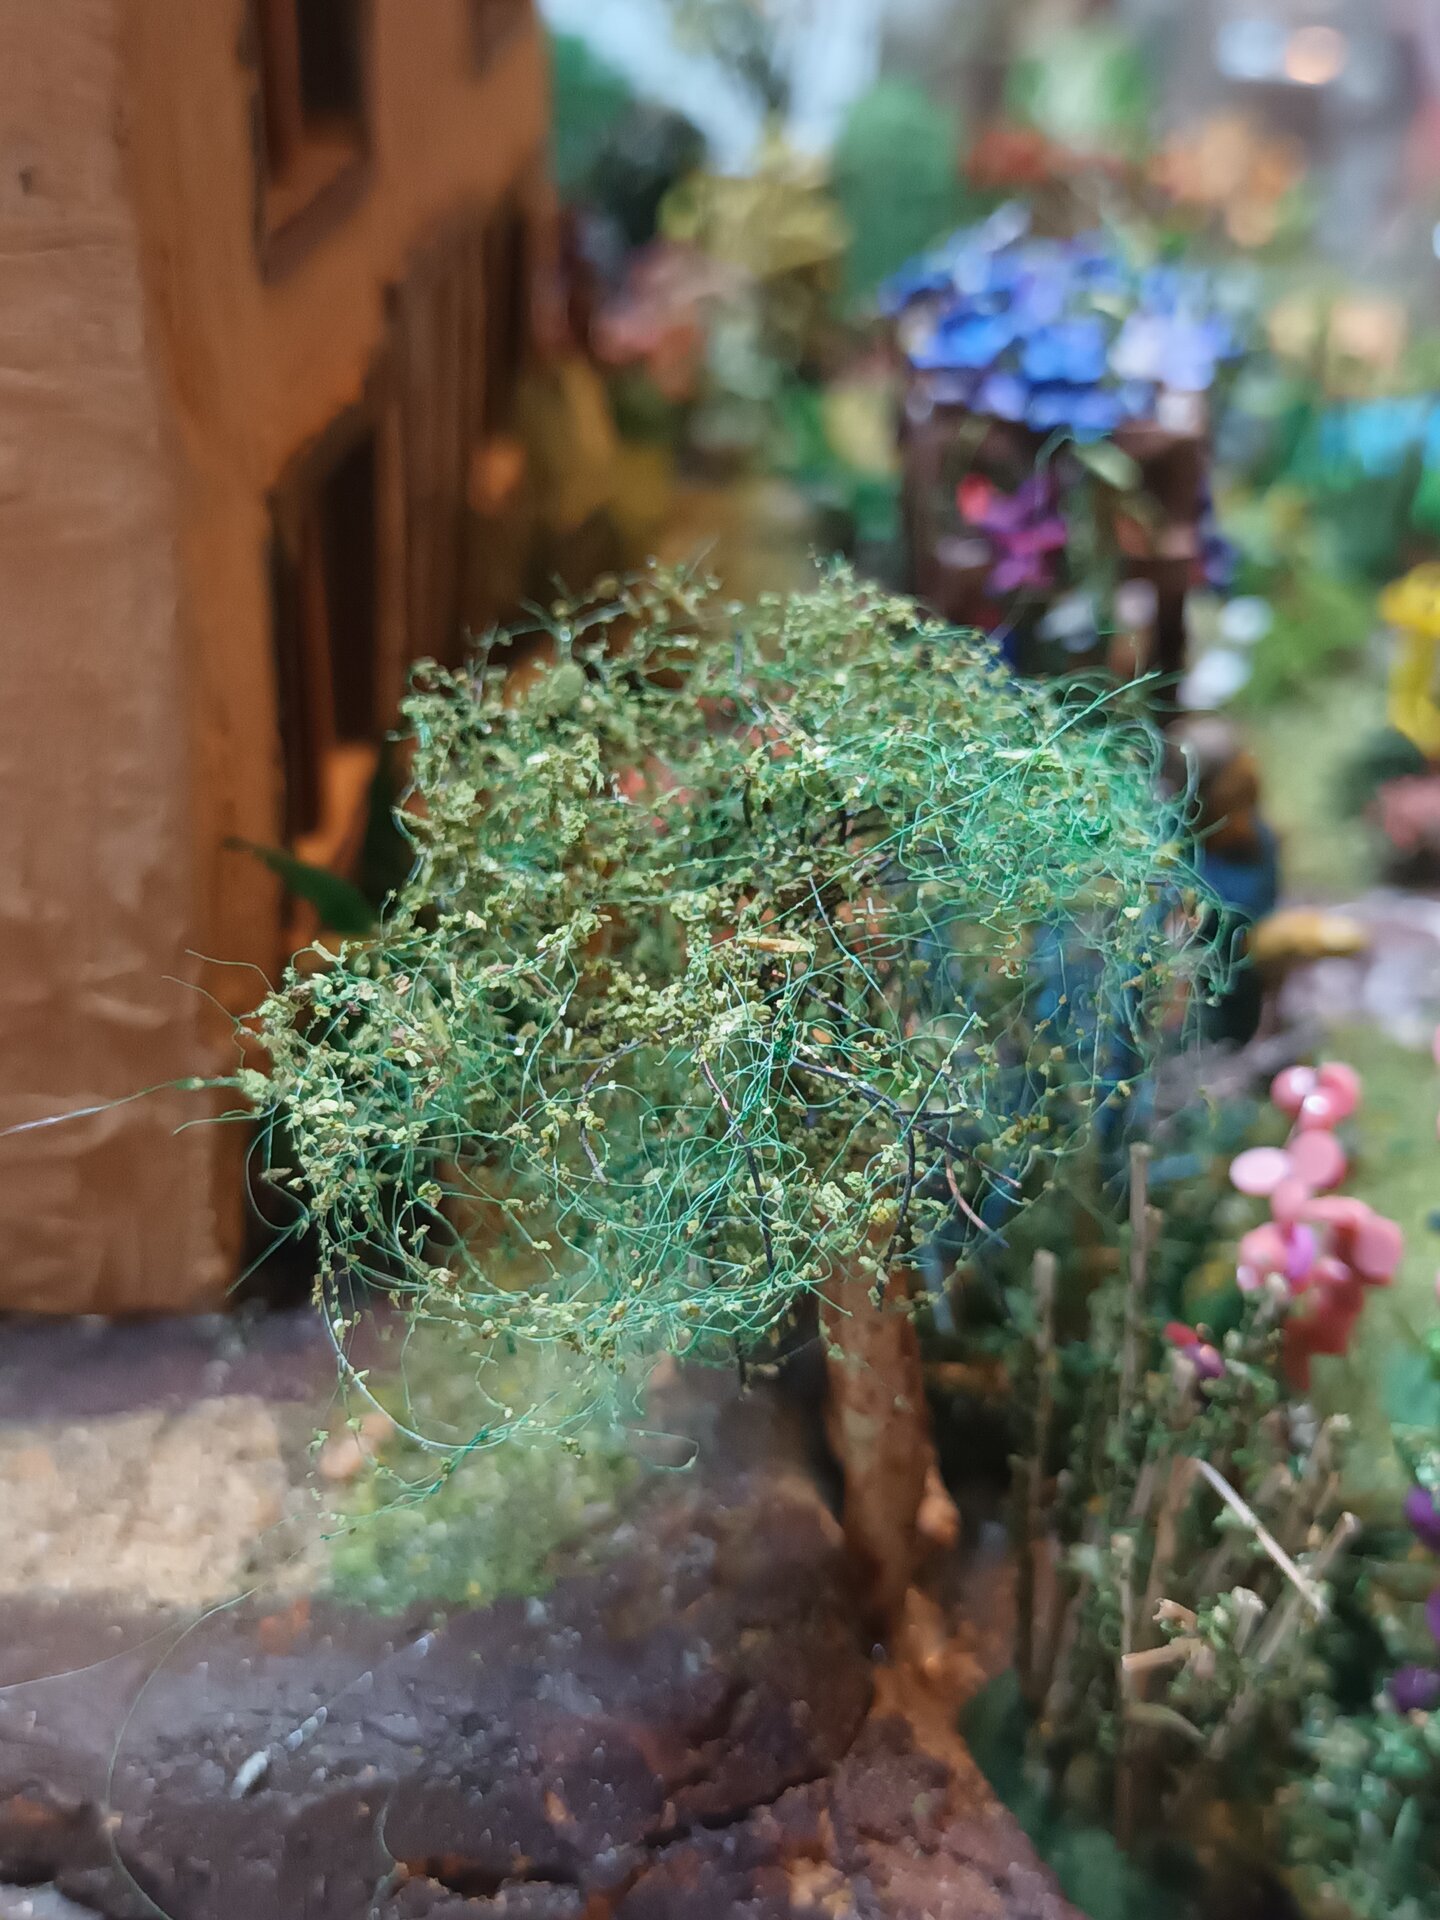
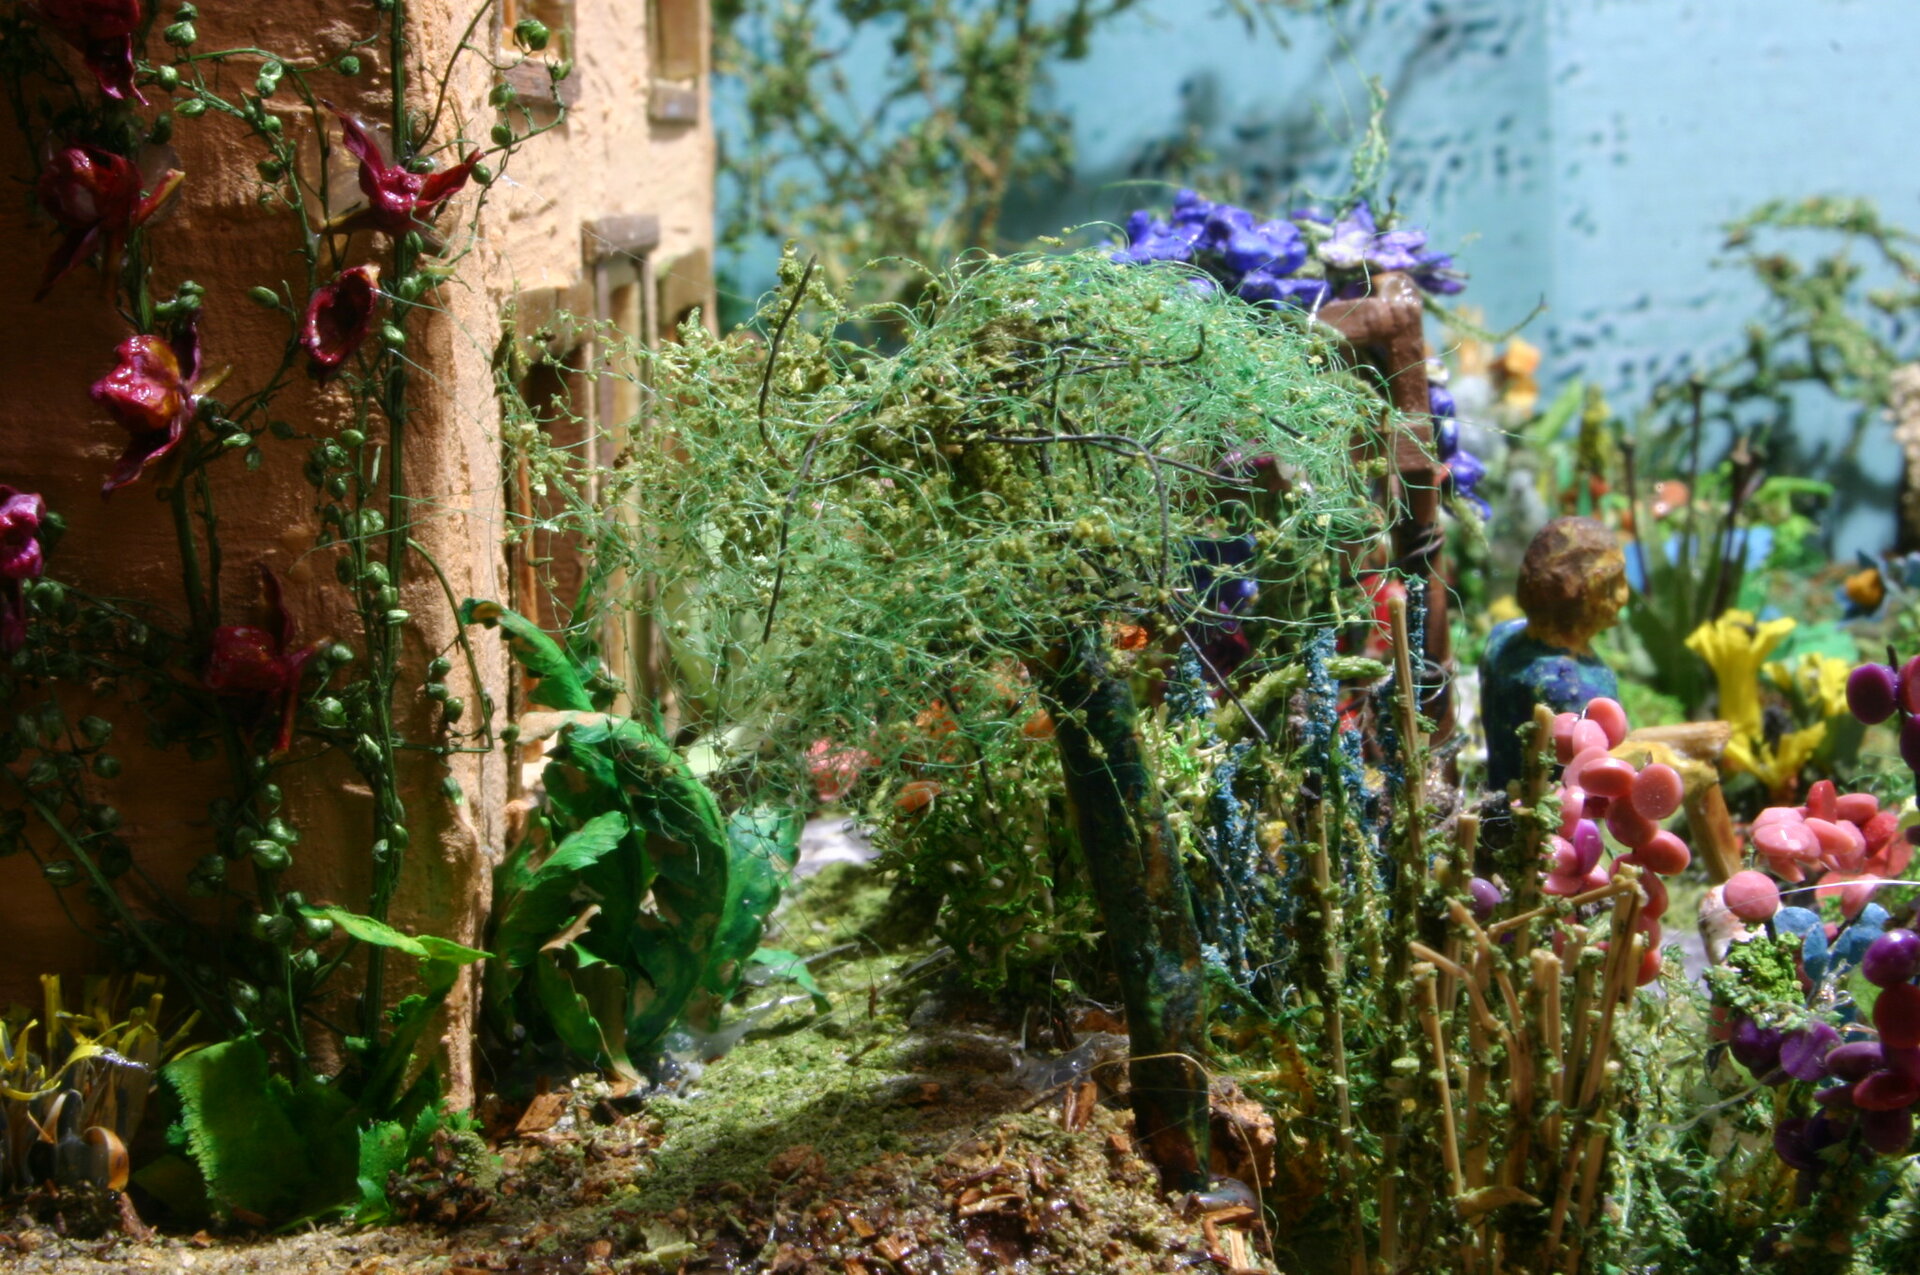
Twig and Wire Hybrid Trees
Using a combination of twigs and wire, I tried to imitate reference pictures of specific tree forms:
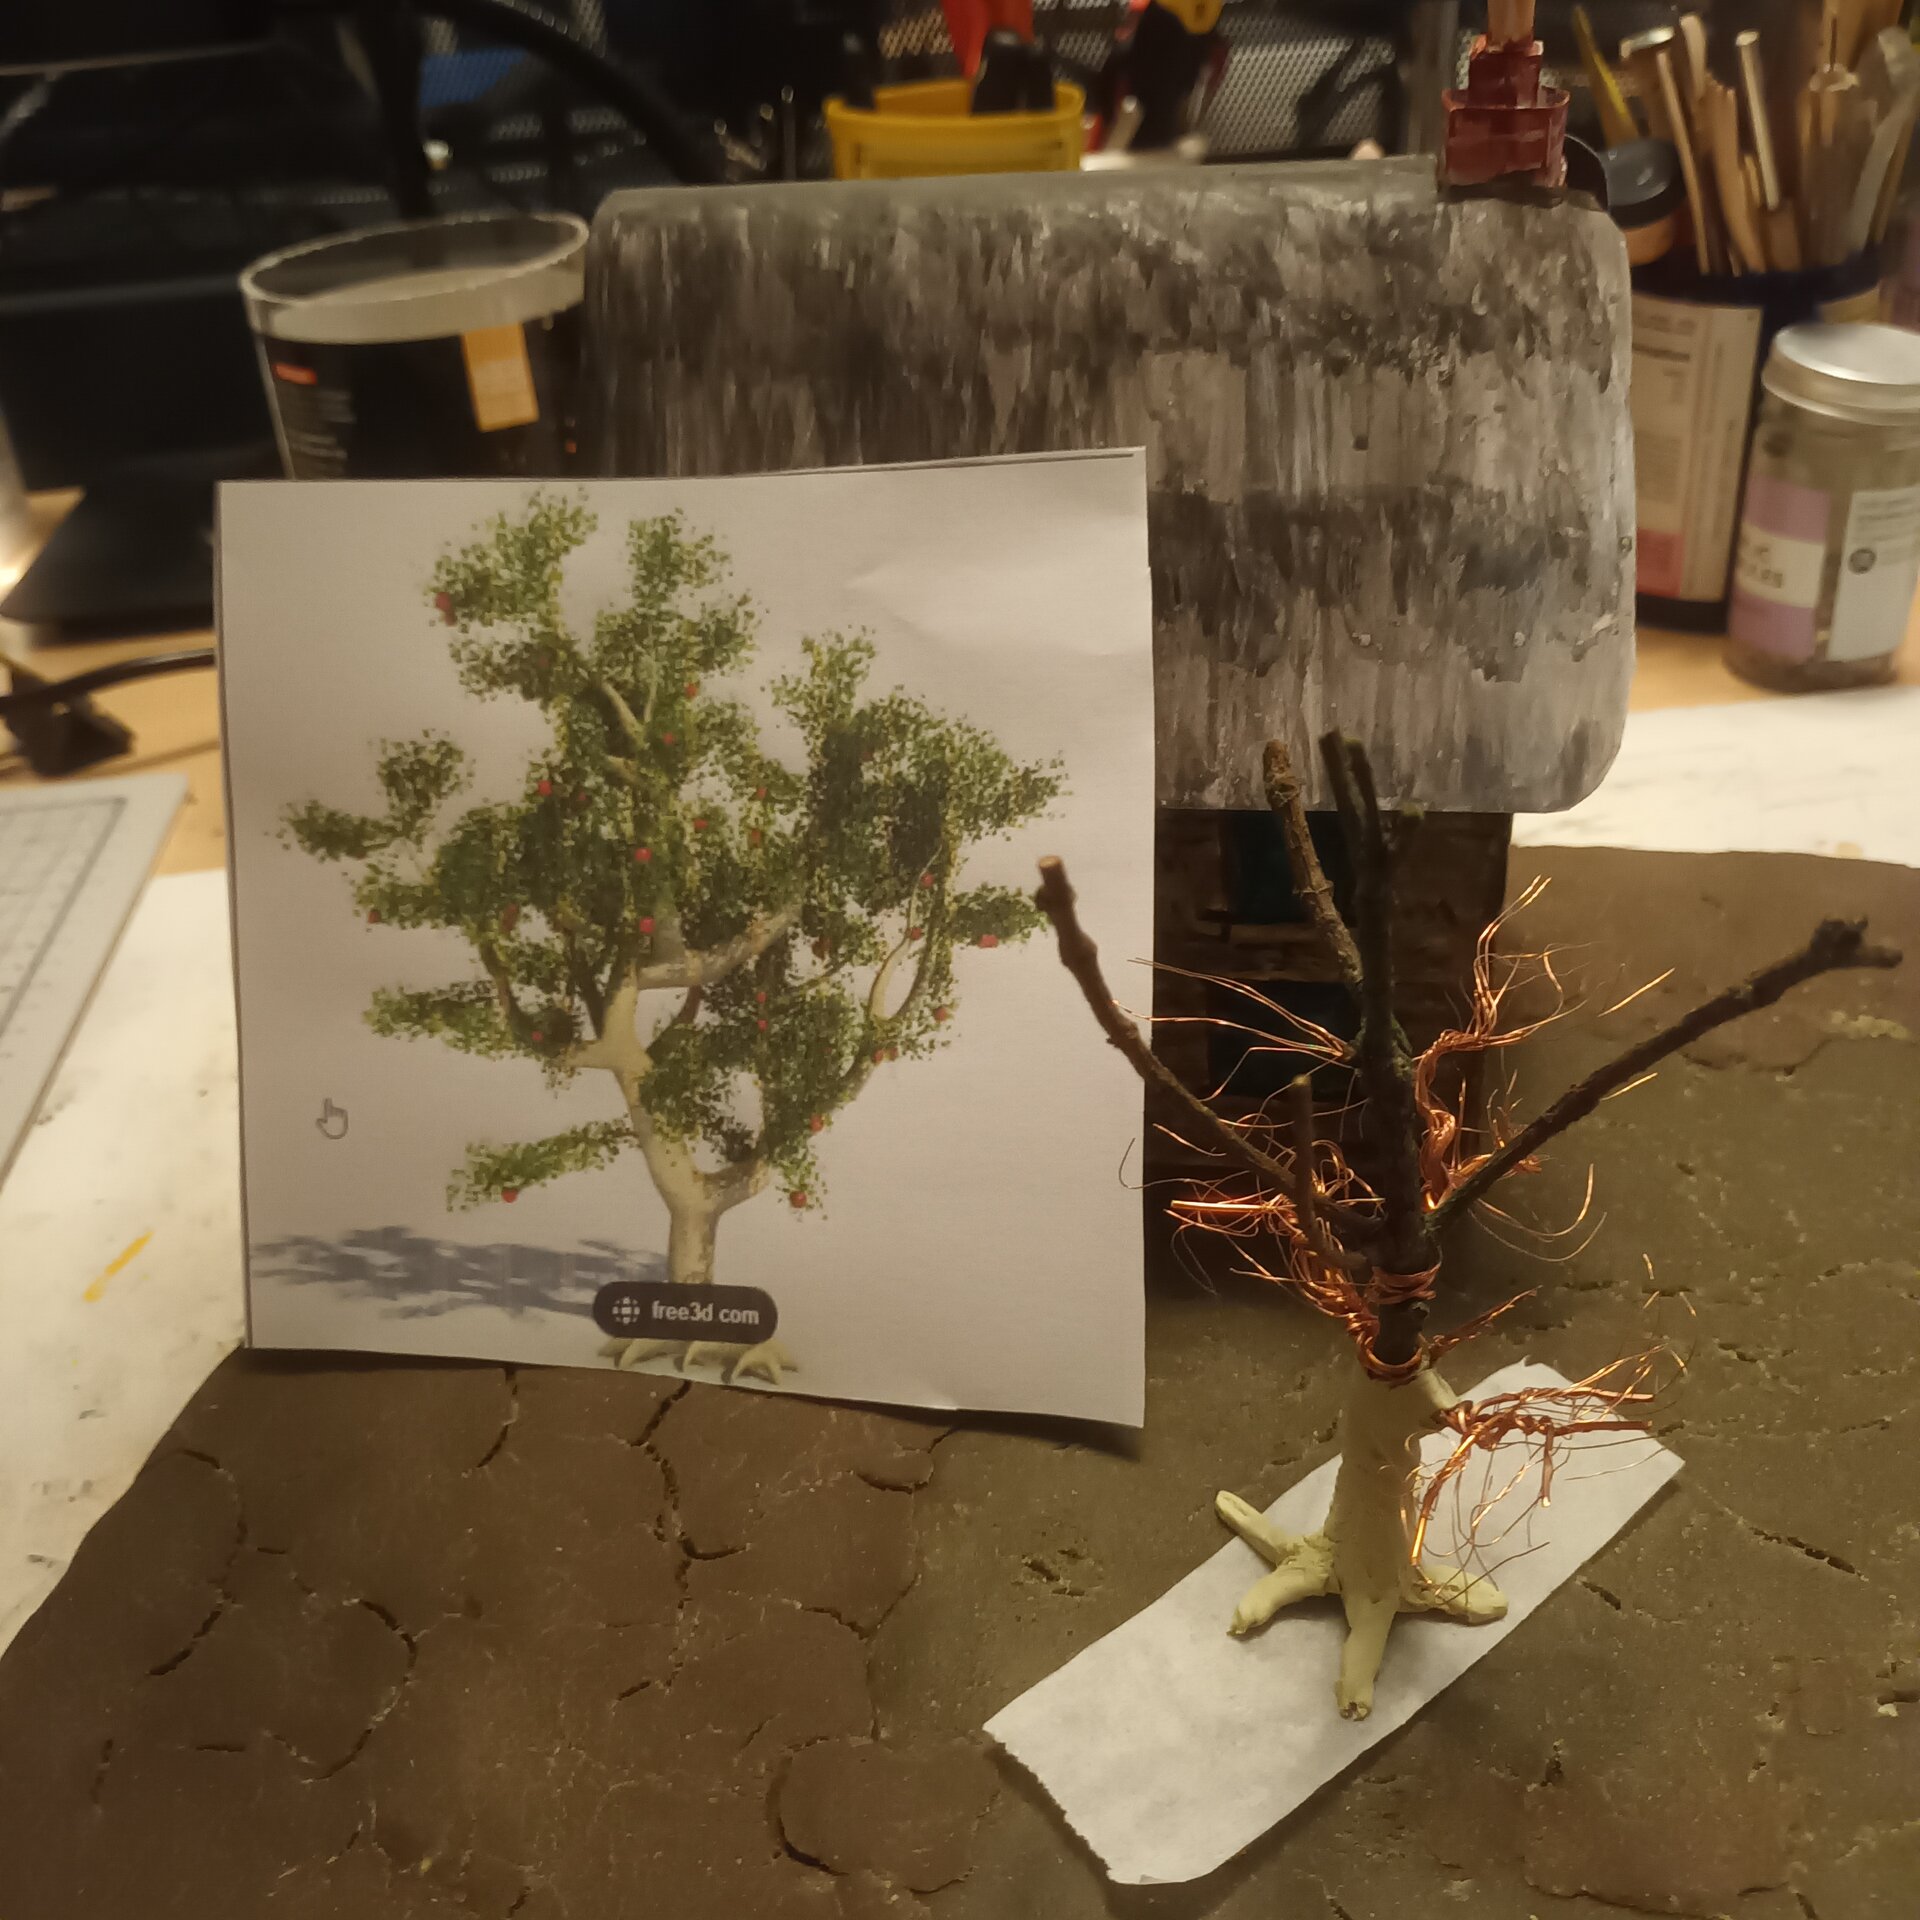
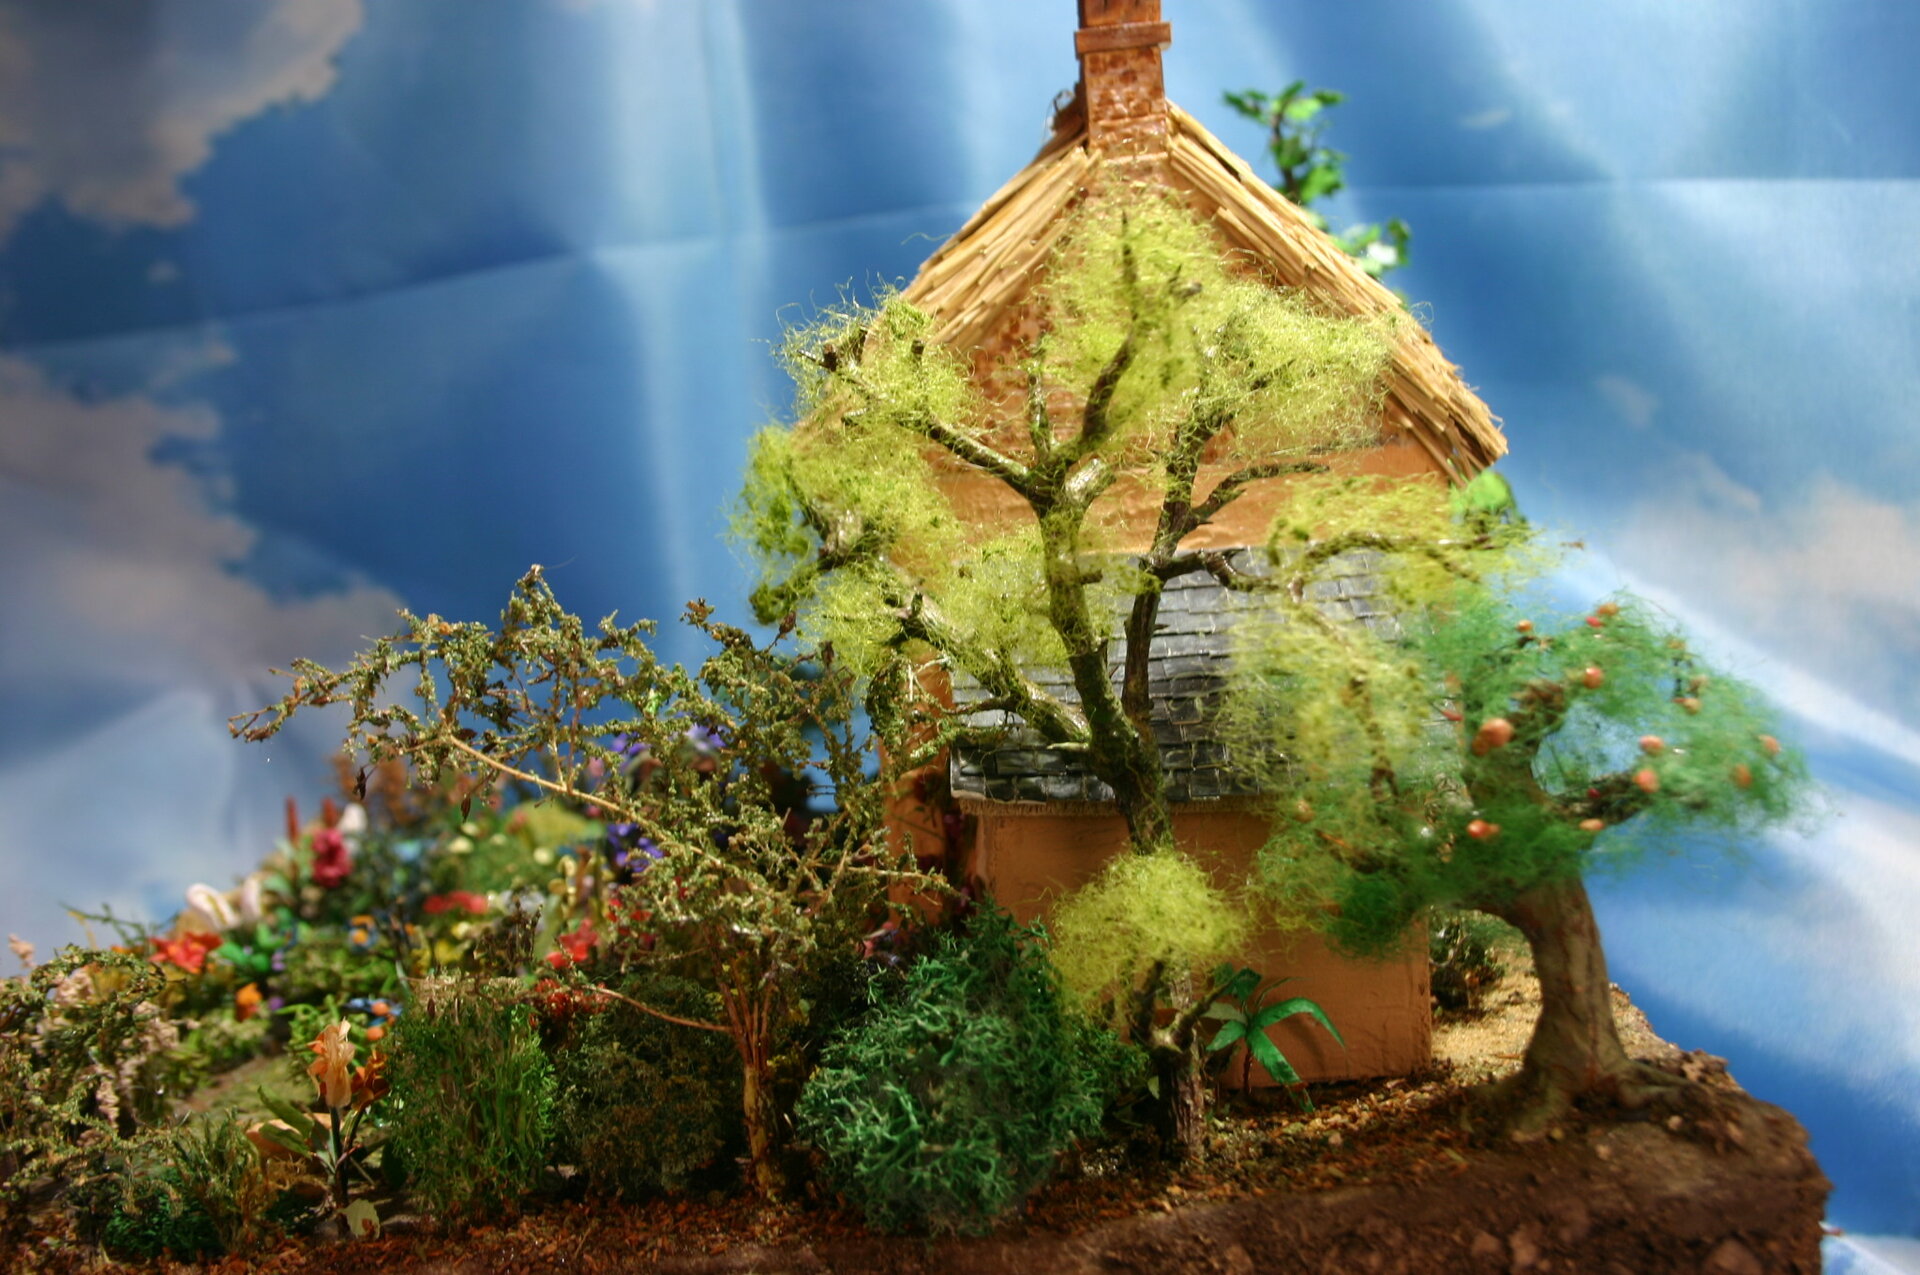
Tall Trees with Individually Wired Leaves
Tall tree branches were largely twigs from the garden. This was the first time I added some additional branches by drilling a small hole in the main stem, and in the additional branch, then gluing a thin hard wire into the core and finally attaching it to the main stem.
The leaves for the tall tree were all cut with a stamp using paper, individually wired, and then tied and glued into the side branches in bundles. This was extremely time-consuming but created a realistic effect.
Smaller Trees and Variety
Smaller trees were fitted throughout the garden, providing varied heights and visual interest:

[NOTE: Can you identify which trees are which type? Apple tree, birch, conifer, ornamental? Any specific species you were aiming for?]
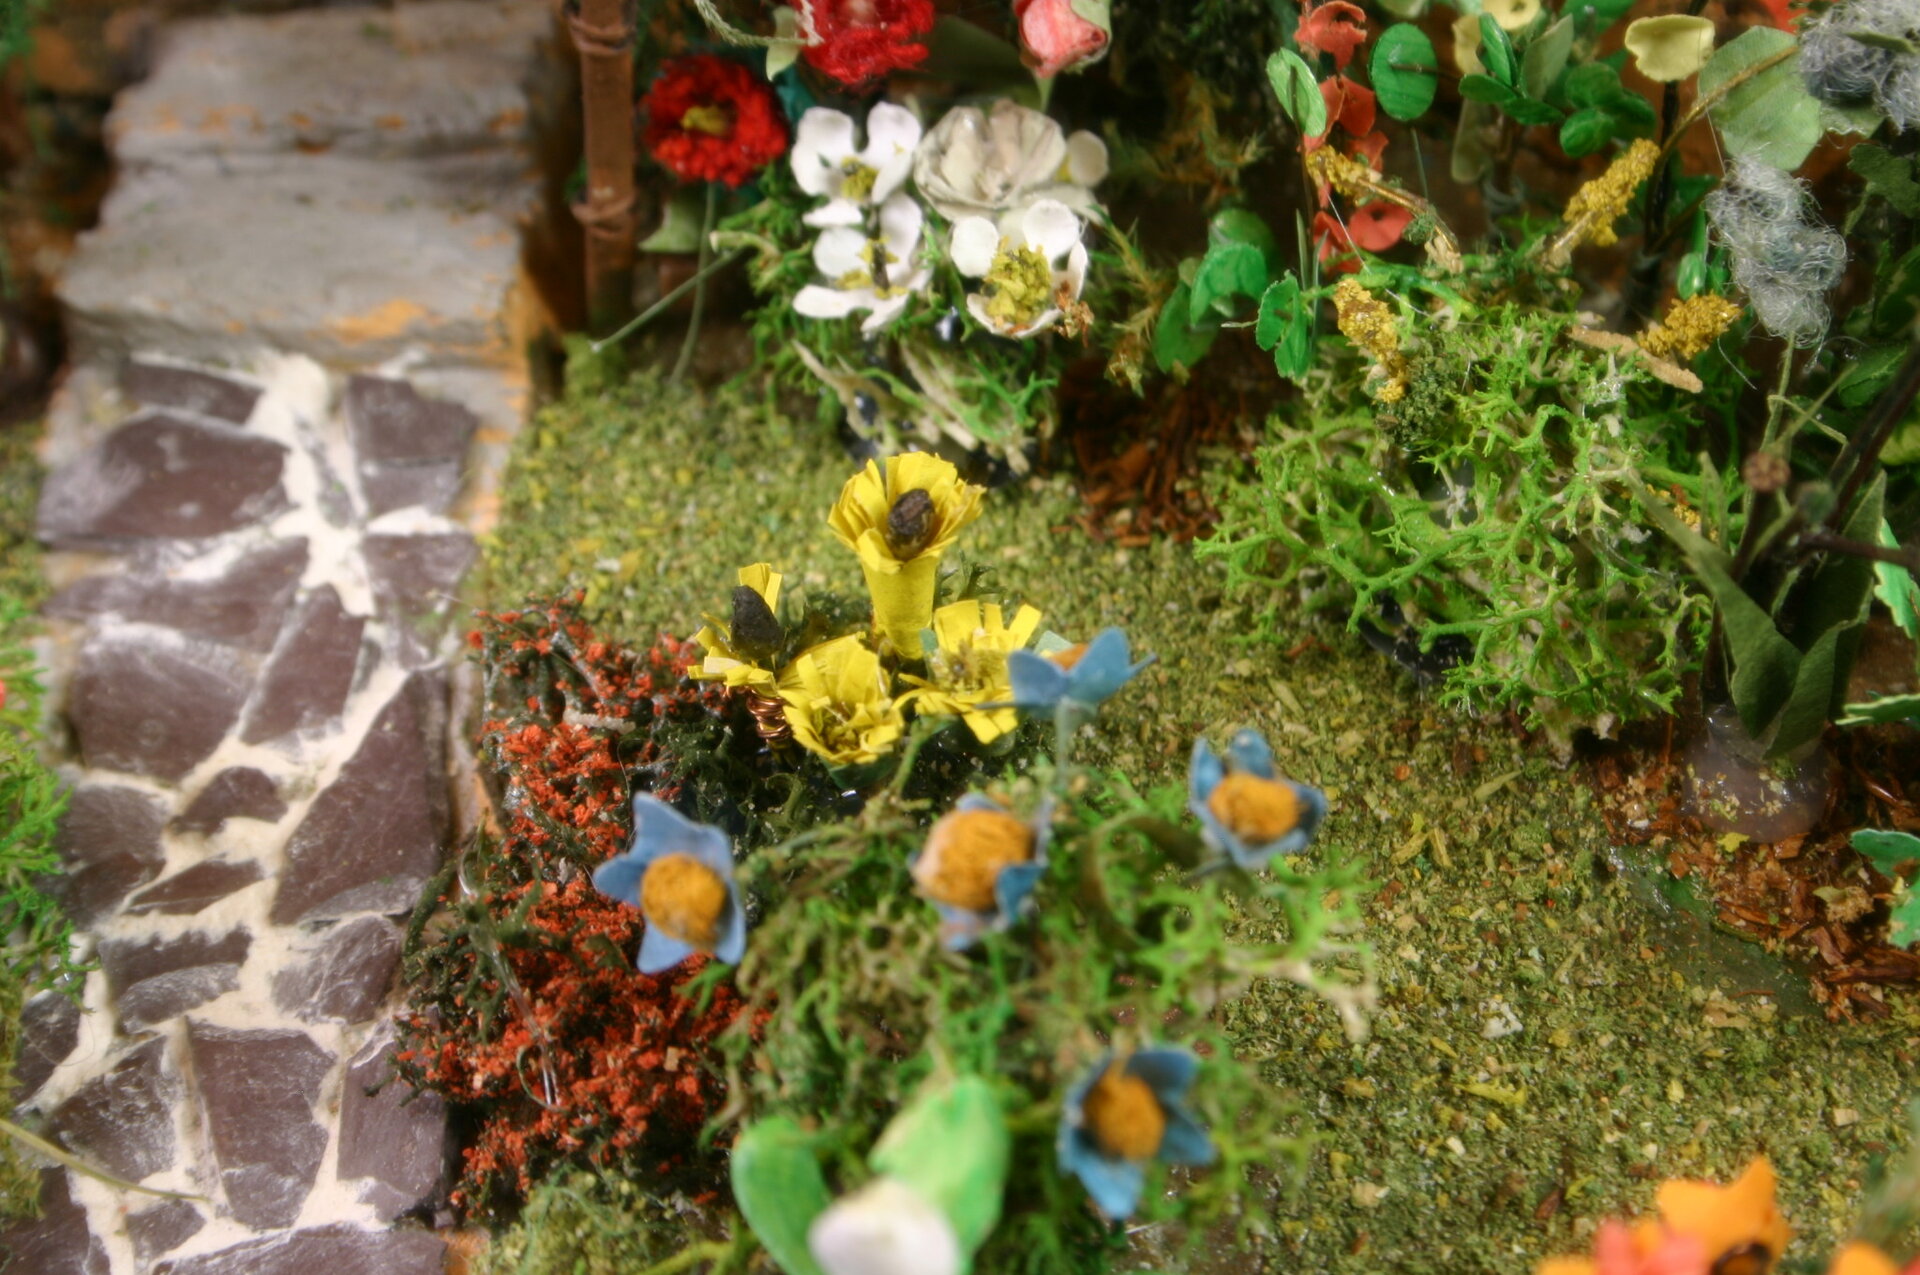
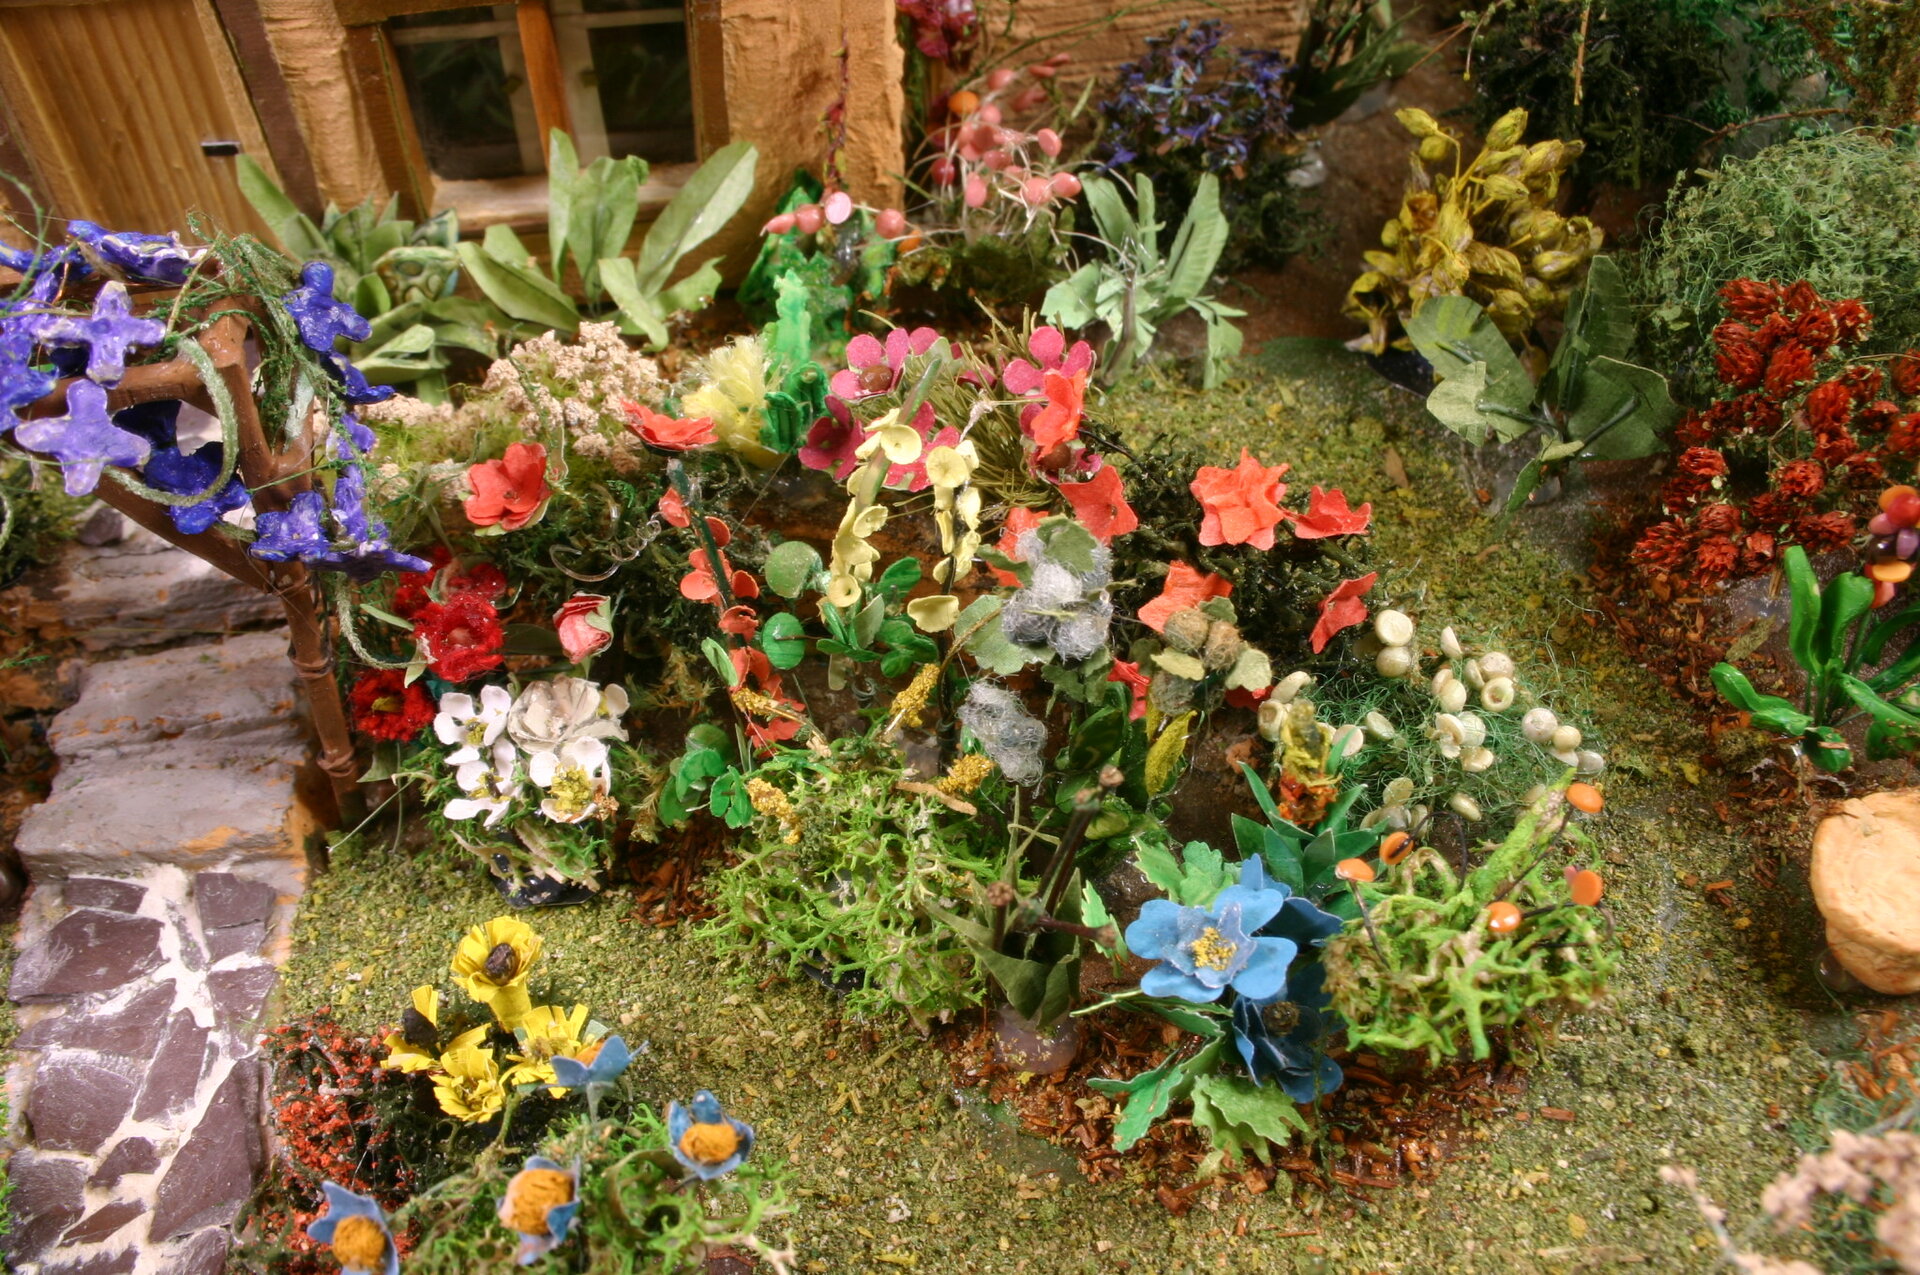
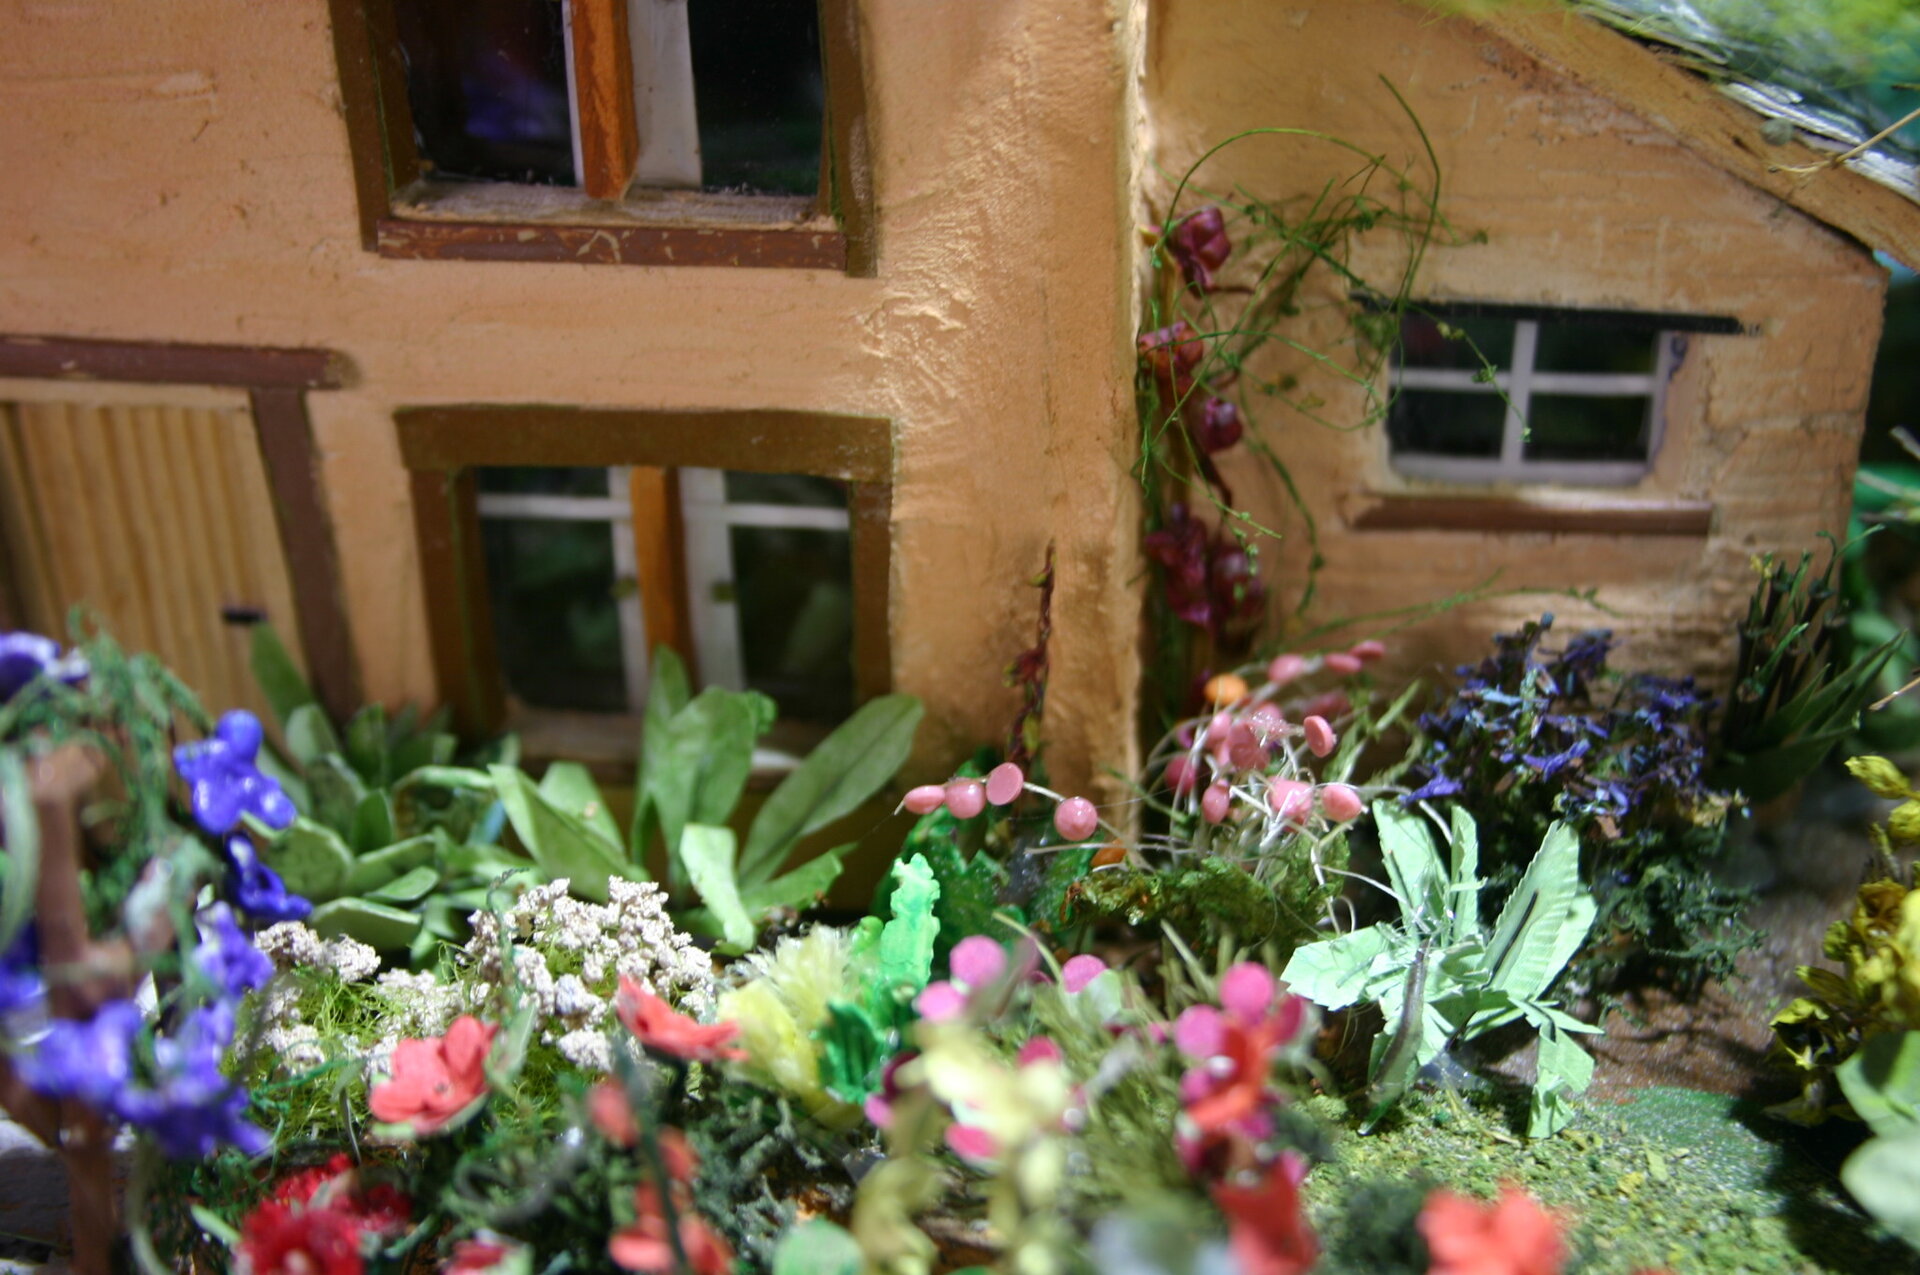
Plant Inventory Readiness
With the majority of the plants and structures created, it was time to get more work done on the house and begin thinking about final layout:
Challenges in Plant Creation
Scale Consistency: Balancing technical 1:50 scale with what could actually be achieved at miniature size required artistic judgment.
Ferns: Particularly challenging due to the complexity of fronds at tiny scale - required multiple experiments.
Realistic Appearance: Many forms were experimented with. While miniaturization meant some flowers weren’t perfect, the result was representative with artistic freedom applied.
Time Investment: Each plant took significant time, from material prep to assembly. Over 100 individual plants represented many, many hours of detailed work.
Learning Through Trial and Error: Built through research, trying things out, patience, and determination.
Material Innovation: Finding the right paper weight, wire gauge, or natural material for each plant type required ongoing experimentation.
[NOTE: Were there any flowers you attempted but ultimately couldn’t achieve satisfactorily? Any plants you wish you’d included but didn’t have time/technique for?]
Skills Developed Through Plant Making
- Wire manipulation and structural support
- Paper cutting and shaping precision
- Clay molding for flower forms
- Natural material preservation and adaptation
- Color mixing for realistic plant tones
- Scale judgment and proportion
- Tool improvisation and creation
- Patience and detailed hand work
- Material repurposing creativity
The Foundation Complete
This phase of flower and plant creation represented the true heart of the English Country Garden project. With over 100 individual plants now prepared, the project could move forward to base construction, cottage building, and final planting. But without this extensive investment in learning miniature horticulture, the project could not have succeeded.
Each flower, each leaf, each tiny stem represented a small victory in mastering a new skill. The collection of plants created became not just components of a diorama, but a library of techniques and methods that would inform all future projects.
Next Build Log: #003 - Base & Structures - Creating the foundation, terrain, arch, gate, wall, and pathways
Project Status: Over 100 plants created and ready for installation
The most challenging and rewarding phase of the project - mastering miniature plant creation through determination and experimentation.
Have questions or feedback about this project? I'd love to hear from you.